The April updates for Microsoft Dynamics 365 Business Central are now available.
This month features the release of Business Central 2024 Wave 1
Before applying the updates, you should confirm that your implementation is ready for the upgrade and ensure compatibility with your modifications. Work with a Microsoft Partner to determine if you are ready and what is needed for you to apply the update.
Please note that Online customers will automatically be upgraded to version 24.0 over the coming days/weeks and should receive an email notification when upgraded.
Direct links to the cumulative updates are listed here:
The March updates for Microsoft Dynamics 365 Business Central are now available.
Before applying the updates, you should confirm that your implementation is ready for the upgrade and ensure compatibility with your modifications. Work with a Microsoft Partner to determine if you are ready and what is needed for you to apply the update.
Please note that Online customers will automatically be upgraded to version 23.5 over the coming days/weeks and should receive an email notification when upgraded.
The Microsoft Dynamics Nav links were removed from this post. They are still available on older posts.
Direct links to the cumulative updates are listed here:
Q: I have customers that I invoice repeatedly, how can I set that up in Business Central?
A: Setting up standard lines for recurring sales documents, such as repeated replenishment orders or recurring sales invoices, streamlines the invoice creation process. This approach ensures consistency in information, saves time, and reduces the likelihood of errors, making the overall sales transaction process more efficient and reliable.
Microsoft Dynamic 365 Business Centrals allows you to set standard sales invoice lines for customers to simplify the creation of recurring documents.
Search for “Recurring Sales Lines” using the Search feature of Business Central and navigate to the “Recurring Sales Lines Page.”
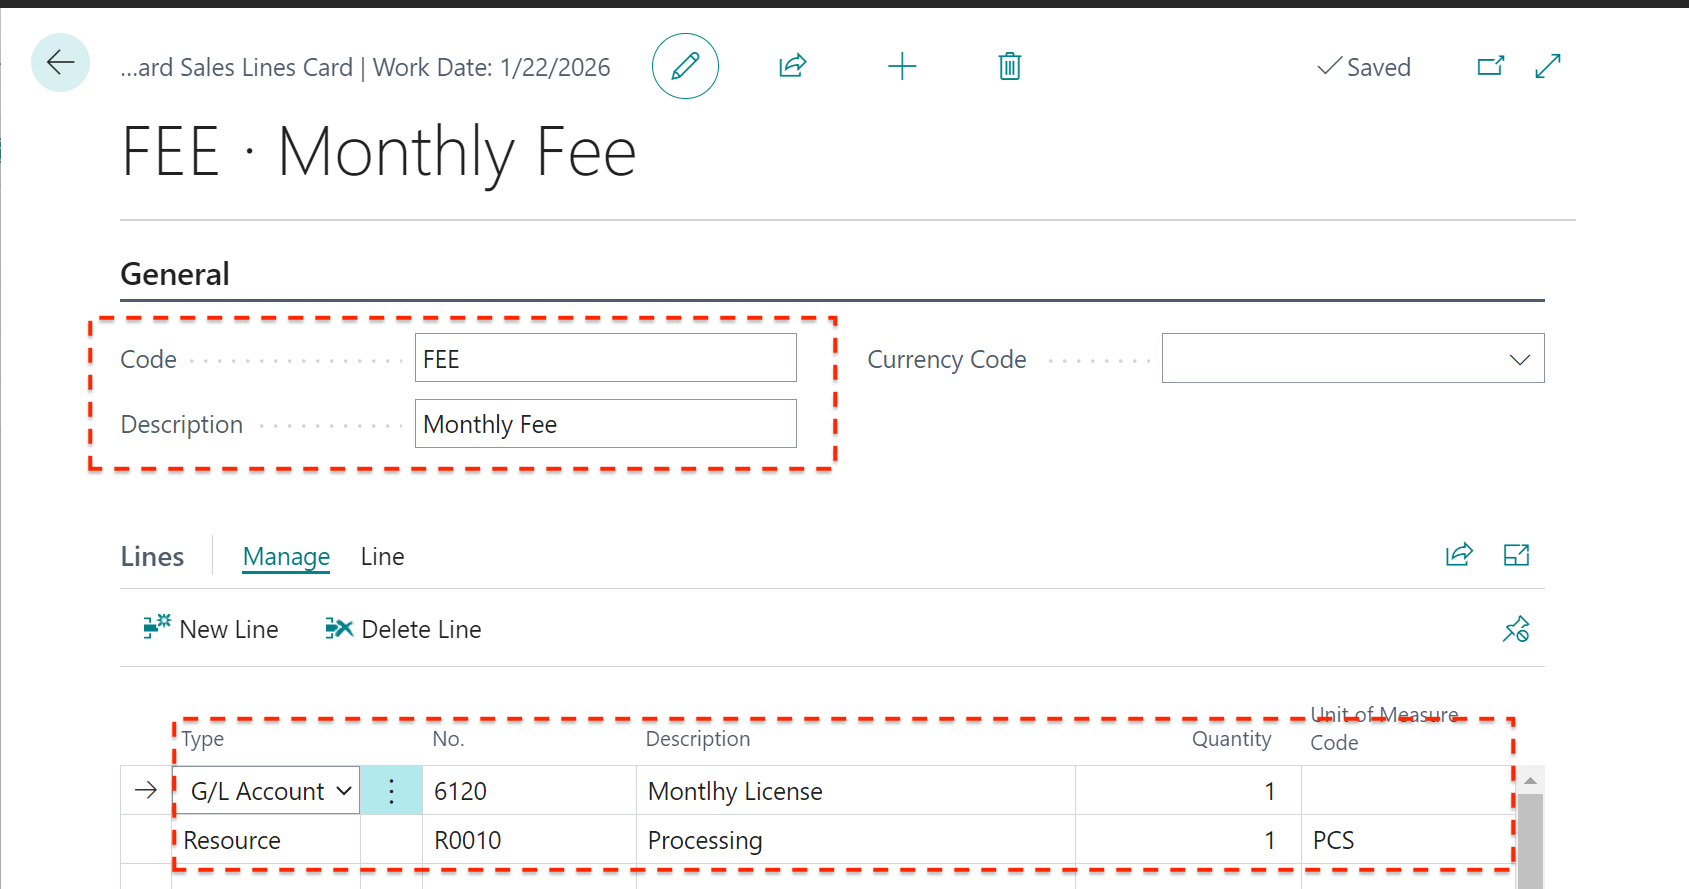
To add a new standard invoice line, select the New Action and fill in a Code, Description, and Currency (if applicable) on the General tab.
Select the Manage Action on the action bar to modify an existing standard invoice line.
Enter the standard sales lines to add to a sales document when the standard sales line code is selected. Select the type of line to add; enter G/L Account, Item, Resource, Fixed Asset, Charge (Item), or Allocation Unit lines, along with the other desired values such as description, quantity, unit of measure, and dimensions.
After you have set the standard sales invoice lines, assign the recurring sales lines to the customers that will use the code.
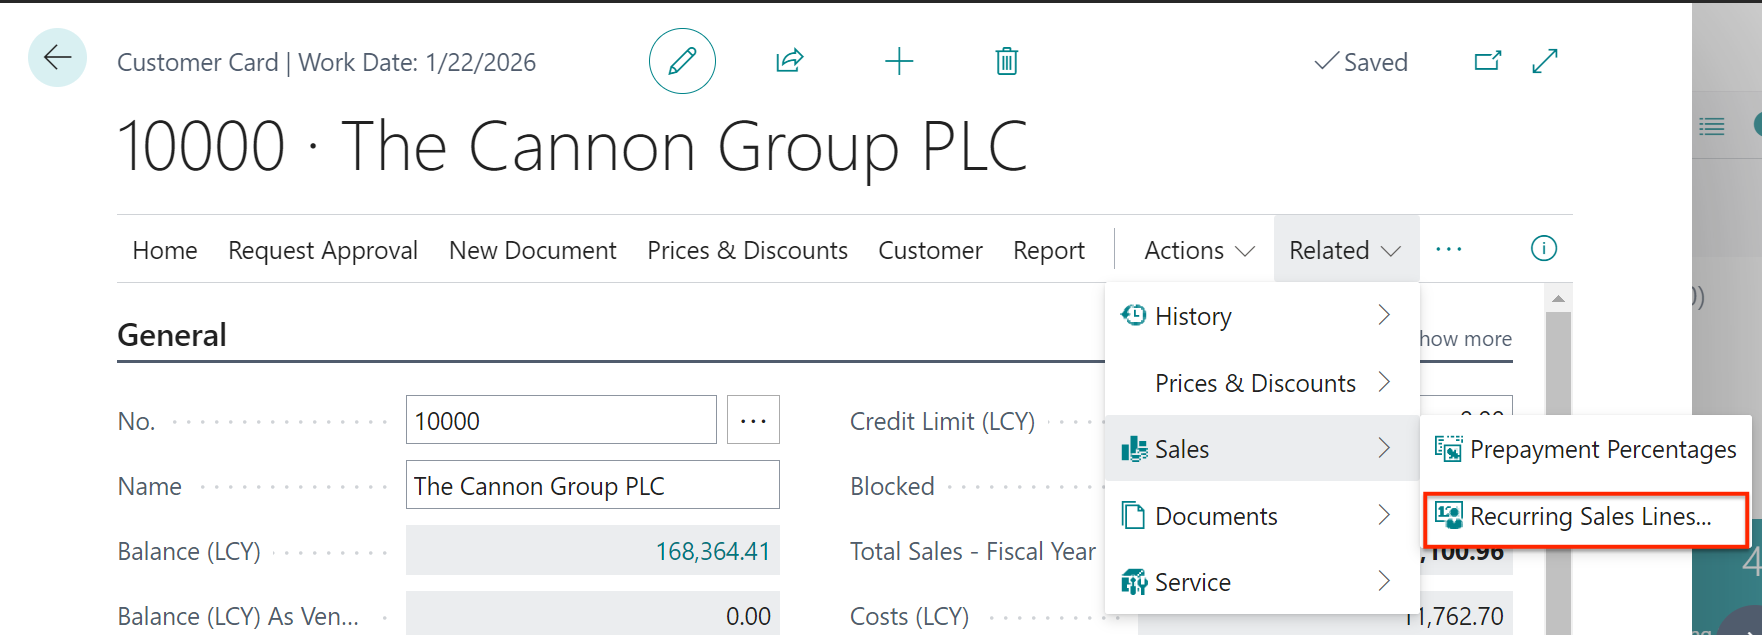
Navigate to a Customer to assign recurring code by choosing the Recurring Sales Lines action from the Related then Sales action menu. Choose the codes for the recurring sales lines you want to insert on sales documents for the customer. Fill in the other fields to define when, how, and where Business Central will add the recurring sales lines. You can enter a date range and determine when the lines will be added to the different sales document types, manually or automatically.
Recurring sales invoice lines will be automatically added to the sales documents where you have specified automatic insertion. If you specify Always Ask, a user will see a notification after selecting the customer that Recurring Sales Lines exist and will be provided the option to add those lines to the document.
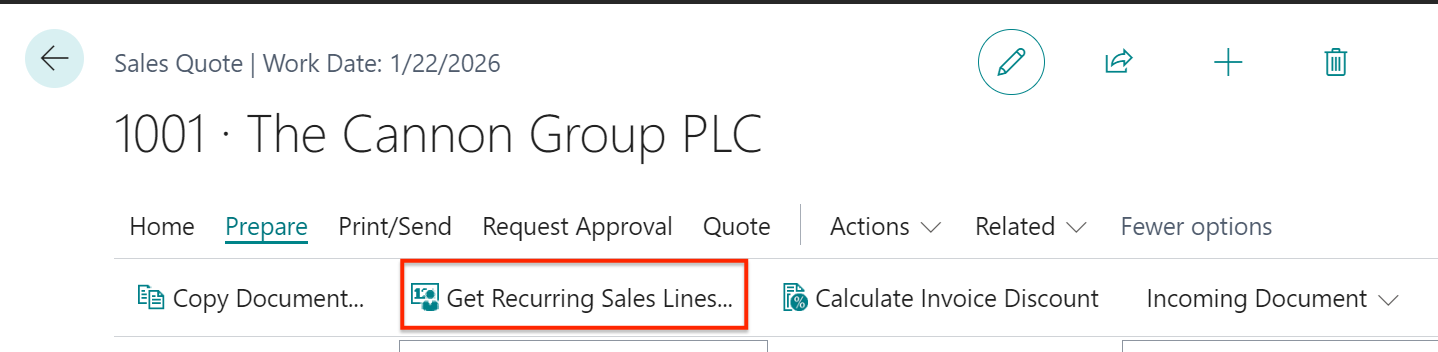
To manually add the sales lines, select the Get Recurring Sales Lines from the prepare action on the document.
Create multiple sales invoices based on recurring lines using the Create Recurring Sales Invoices batch job. Enter the code for standard sales lines assigned to a customer in the Code filter field, and choose the OK button to create sales invoices for customers with the specified standard customer sales code and posting dates within the valid-from and valid-to dates set on the standard sales lines. The system will use actual prices and discounts valid on the document date to find the best combination with the lowest price.
Learn more about Standard Recurring Sales Lines here.
Note: The code and information discussed in this article are for informational and demonstration purposes only. This content was created referencing Microsoft Dynamics 365 Business Central 2023 Wave 2 online.
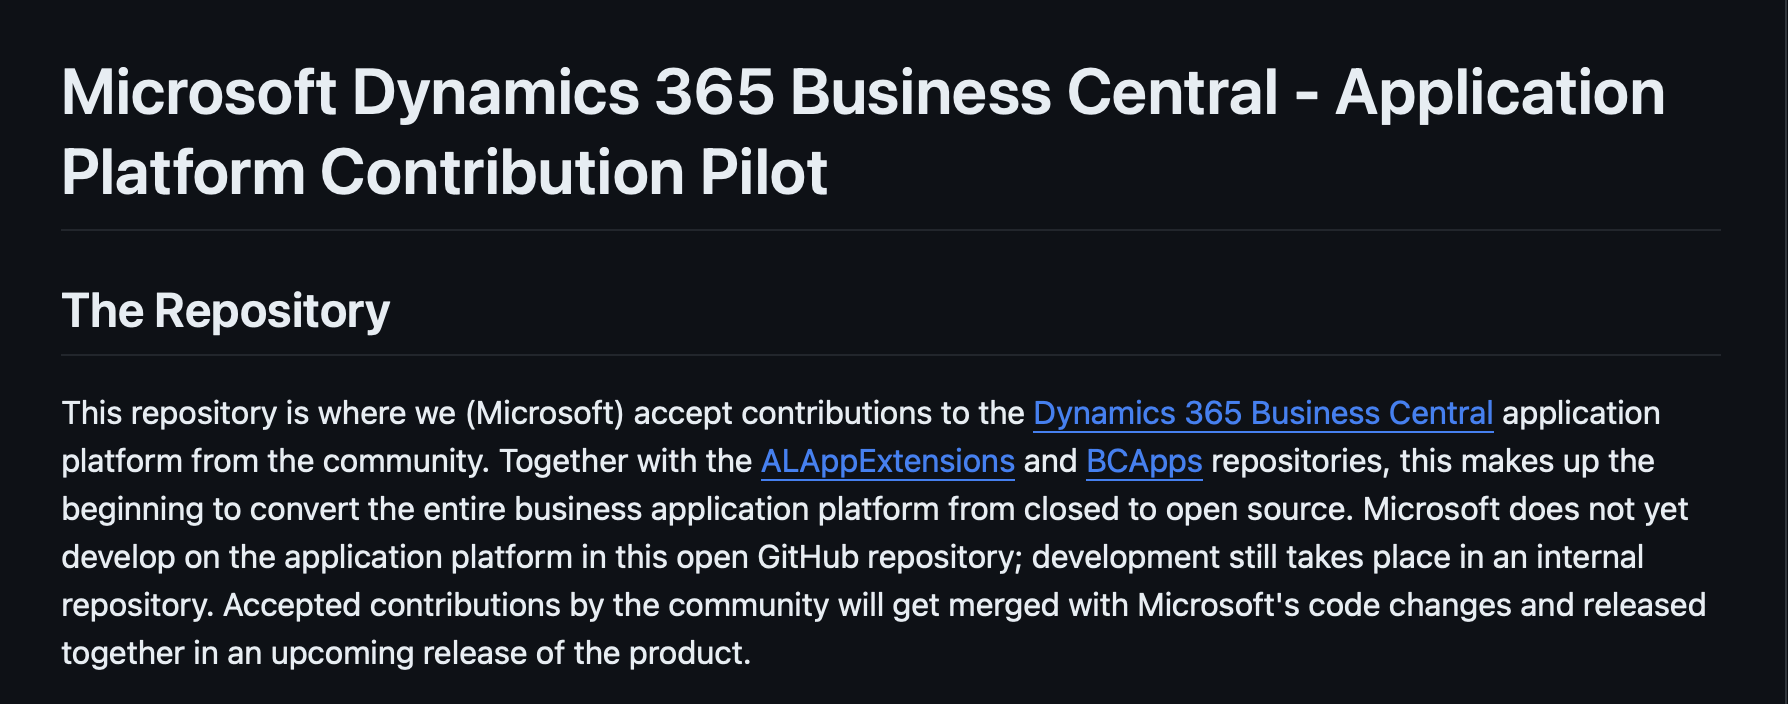
In October 2022, Microsoft announced a new open-source program for the Business Central Base Application, the solution’s core functionality. The program allows partners and community members to contribute code and suggestions to the Base Application.
The open-source program for Business Central is an excellent opportunity for anyone who wants to learn more about the solution, contribute to its development, and benefit from its features.
In May 2023, we were fortunate enough to converse with Jesper and KB on the Dynamics Corner Podcast about Empowering Community Contributions. During that podcast, I asked, “How do you get started with open source?” to which both Jesper and KB responded. KB suggested observing and participating in the Pull Requests to see how the process works. After the episode, I was more excited about the program than before and started following the activity a bit more closely. I watched the interactions between community members, contributors, and Microsoft. After a period, I felt comfortable jumping into the pool and trying my hand at contributing to the base app.
First Steps
The BusinessCentralApps repository is private; you must request access before you begin. If you want to participate in the Microsoft Dynamics 365 contribution pilot, message Jesper on Yammer (Viva Engage). Let him know I sent you and request access to the BusinessCentralApps repository on GitHub.
After watching, as suggested, the lifecycle of issues, the interaction between contributors, and the pull request process for a period, it was time for me to get going. I have been working with Business Central my entire career and was excited at the opportunity to contribute to the Base App.
I forked the repository and created a new branch for the issue. With an issue assigned and a working branch, I was excited to begin working on it. There was one more thing I needed: an environment to work in – one that allowed me to edit, package, and publish the BaseApp, which is different from the usual Business Central development. Development in Business Central is done with extensions that extend or interact with the Base Application. So, I needed to make a Docker container that allowed for the packaging and installing my modified version of the BaseApp. Sounds easy, but how?
The Environment
Now that I had an issue and a repository with a branch to work in, I needed a place to do all the magic. I needed an environment. Publishing the BaseApp file to an Online Environment, Production, or Sandbox is prohibited. Therefore, I needed a local environment, and thankfully, I used Docker regularly and knew a container would work for the cause. (Note: Docker and BCContainerHelper are required for this process)
There are two ways to create a local environment that allows the modification of the BaseApp: The Manual Way and The Easy Way. I’ll cover the manual way first. You never know if you’ll want to set up a container that allows modifying the BaseApp without access to the Contribution Pilot Repository. If you’re not interested in the manual process, then jump to The Easy Way.
The Manual Way
Create a container using BCContainer helper for the latest W1 artifact (or the version that matches the repo). The BaseApp repository is the W1 version; you should work with the same.
Once the container is built, you need a Business Central Base App project. BCContainerHelper to the rescue! Within BCContainerHelper there is a function Create-AlProjectFolderFromBcContainer. The Create-AlProjectFolderFromBcContainer creates a VS Code project from a container.
With the project created, we’re ready to get moving. Before we can have some fun, we need to, well, I needed to open the BaseAndTests workspace and make a few changes. Change the app file version to something higher than the current app version. Add the “tenant”: “default” to the launch file created as part of the project.
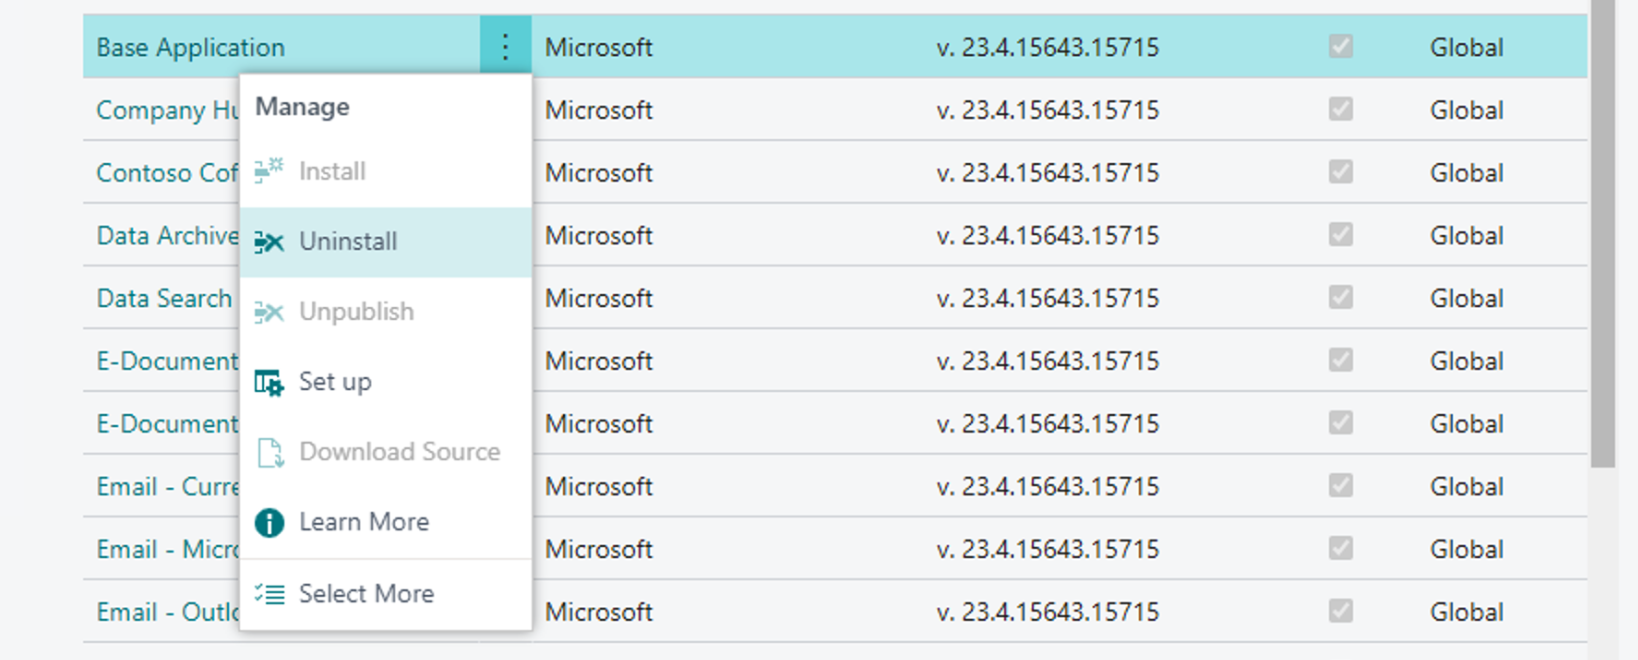
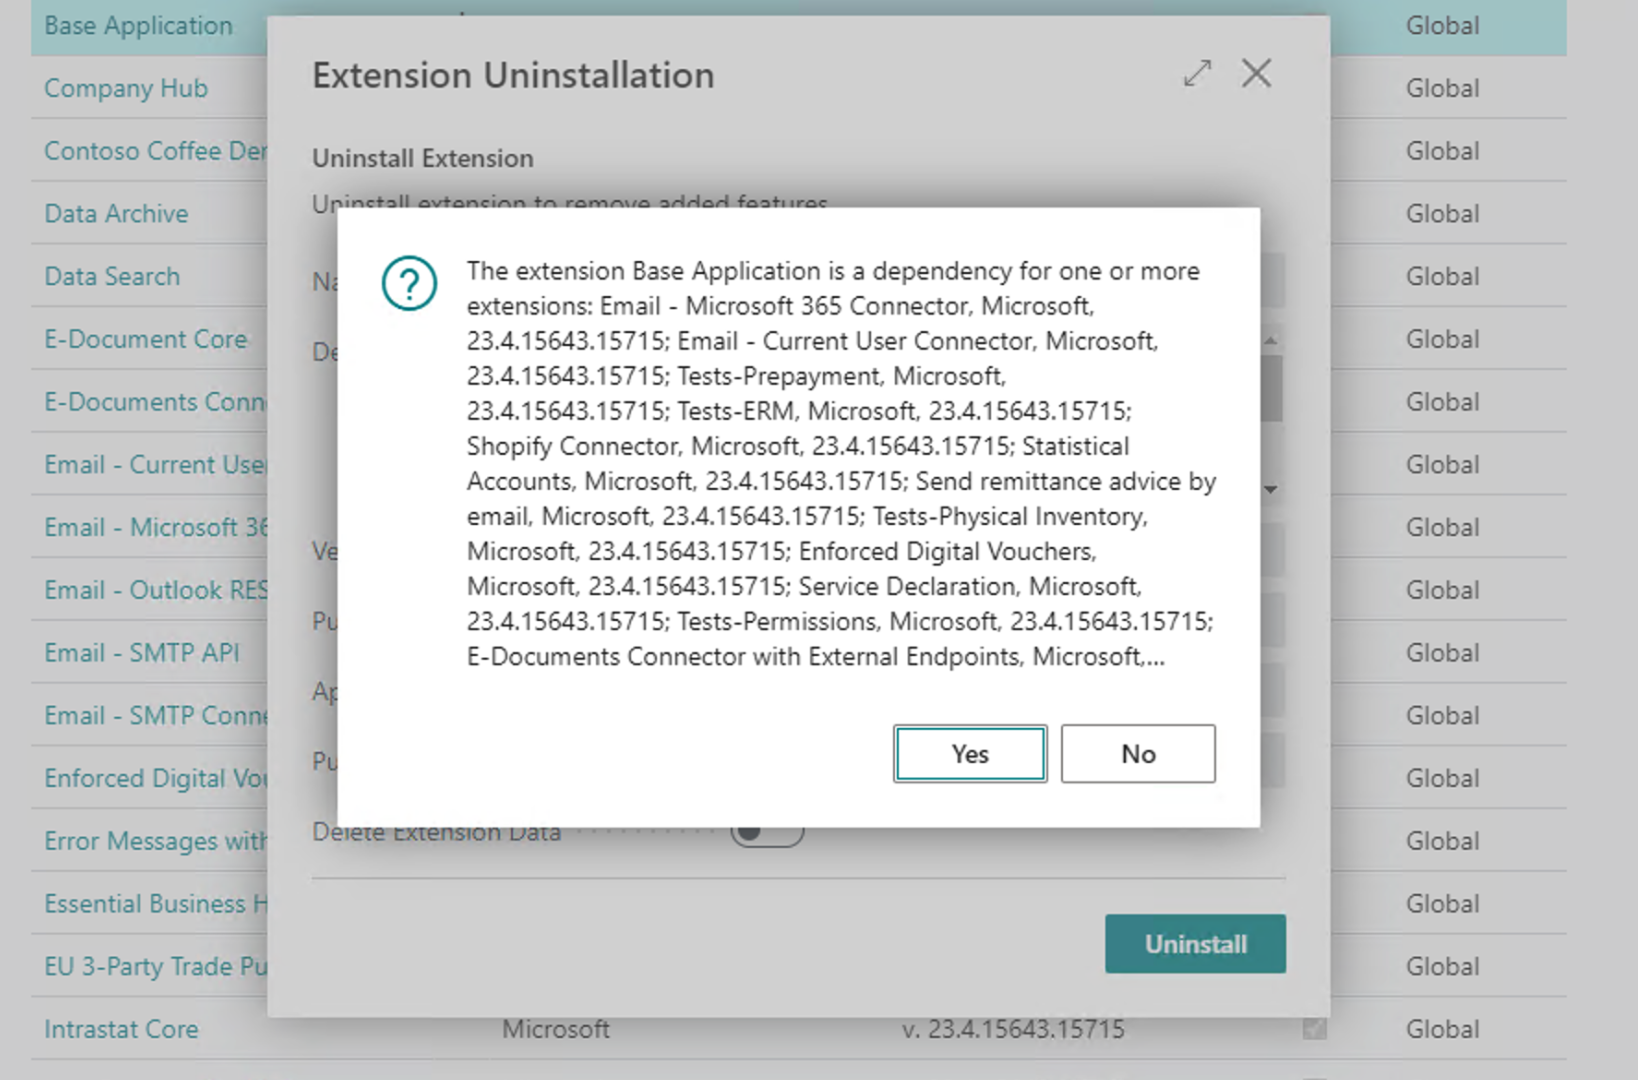
The next thing to do is download symbols from your container, open up your Business Central container, and uninstall the Base App through extension management. When you uninstall the Base App, all the dependent apps will also be uninstalled.
Package your version of the Base App and Publish it to your container using the BCContainerHelper’s Publish-NavContainerApp function.
Microsoft has made it simple to create a development environment for modifying the BaseApp. This makes it easier for more developers to contribute, eliminating the need to do anything outside the standard development lifecycle besides running a script. As developers, let’s focus on what we do best – develop.
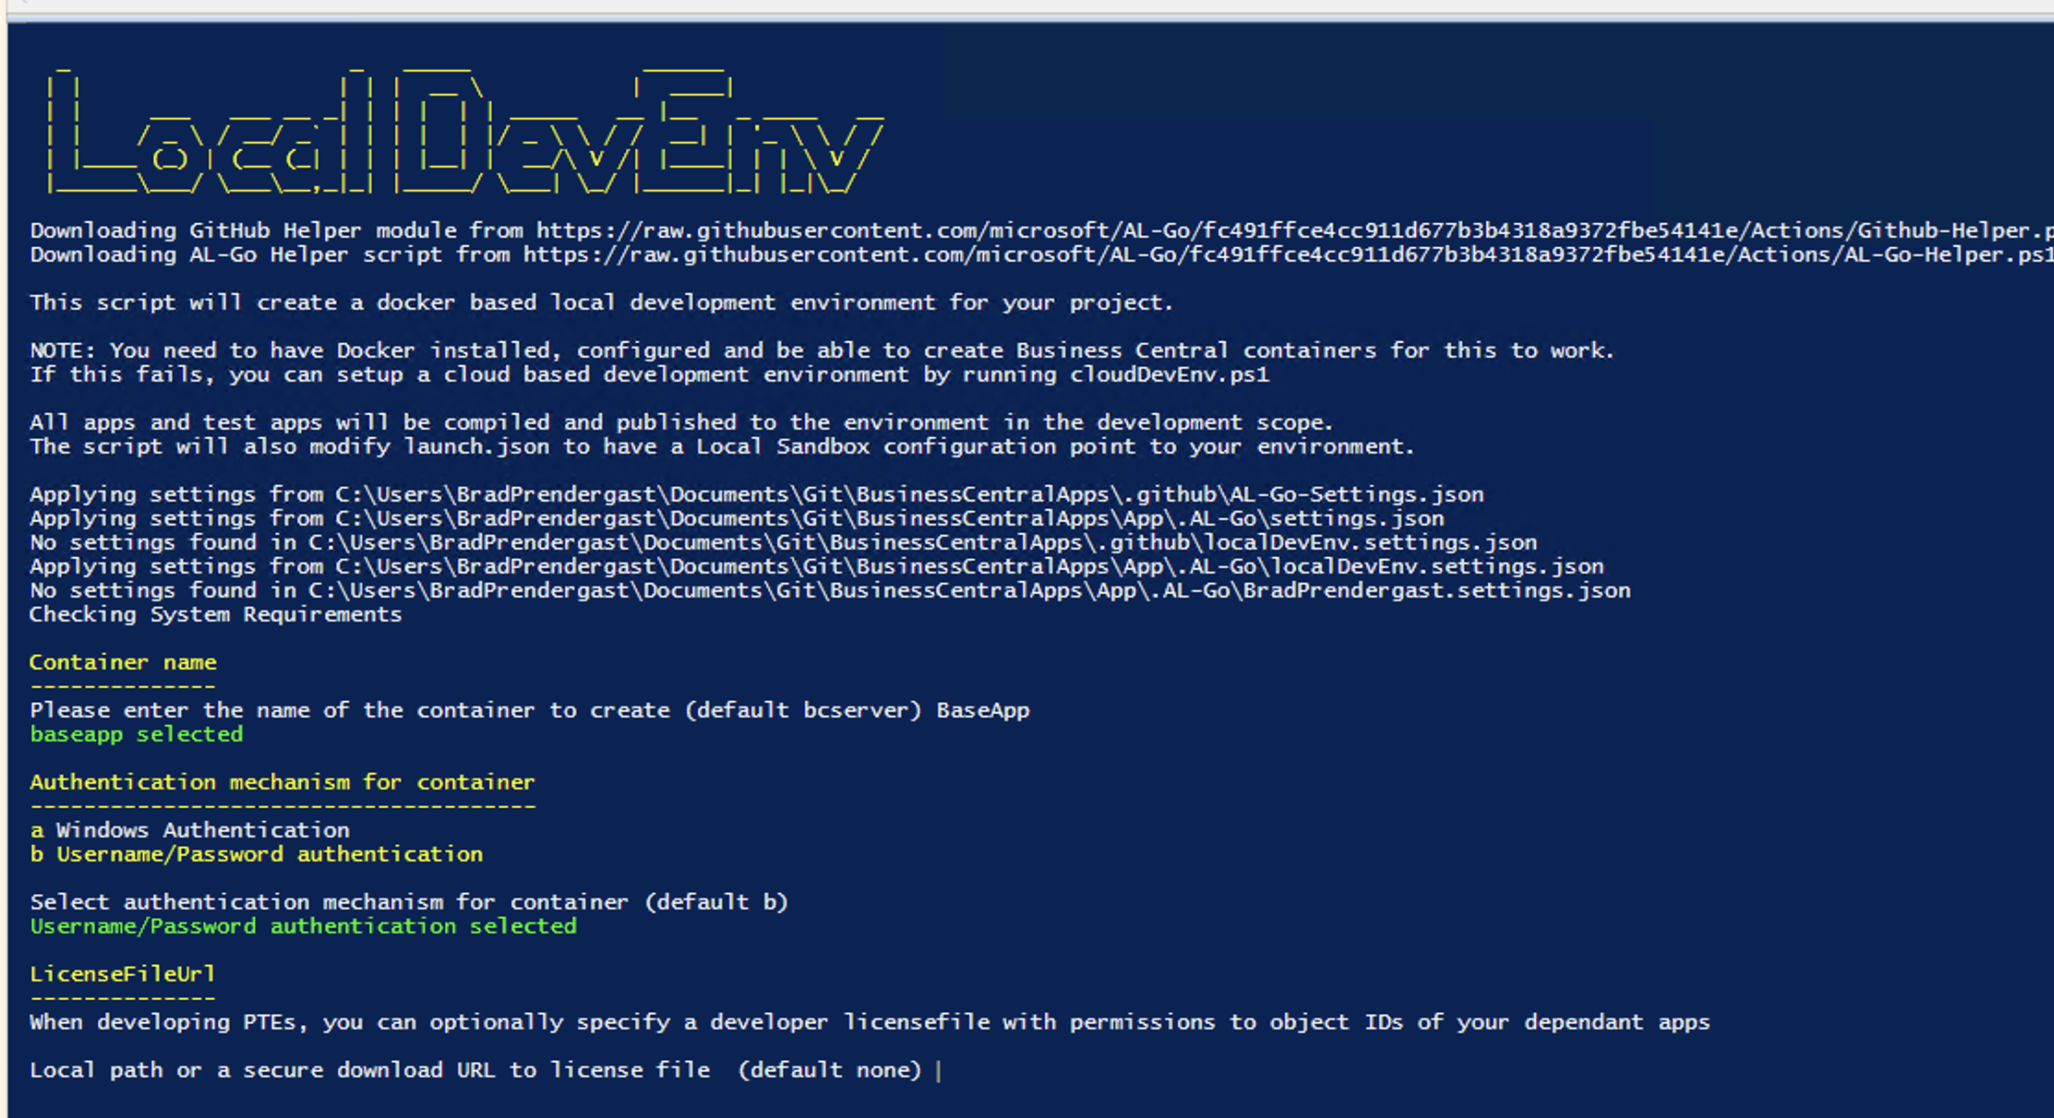
Browse to the \BusinessCentralApps\App\.AL-Go folder and run the localDevEnv.ps1 PowerShell Script. The script will prompt you for the Container Name, authentication mode, and license file. The license file is used for specific scenarios, not general contributions, and does not need to be loaded. Accept the license agreement, and you’re off.
Note: You may need to install the GitHub CLI on your environment and authenticate with your GitHub login. The commands are listen below. You’ll need to follow the prompts.
winget install --id GitHub.cli
gh auth login
After you built the environment (container), if you do not have system settings for the al.assemblyProbingPaths, open the BaseAndTests.code-workspace and add it or the local project settings file and add the path to your container packages. Listed is an example of what I use for the probing path settings:
After cloning your repository and building your environment, you can develop and publish from VS Code to your container with the BaseAndTests.code-workspace.
The Changes
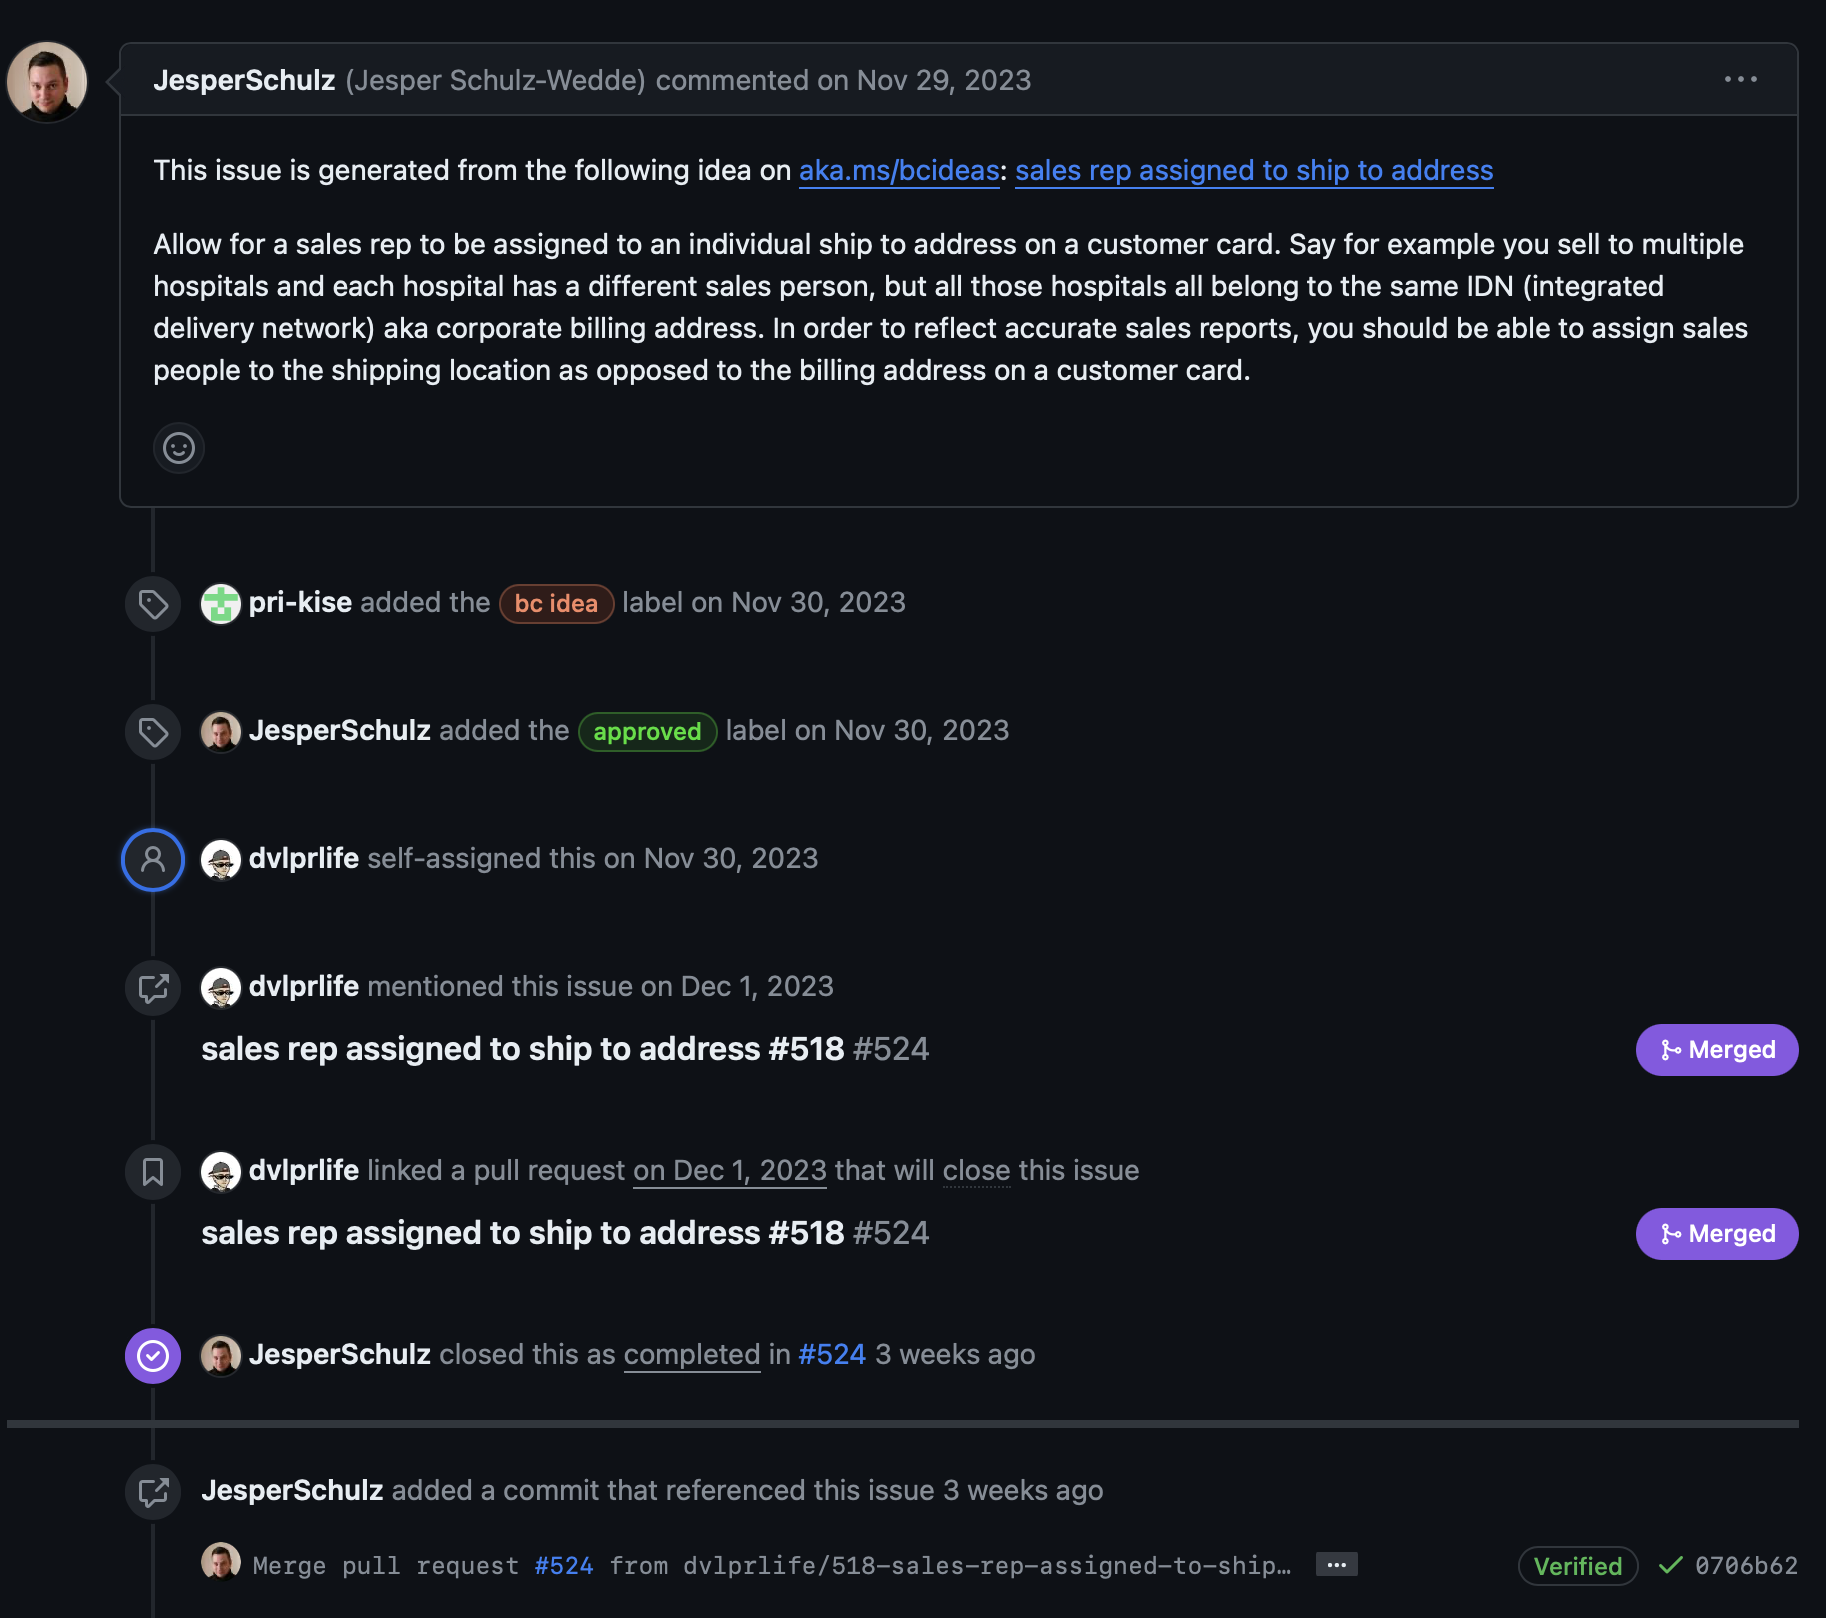
I had an issue assigned and a usable environment set up. All that was left was to develop the changes to solve the requirement listed in the issue. I worked through the changes and committed them to my working branch. With my committed modifications and satisfaction with the changes, I nervously created a Pull Request and patiently waited for something to happen, and it did….
I started receiving valuable feedback on the Pull Request from community members. There were several changes and back and forth, which all resulted in a better contribution. After a few iterations, I woke up one morning to…
The Approval
The whole process took about six weeks and was well worth it. It was a fantastic experience that helped me drive towards better code, understand more of the process, and leave me proud to have contributed. I look forward to making many more enhancements to the base app.
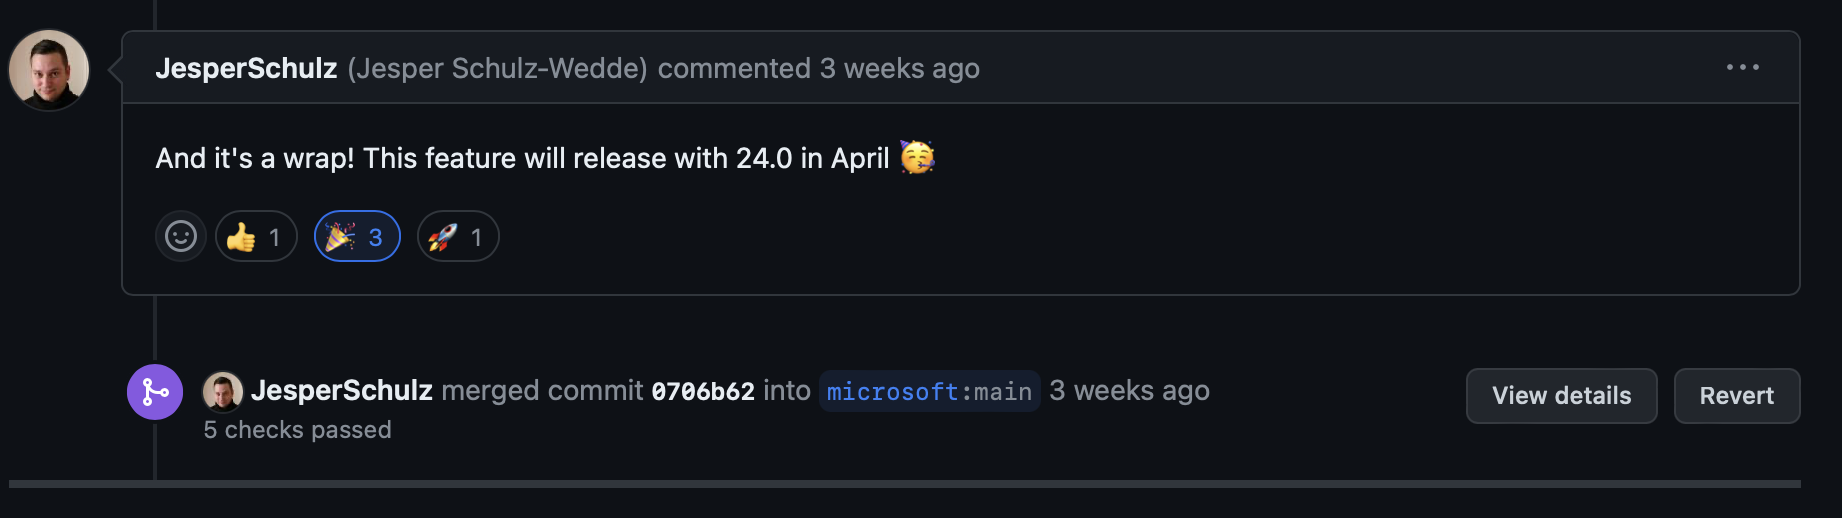
I am excited to have a contribution that will be part of the April 2024 wave release of Business Central. The pull request can be found here .
We were fortunate to follow up with Jesper, KB, and Andrei on another In the Dynamics Corner Chair episode in February 2024. Listen to both episodes, head to the BusinessCentralApps repository, and contribute!
Together, we win!
Episode 216: In the Dynamics Corner Chair: MSDYN365BC Empowering Community Contributions
Episode 302: In the Dynamics Corner Chair: Projects, Legos and Contribution Pilot, Oh-My!
The February updates for Microsoft Dynamics 365 Business Central are now available.
Before applying the updates, you should confirm that your implementation is ready for the upgrade and ensure compatibility with your modifications. Work with a Microsoft Partner to determine if you are ready and what is needed for you to apply the update.
Please note that Online customers will automatically be upgraded to version 23.4 over the coming days/weeks and should receive an email notification when upgraded.
The Microsoft Dynamics Nav links were removed from this post. They are still available on older posts.
Direct links to the cumulative updates are listed here:
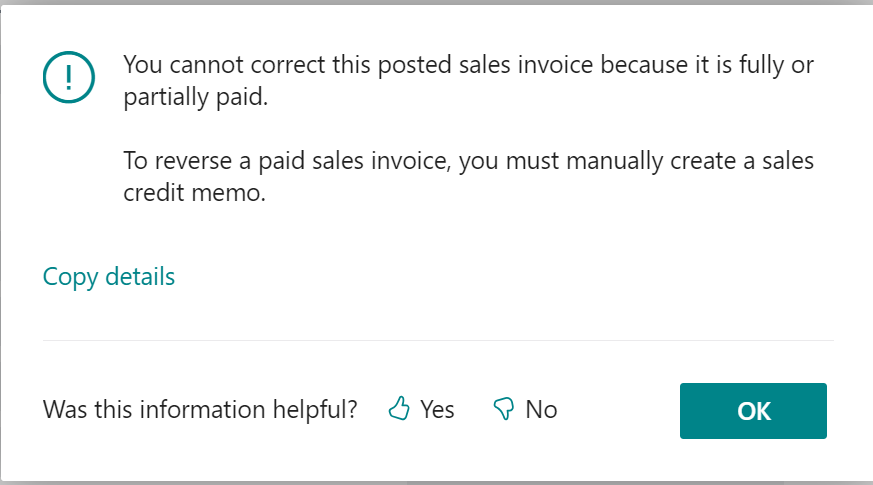
Q. I made a mistake on an invoice and need to correct a posted invoice. How can I do this?
A. You cannot directly edit a posted sales invoice. Instead, a sales credit memo must be created and applied to the posted document. Then, a new invoice with the corrections must be created. There are several ways to do this easily in Microsoft Dynamics 365 Business Central.
If the sales invoice has not been partially or fully paid, you can correct or cancel it directly from the posted sales invoice.
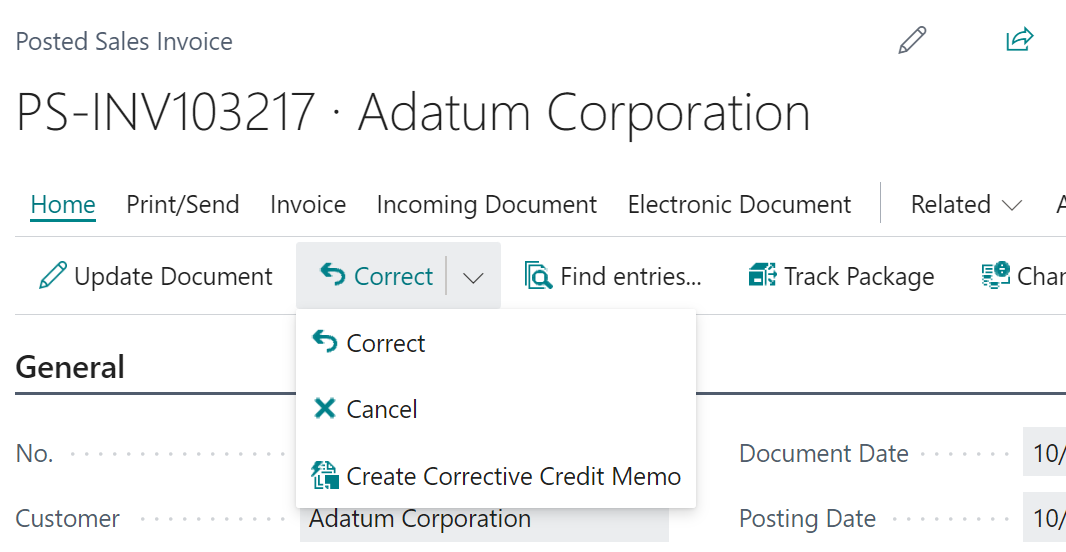
Navigate to the posted document that you would like to correct. The “Correct” action group, found on the action bar, has three options available for you to correct the invoice:
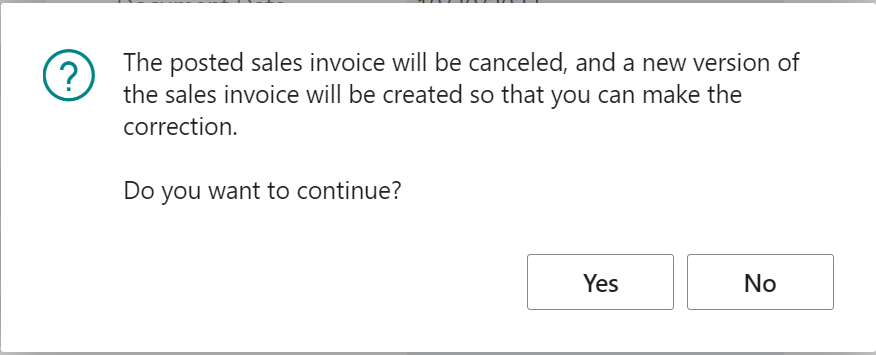
Correct – A corrective sales credit memo is automatically created and posted to void the initial posted sales invoice. The Canceled and Paid check boxes are marked on the initial posted sales invoice, and the Corrective check box is marked on the sales credit memo. If the original invoice was not created from a sales order, a new sales invoice is created that you can edit with the correct information (Note: the new sales invoice has a different document number.) If the sales invoice originated from a sales order, first “Cancel” the posted sales invoice, and then make the correction from the original order and continue the sales process.
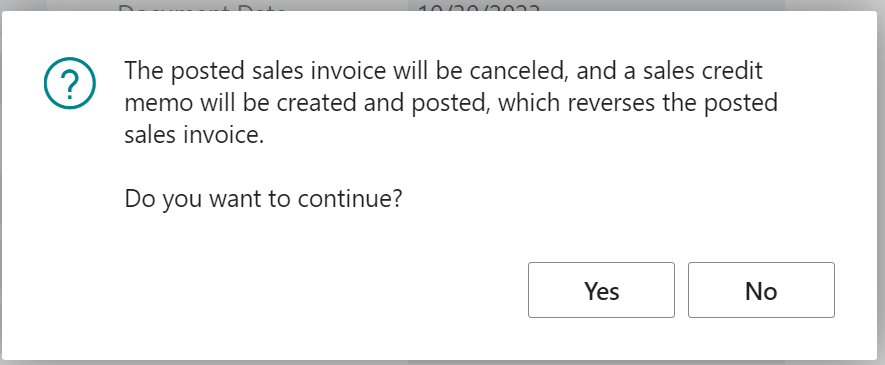
Cancel – A corrective sales credit memo is automatically created and posted to void the initial posted sales invoice. The Canceled and Paid check boxes are marked on the initial posted sales invoice. You can manually create a new sales document or use the copy document function.
Create Corrective Credit Memo – A new sales credit memo is created with the same information. The new sales credit memo may be adjusted before posting and will be applied to the original invoice when posted.
If the invoice has been partially or fully paid, or if you would like to credit the invoice partially, You can manually create a new sales credit document or use the copy document function.
Read more on Correct or Cancel Unpaid Sales Invoices here.
Read more on how to Process Sales Returns or Cancellations here.
Note: The code and information discussed in this article are for informational and demonstration purposes only. This content was created referencing Microsoft Dynamics 365 Business Central 2023 Wave 2 online.
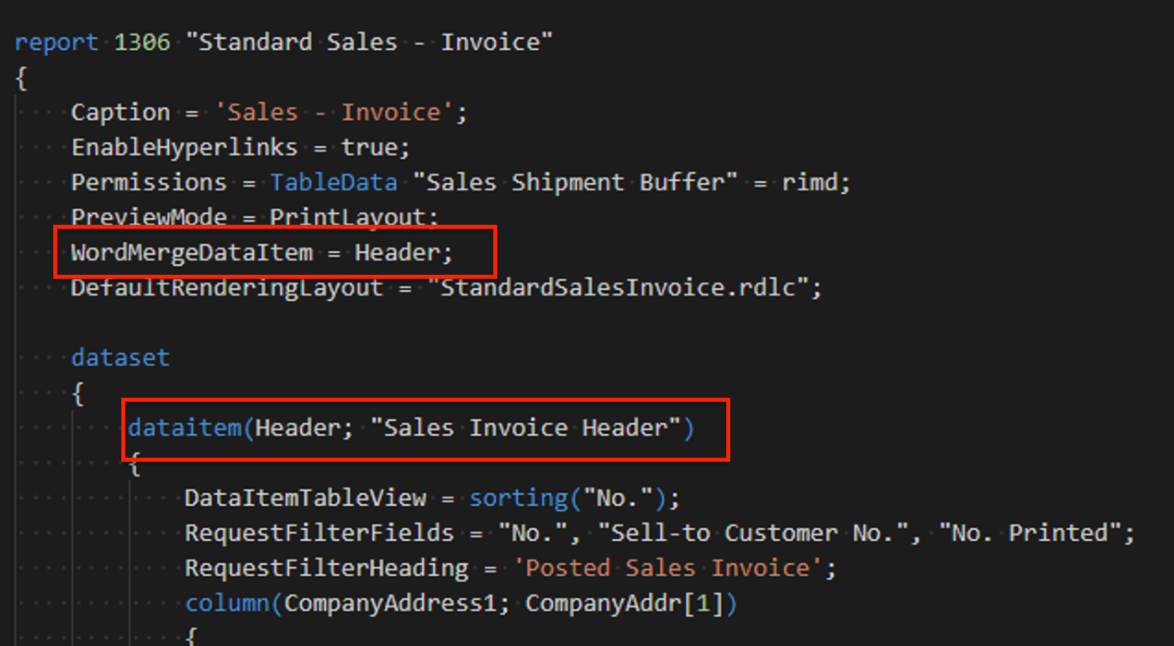
Q. I have a Word Layout Report, and I want a new page [document] to print per record, but it only prints one page [document] for the first record. How can I get a new page [document] per record?
A. When creating reports, set the WordMergeDataItem property if you want more than one root-level data item to print. A report author can use the WordMergeDataItem property of the report to specify the root-level DataItem of the report DataSet. Business Central will do a “Mail merge” between that DataItem (and the ones below it), set in the WordMergeDataItem property, and the Word layout when rendering the report. Each record generates a new page [report] in the Word Document, and the document page references are reset for each document.
Note: The WordMergeDataItem property must reference a top-level DataItem (AL0329)
Read more about the WordMergeDataItem property here.
Note: The code and information discussed in this article are for informational and demonstration purposes only. This content was created referencing Microsoft Dynamics 365 Business Central 2023 Wave 2 online.
The January updates for Microsoft Dynamics 365 Business Central are now available.
Before applying the updates, you should confirm that your implementation is ready for the upgrade and ensure compatibility with your modifications. Work with a Microsoft Partner to determine if you are ready and what is needed for you to apply the update.
Please note that Online customers will automatically be upgraded to version 23.3 over the coming days/weeks and should receive an email notification when upgraded.
Direct links to the cumulative updates are listed here:
As we enter a new year, it’s a beautiful tradition to pause and reflect on the year that has just passed. It is essential to view it as a positive point of reflection, a time to acknowledge our growth, celebrate our achievements, and learn from the challenges we may have faced. Like any other, the past year brought its unique mix of ups and downs, but how we interpret these experiences defines our journey. Each obstacle overcome was a lesson in resilience, every moment of joy a reminder of the beauty in our lives, and all the small victories a testament to our persistence and strength.
Reflecting positively on the past year also sets a hopeful tone for the new year. It reminds us to be grateful for our support systems in our friends, family, and communities and to appreciate the simple pleasures that bring light into our everyday lives. Looking back, we realize that each experience has shaped and prepared us for the exciting possibilities. Embracing the past year with gratitude and positivity is not just about reminiscing; it’s about building a foundation of optimism and resilience as we step forward into the new year, ready to embrace new challenges and opportunities with open arms.
As part of this time of reflection, let’s look back on some of the top blog posts from this site.
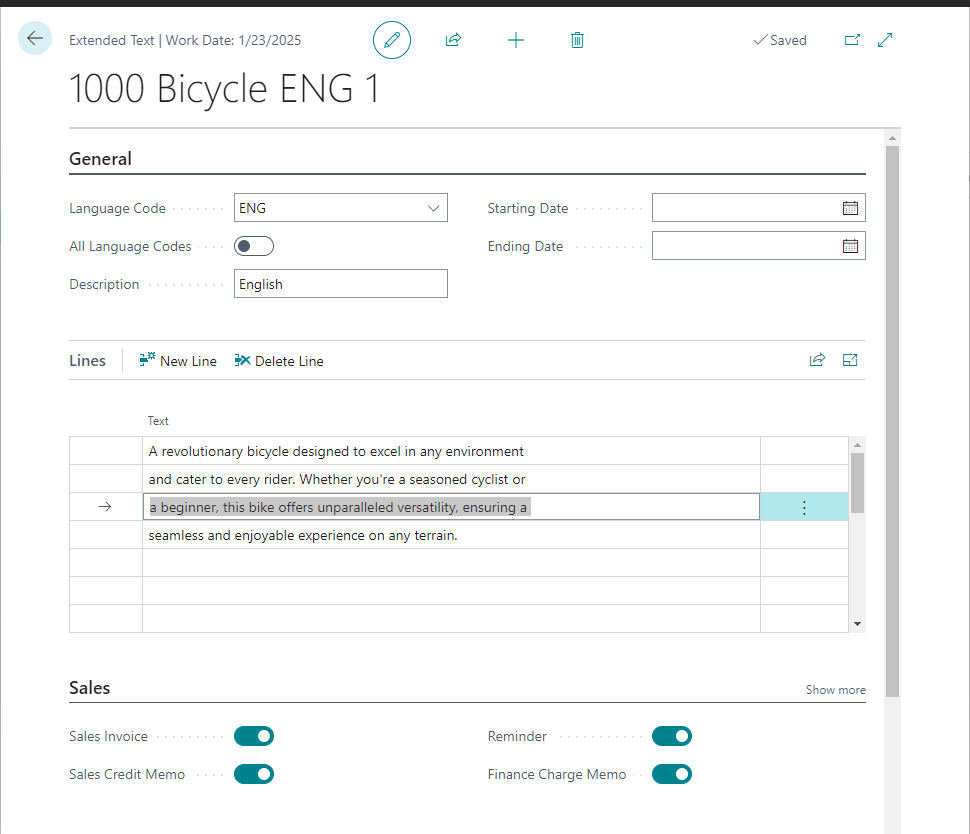
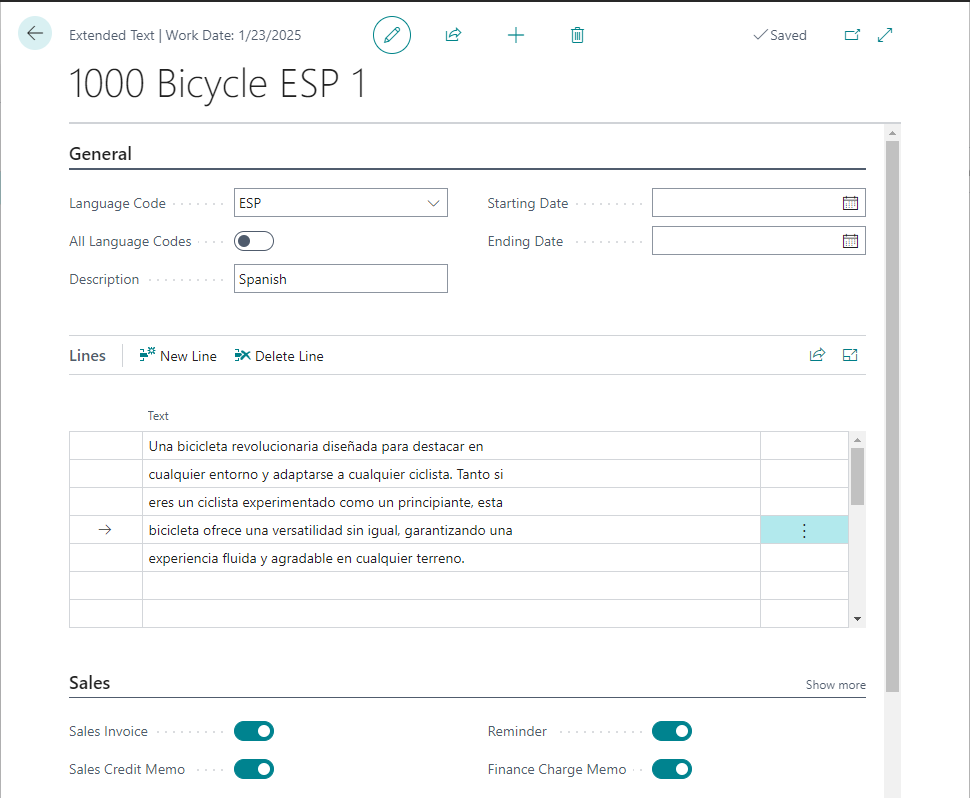
Microsoft Dynamics 365 Business Central allows you to add extended descriptions for items, stock-keeping units, standard text, general ledger accounts, VAT clauses, and resources. You can add extra lines as extended text and set up conditions for using them. This feature enables you to provide additional detailed information where a single description line may not be practical. Extended text is also a perfect addition to the Item Translation feature of Business Central.
To set Extended text for an article that supports Extended text:
Navigate to the pages for the article you want to add extended text, then select the Extended Text action.
Select the New Action from the Extended Text list page.
Enter the Language Code field or select the All Language Codes check box if you use language codes.
Enter the Starting and Ending dates to limit the date range for Extended text use, if desired.
Enter a meaningful description for the Extended text.
Select relevant check boxes for the sales and purchase document types where you want the extended text inserted.
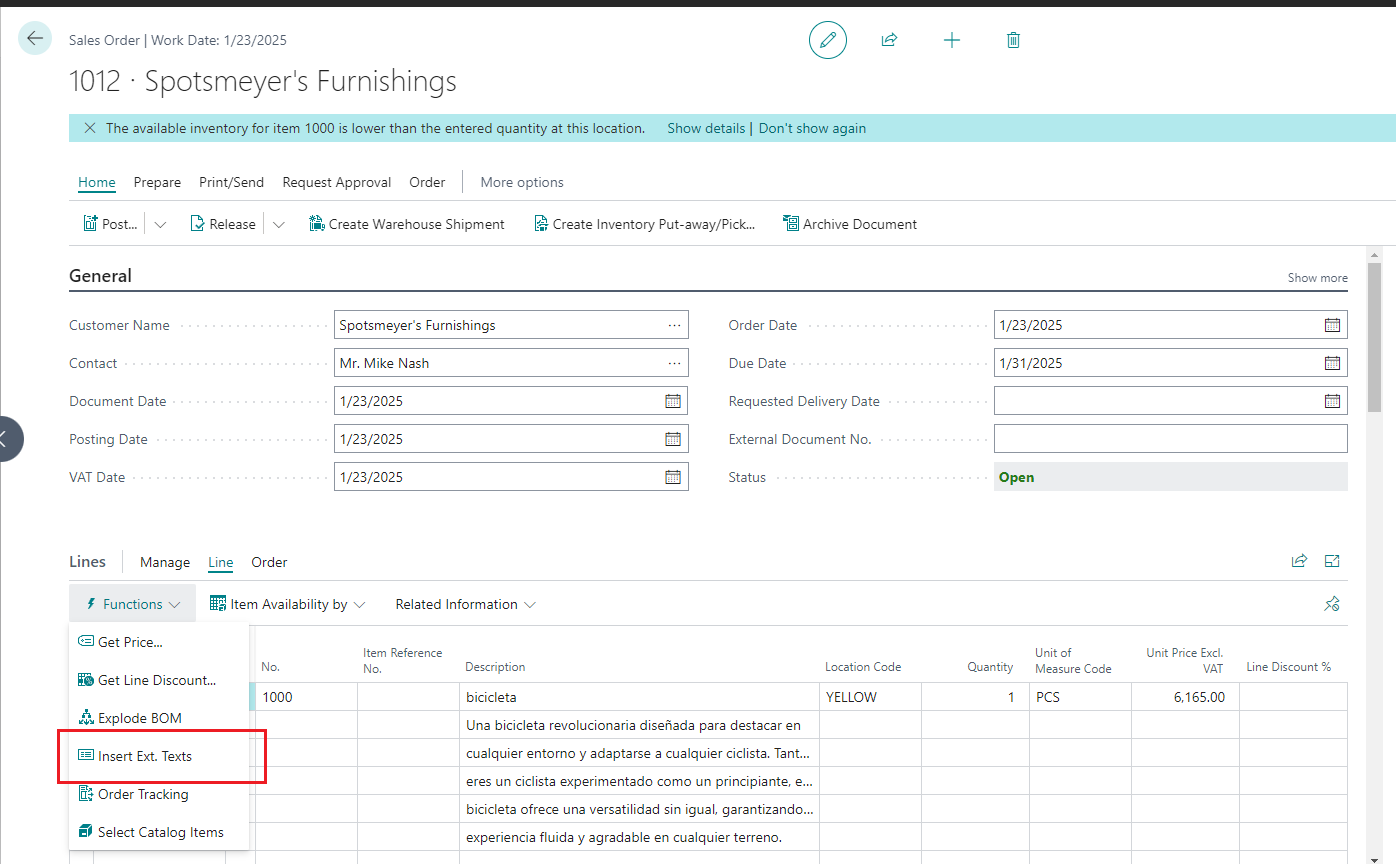
To add Extended text to a document:
Create or navigate to an existing sales or purchase document.
Enter or navigate to a line for an article with extended text defined for the document’s language.
Select the Insert Ext. Text action from the line action ribbon.
Note: The code and information discussed in this article are for informational and demonstration purposes only. This content was created referencing Microsoft Dynamics 365 Business Central 2023 Wave 2 online.

 available.