
Business Central provides a set of REST APIs for integration scenarios. Developers can also create their own APIs for their specific scenarios. Securing these APIs properly is critical for protecting your data. Business Central uses OAuth 2.0 for authentication and authorization when accessing its APIs. This industry-standard protocol ensures that external applications can securely interact with your Business Central environment without exposing user credentials. Instead of using basic authentication, OAuth 2.0 relies on access tokens that grant specific permissions and can be revoked independently.
To set up API access for Business Central, you must configure both Microsoft Entra ID (formerly Azure Active Directory) and Business Central itself to use OAuth 2.0 authentication. This two-part process ensures that only authorized applications can access your data while maintaining security recommended approaches.
Part 1: Configuring Microsoft Entra ID
The first step in enabling API access is registering an application in Microsoft Entra ID. This registration creates a security principle that represents your integration application.
➡️ Register the Application
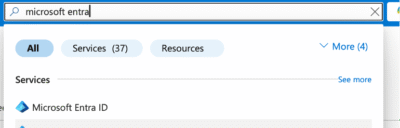
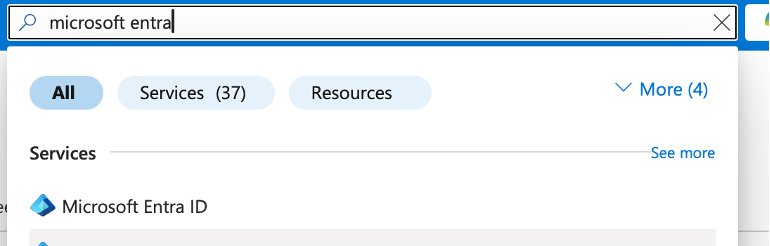
- Navigate to the Azure Portal.
- Search for or go to Microsoft Entra ID.
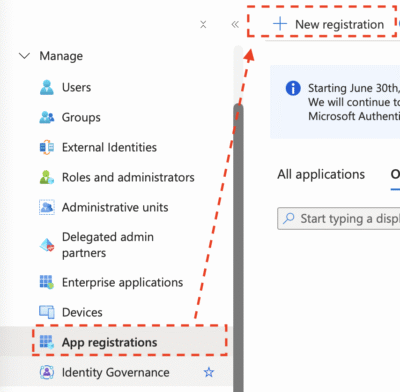
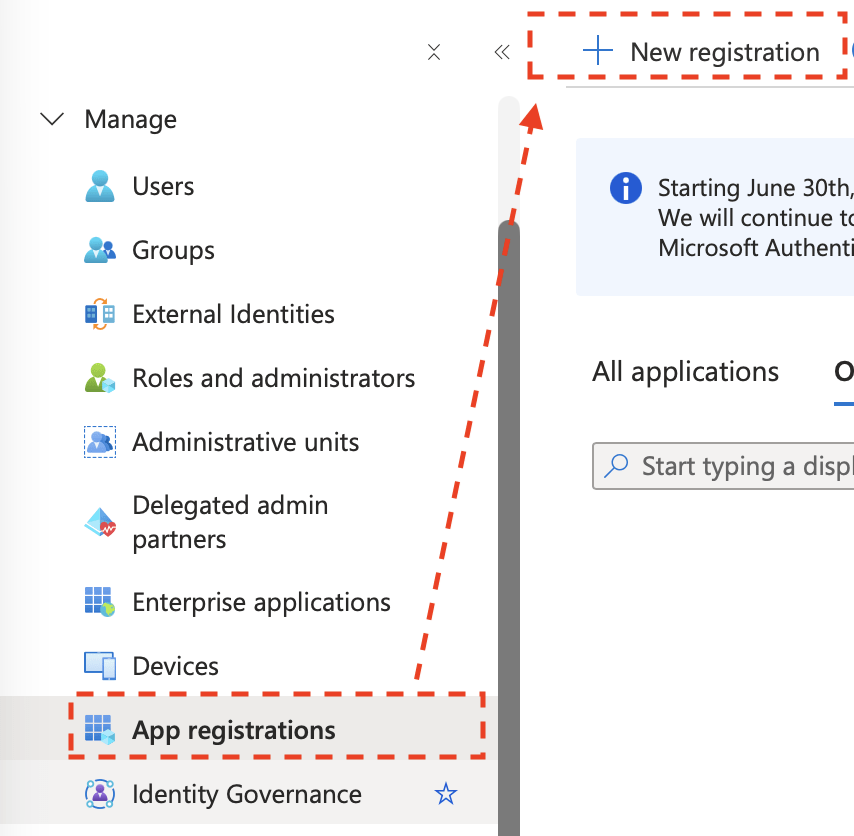
- Click on App registrations > New registration.
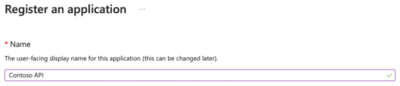
- Provide a meaningful name for your application (for example, “BC API Integration”).
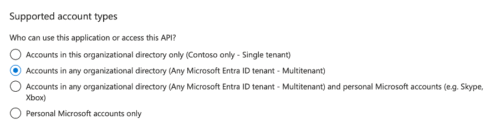
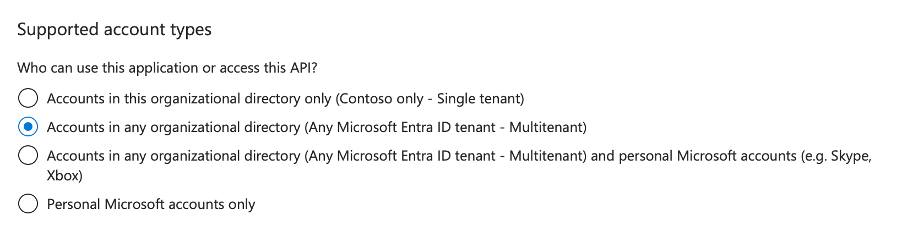
- Select the appropriate supported account types based on your scenario.
- Click the Register button to create the application.

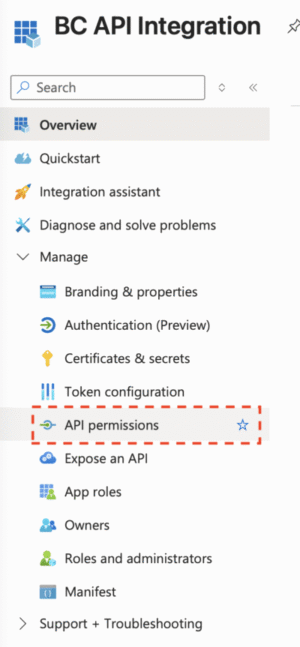
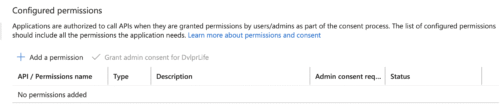
➡️ Configure API Permissions
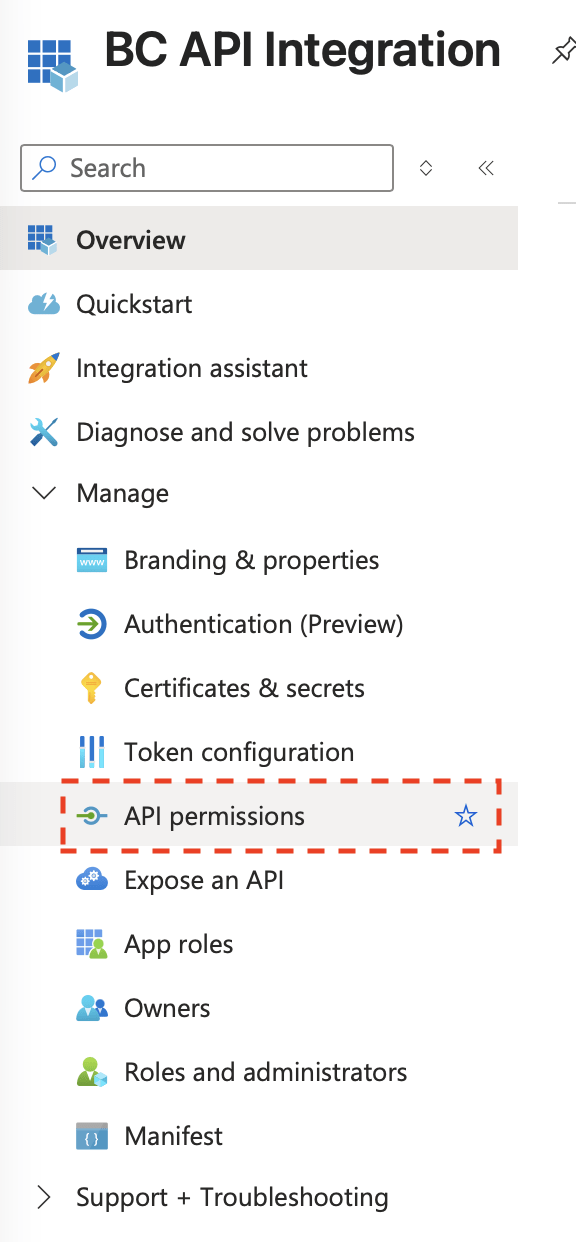
- After registering the application, while on the Registered Application page, navigate to API permissions.
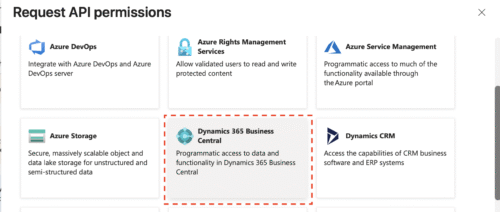
- Click Add a permission.
- Search for “Dynamics 365 Business Central” and select it. You’ll see two types of permissions:

- Delegated permissions: Your application needs to access the API as the signed-in user (for example, in the case of interactive sign-in scenarios).
- Application permissions: Used for service-to-service scenarios without a user.
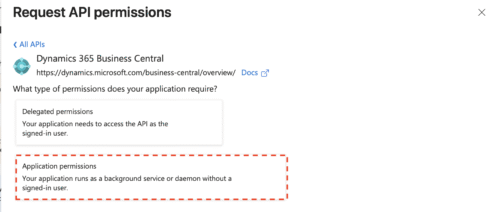
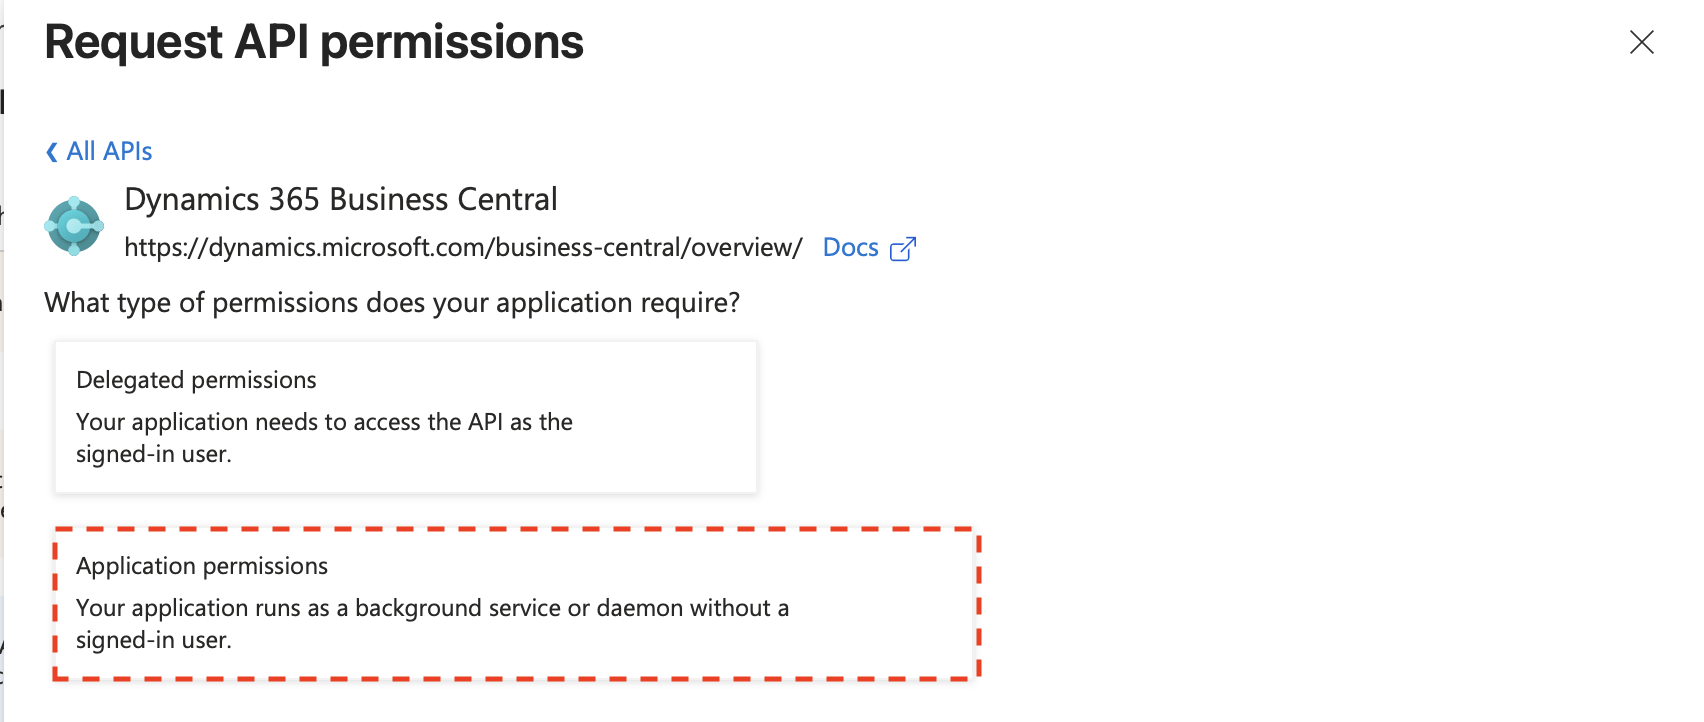
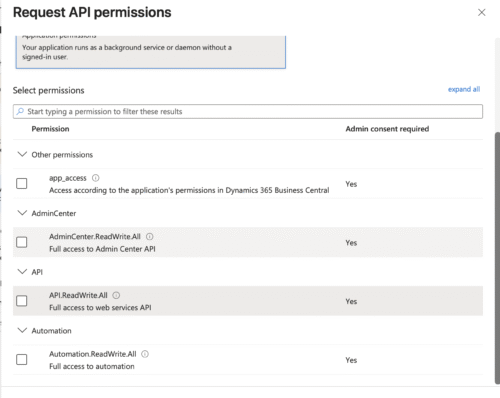
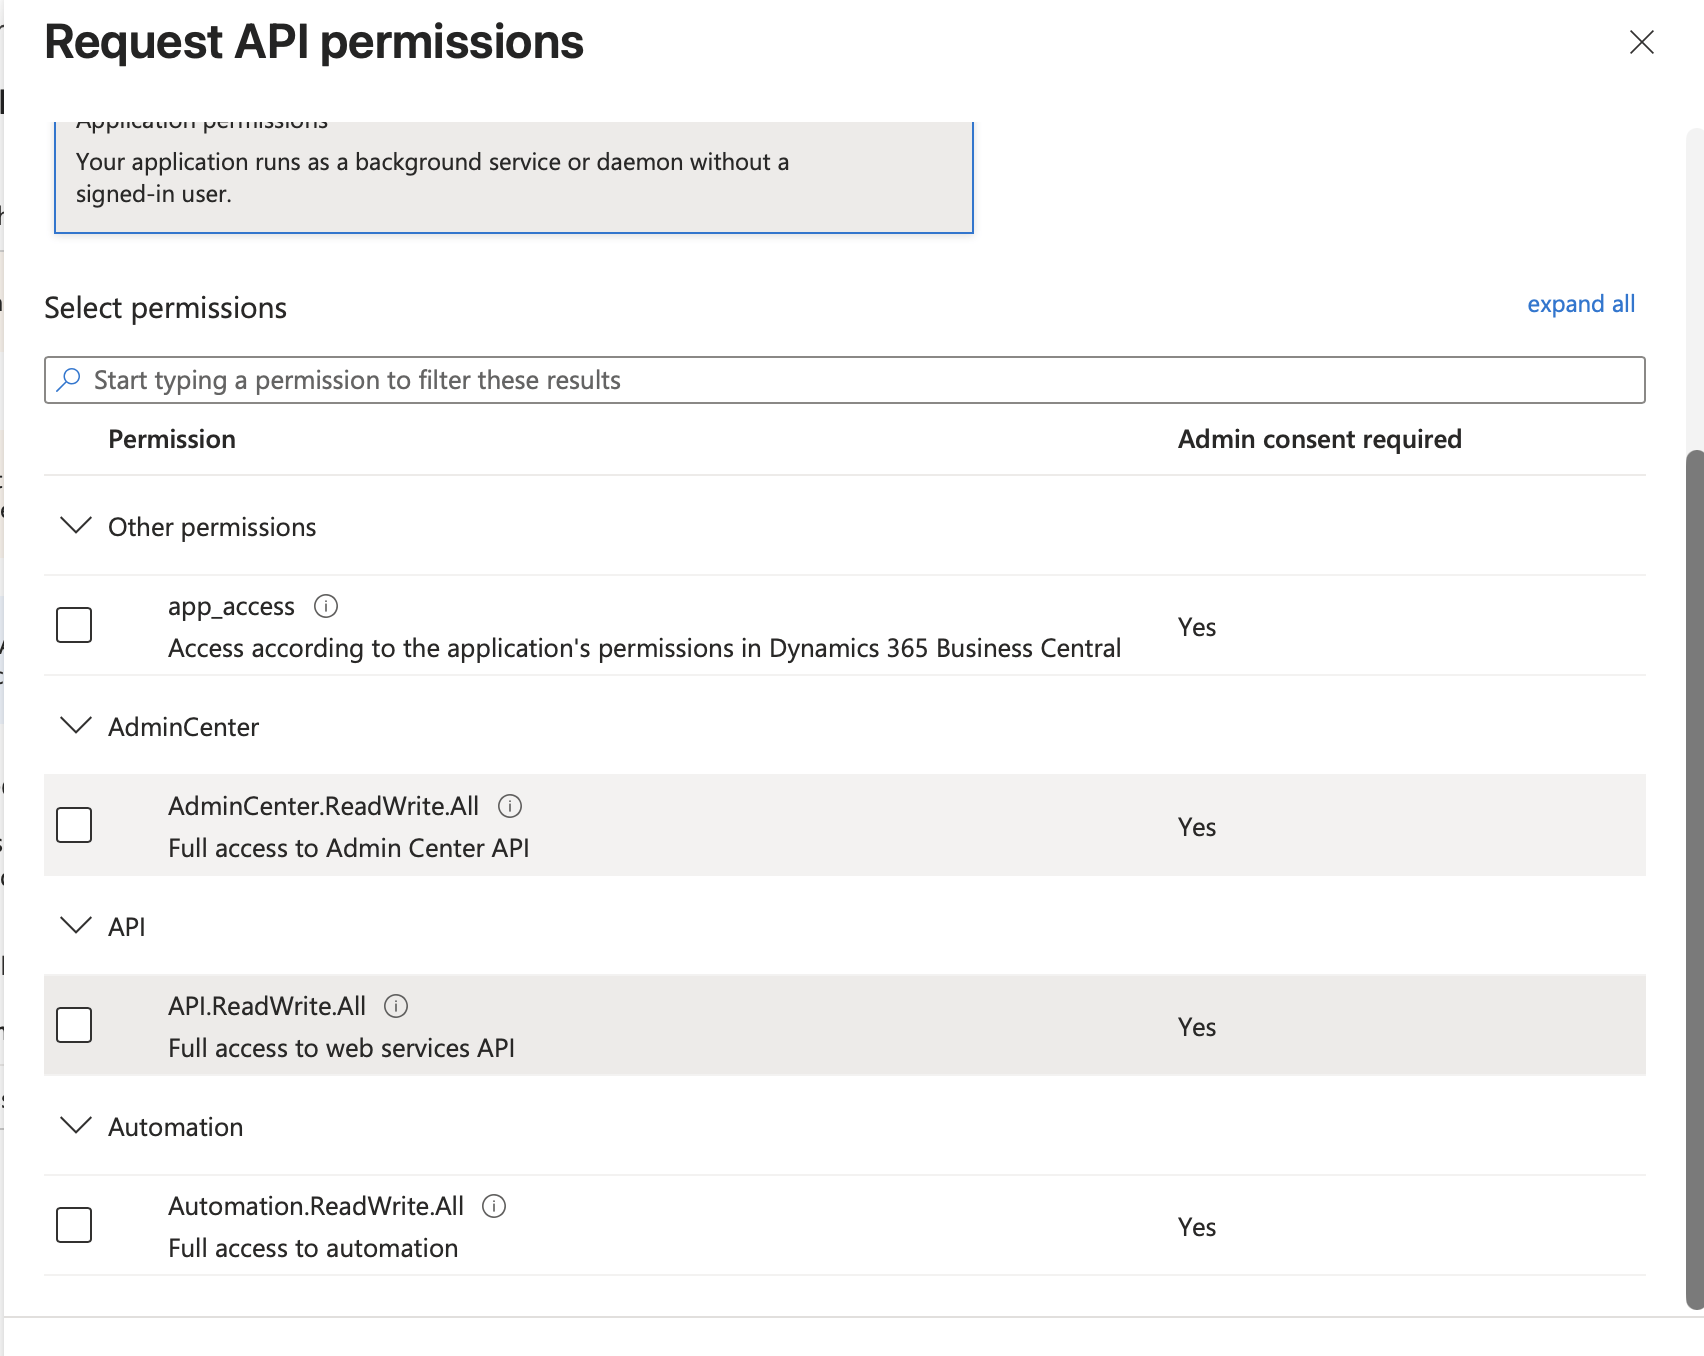
- Select application permissions and choose the appropriate permissions based on your integration needs.
For most API integration scenarios, you’ll want to add the API.ReadWrite.All application permission. This grants the application access to Business Central APIs without requiring user interaction. If you’d like to grant access to the environment APIs (more on that in another post), add the AdminCenter.ReadWrite.All permission. Note that you may want to create two separate registrations for each permission.
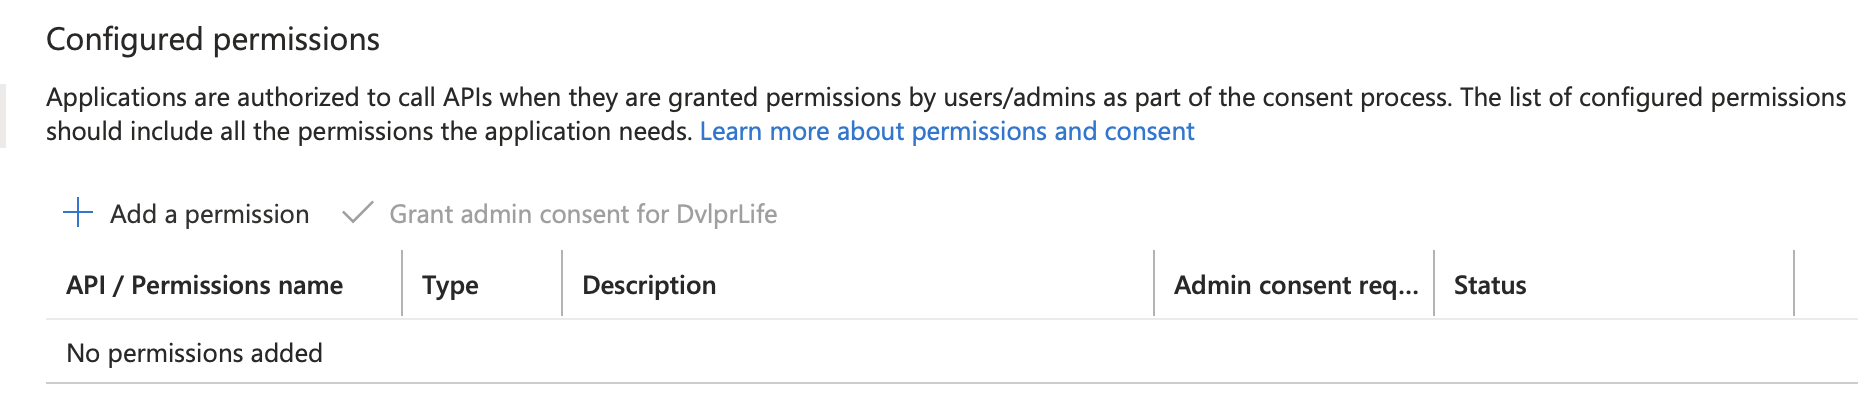
- After selecting the desired permissions, click Add permissions at the bottom.
- After adding the permission, click Grant admin consent to complete the authorization.
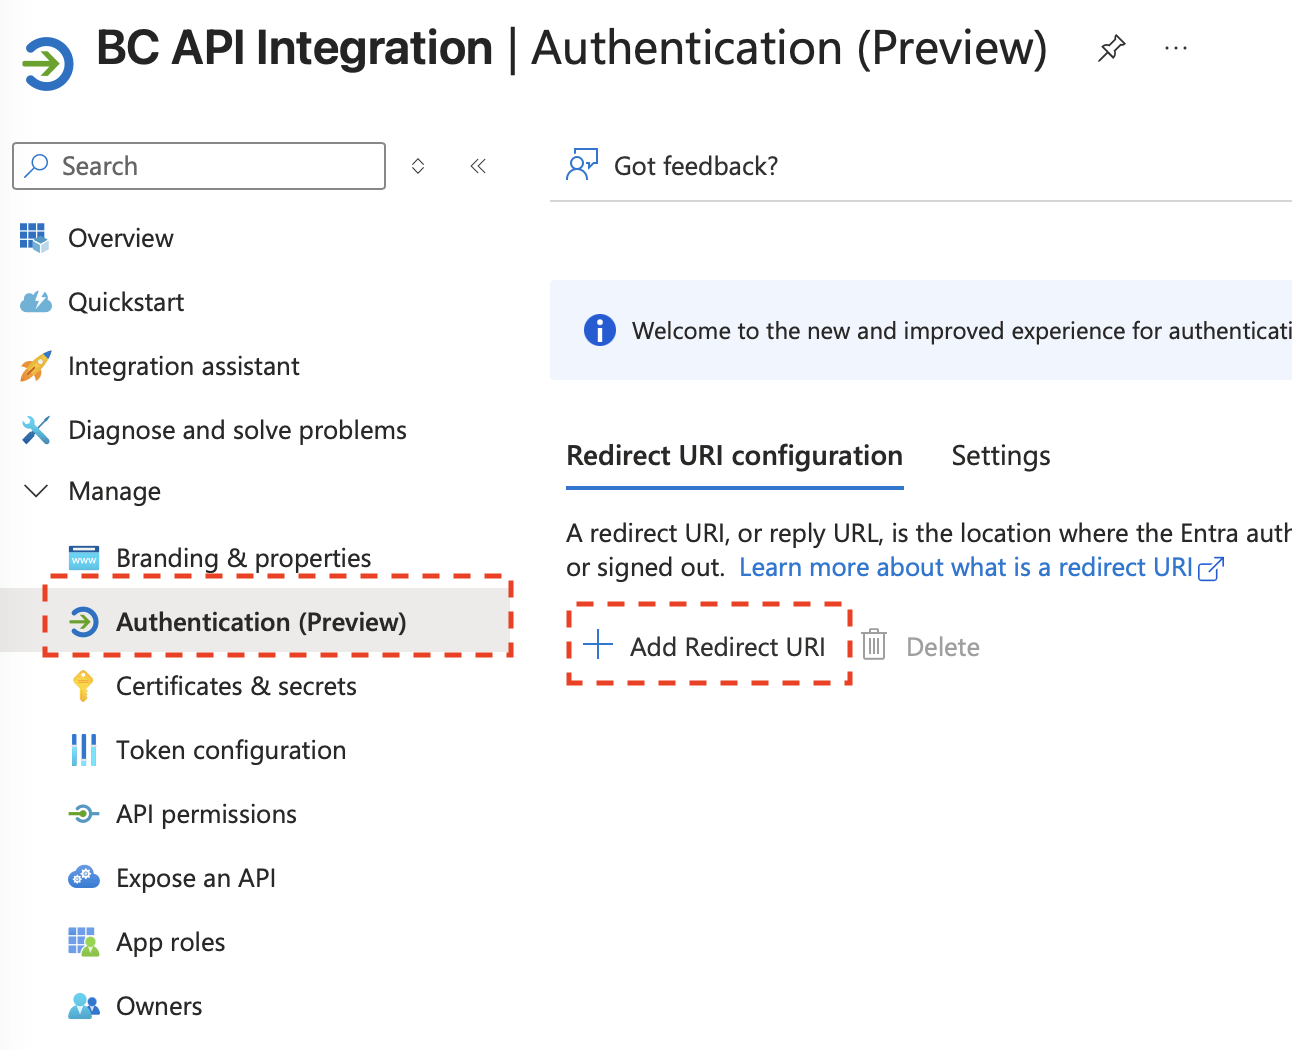
➡️ Configure Application Registration Authentication
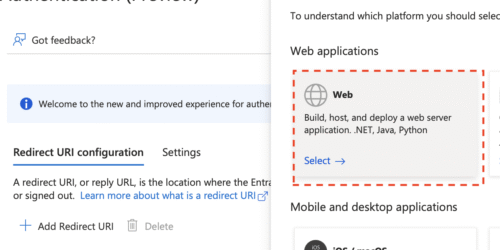
- From the App Registration page, navigate to Authentication.

- Under Add Redirect URI, click Web under Web applications.
- Enter a Redirect URI. For Business Central API access, you can use
https://businesscentral.dynamics.com/OAuthLanding.htmor a placeholder URI if you’re not using interactive sign-in.
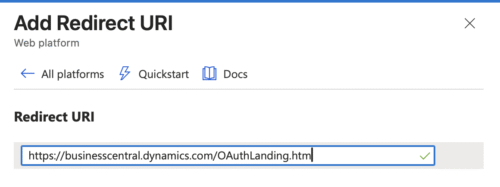
- Click Configure to apply the changes.


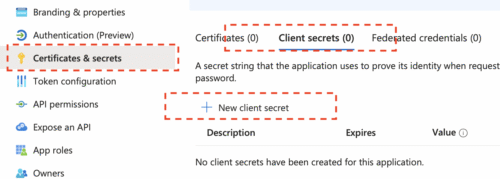
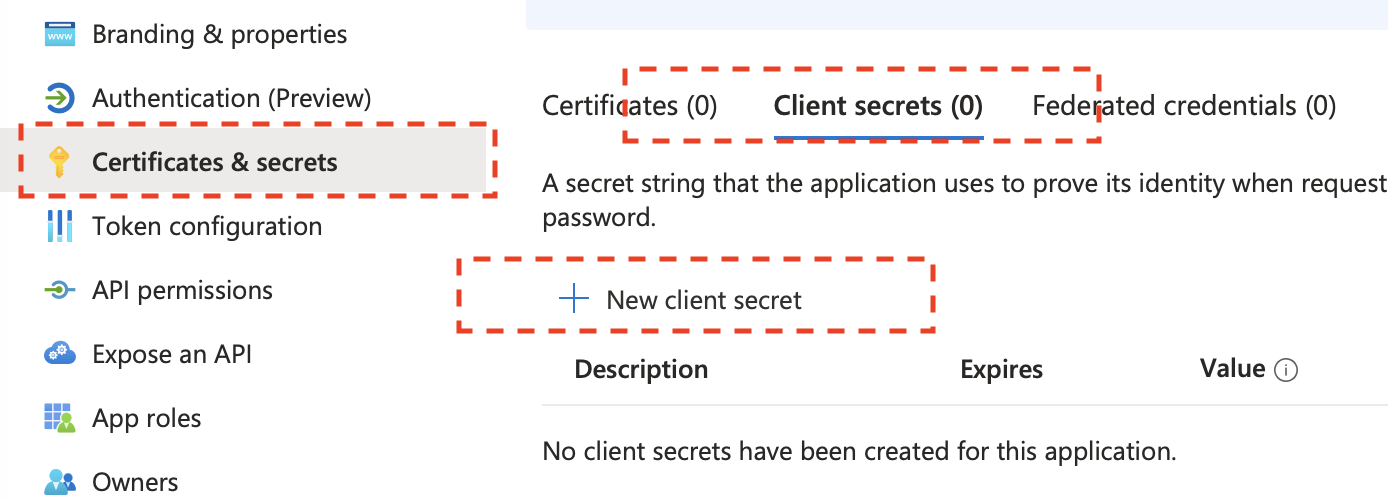
➡️ Create a Client Secret
- For service-to-service authentication, you need to create a client secret or certificate. Navigate to Certificates & secrets > New client secret.
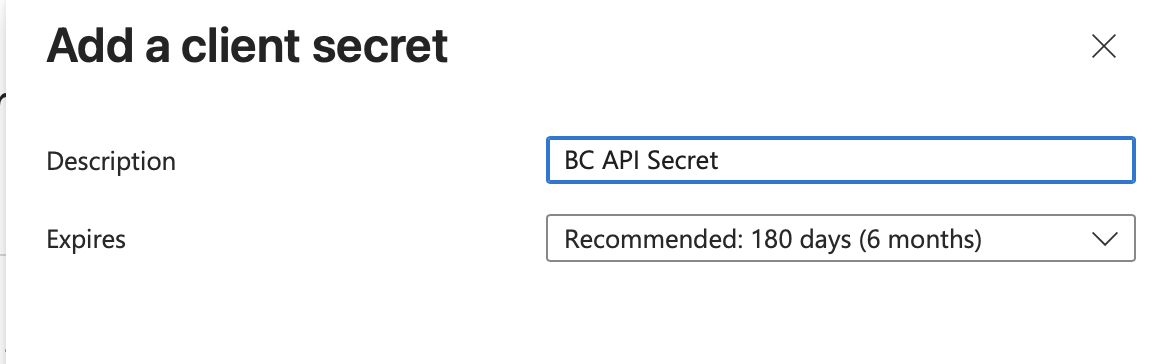
- Provide a description and select an expiration period. Plan to rotate the secret before it expires—set a calendar reminder or use Azure Key Vault to manage secret lifecycle and avoid service disruptions.

- Click Add to create the client secret.
- Important: Make sure to copy the Value immediately, as it will be hidden later and you won’t be able to retrieve it again.
 Make note of these three values from your app registration:

- Application (client) ID: Found on the app registration overview page
- Directory (tenant) ID: Also found on the overview page
- Client secret: The value you just created
Part 2: Configuring Business Central
With Microsoft Entra ID configured, you can now set up Business Central to accept API requests from your registered application.
➡️ Add application registration to Business Central
- Log into Business Central.
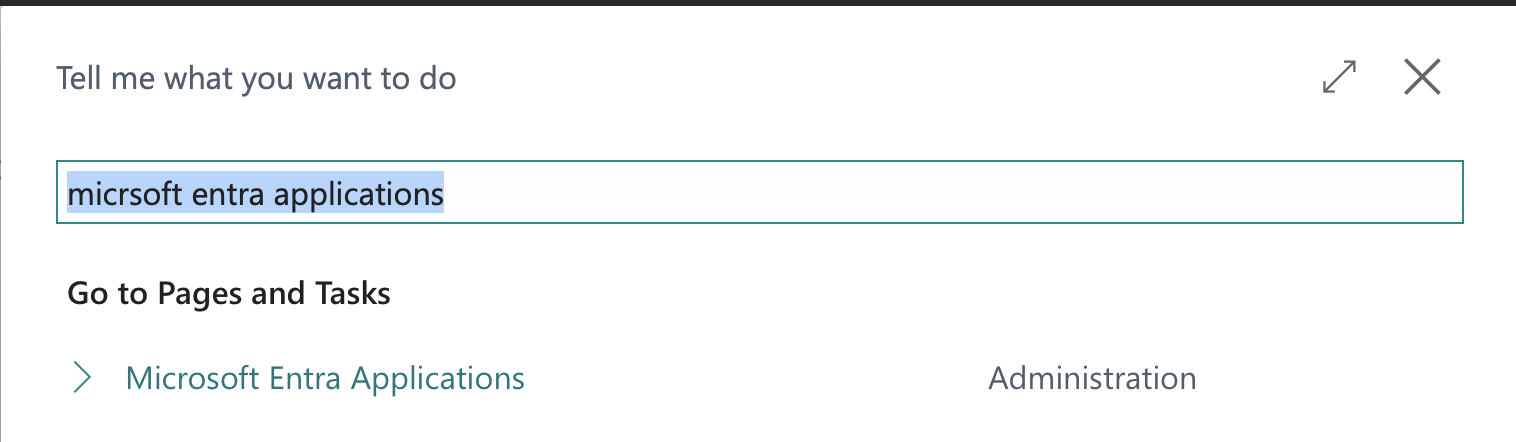
- Search for
Microsoft Entra Applicationsand open the related page.
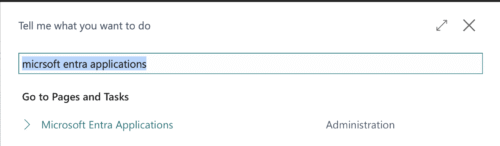
- Click New to add a new Microsoft Entra Application.
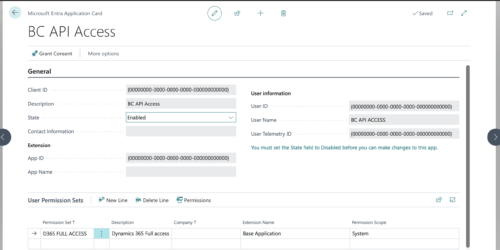
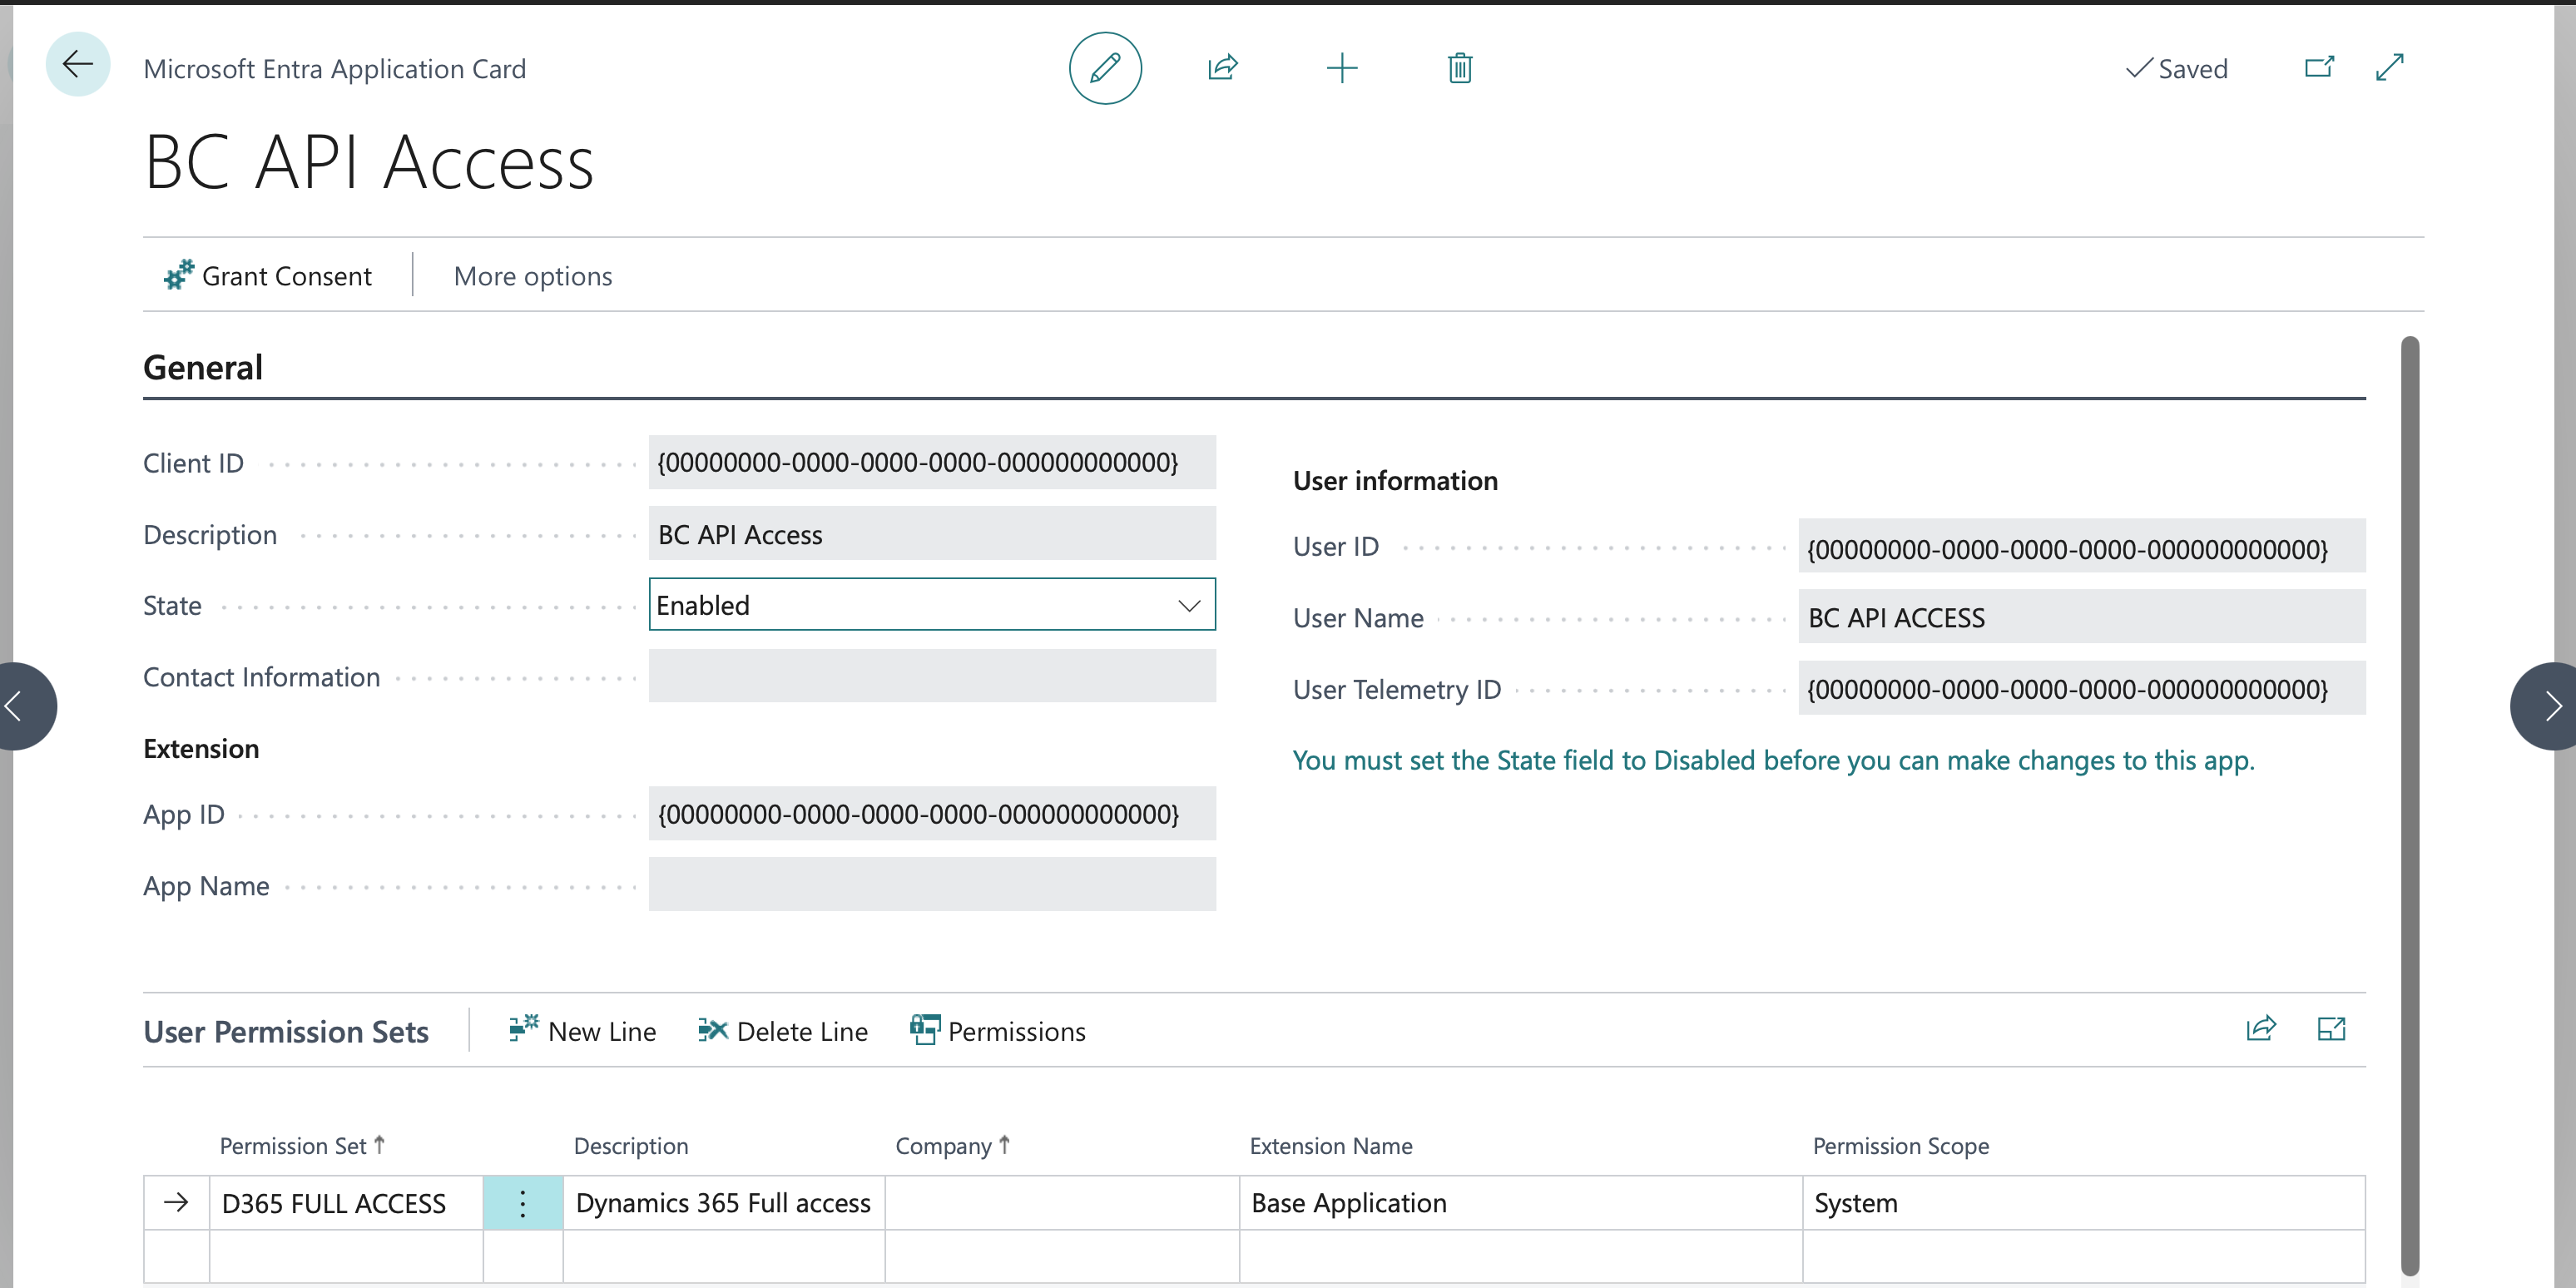
- On the new application card enter:
- Client ID: The
Application (client) IDfrom your app registration. - Description: A friendly name for your reference.
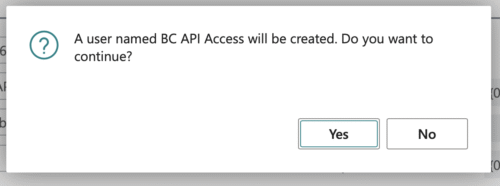
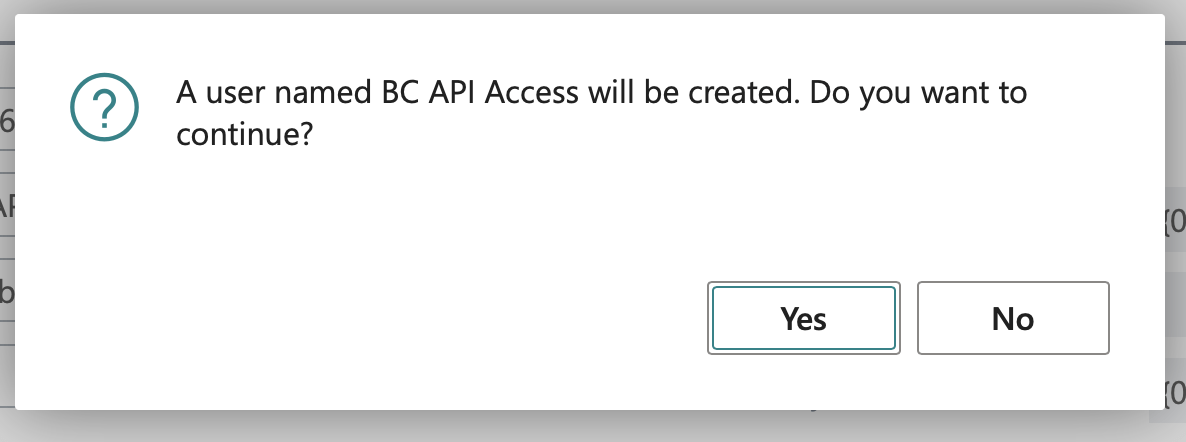
- State: Set to
EnabledNote: When you set the state to enabled, you may be prompted that a new user will be created. Confirm to proceed.
- Client ID: The
- Assign the appropriate User Permission Sets to perform the actions your integration requires to the newly created application. Important: Applications cannot be assigned the SUPER permission set. Follow the principle of least privilege and only assign the permissions required for the integration to work.
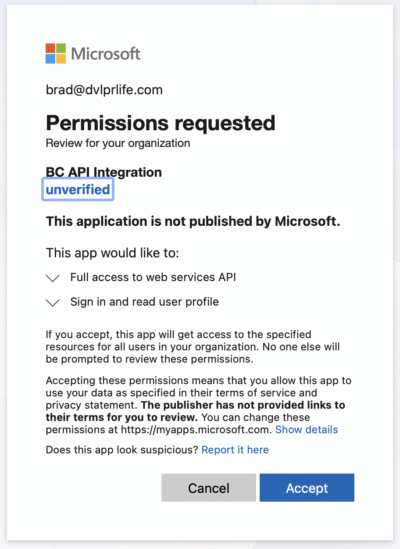
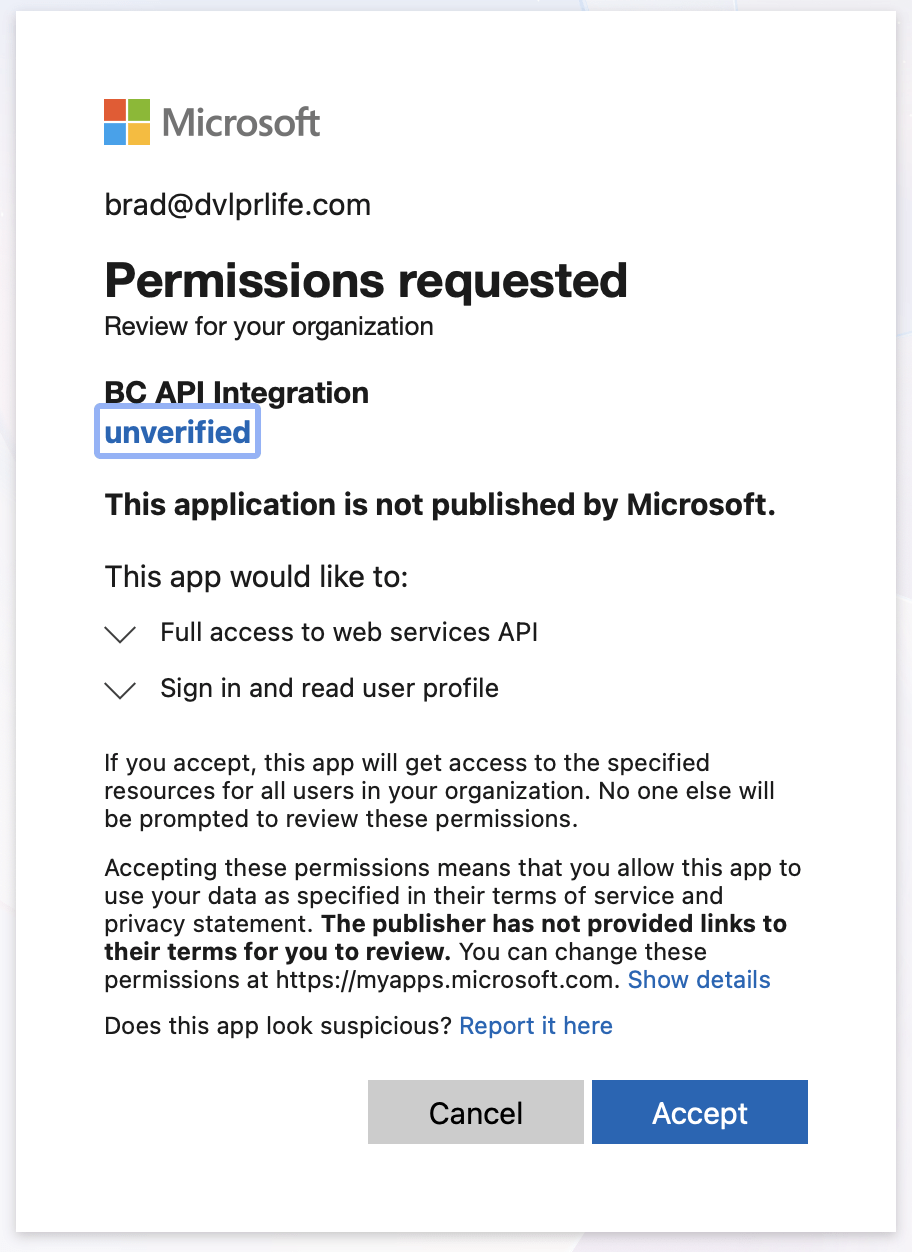
- Click Grant Consent and
Acceptto finalize the setup.
➡️ Test the API Connection You can test your configuration by making an OAuth 2.0 token request. Here’s an example using PowerShell:
# Get OAuth Token
$scope = "https://api.businesscentral.dynamics.com/.default"

$clientid = "your-client-id-guid" #Application (client) ID from AppRegistration
$clientsecret = "your-client-secret-value" #Your client secret from AppRegistration
$environment = "Production" #Your Business Central environment Name
$tenantID = "your-tenant-id-guid" #Directory (tenant) ID from AppRegistration
$AuthHeader = @{
    'Content-Type' = 'application/x-www-form-urlencoded'
}

$Body = @{
    grant_type='client_credentials'
    client_id=$clientid
    client_secret=$clientsecret
    scope=$scope
}

$Request = Invoke-RestMethod -Method POST -uri "https://login.microsoftonline.com/$($tenantID)/oauth2/v2.0/token" -Headers $AuthHeader -Body $Body
# Build

$Header = @{
    Authorization = "$($Request.token_type) $($Request.access_token)"
}

$Req = $null
$get = $null

# Get a list of APIs
$URL = "https://api.businesscentral.dynamics.com/v2.0/$($tenantid)/$($environment)/api/v2.0/"

$Req = (Invoke-RestMethod -Method Get -Uri $URL -Headers $Header).Value
$URL
$Req

$URL = "https://api.businesscentral.dynamics.com/v2.0/51020b36-8a5a-4dc3-b7d6-59674b8cbc30/RoyaltyCentral/api/littleBridge/dimensions/v2.0/"
$Req = (Invoke-RestMethod -Method Get -Uri $URL -Headers $Header).Value
$URL
$Req
This script authenticates using client credentials and retrieves the list of APIs from your Business Central environment.
Wrapping Up
Enabling API access in Business Central requires coordination between Microsoft Entra ID and Business Central itself. By registering your application in Entra ID and configuring the corresponding user and permissions in Business Central, you create a secure OAuth 2.0 authentication flow. This approach provides better security than legacy authentication methods and aligns with recommended practices for integrations. Remember to regularly rotate your client secrets and follow the principle of least privilege when assigning permissions.
Note: The information in this article is for informational and demonstration purposes only. This content was written with reference to Microsoft Dynamics 365 Business Central 2025 release wave 2 Online and later. Always test in a sandbox first before deploying to production.