
In Microsoft Dynamics 365 Business Central, customer payments can be entered using the Cash Receipt Journal. At the time of entry, customer payments can be applied to one or many open entries, or if you are not ready to apply the payments, you can apply them from the posted entries later.
To enter a customer payment via the Cash Receipt Journal:
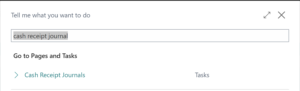
- Search for Cash Receipt Journal using the “Tell Me” search feature in Microsoft Dynamics 365 Business Central
- Select the desired Cash Receipt Journal Batch to enter the payment Note: The journal batches may be set up for specific scenarios and may have predefined values for items such as the “Balancing Account” and “No. Series”
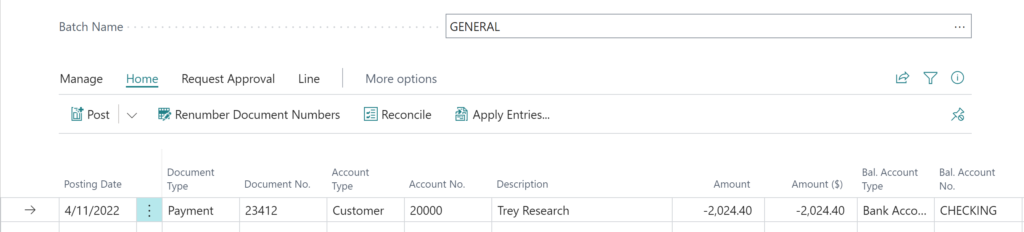
- Fill in the values for the Payment on the Cash Receipt Journal Line.
- “Posting Date” is the date that you’ll register the Payment
- Because we are entering Customer payment, the “Document Type” would be Payment
- Enter the “Document No.” for the Payment if a “No. Series” is not defined for the Cash Receipt Journal Batch. The number may represent the Customer’s “Check No.” or another reference
- “Account Type” should be Customer, and the “Account No.” is the Customer’s number defined in Business Central.
- Enter the Credit Amount of the Payment
- Specify the “Bal. Account Type” and “Bal. Account No.” such as the number of the general ledger or bank account that the balancing entry is posted to, such as a cash account. (This may be predefined in the Cash Receipt Journal Batch)
- Apply the Payment to open Customer Entries
- If the Payment application is for one entry, you can select the “Applies-to Doc. Type” and the “Applies-to Doc. No.” of the posted document that this document or journal line will be applied to when posting.
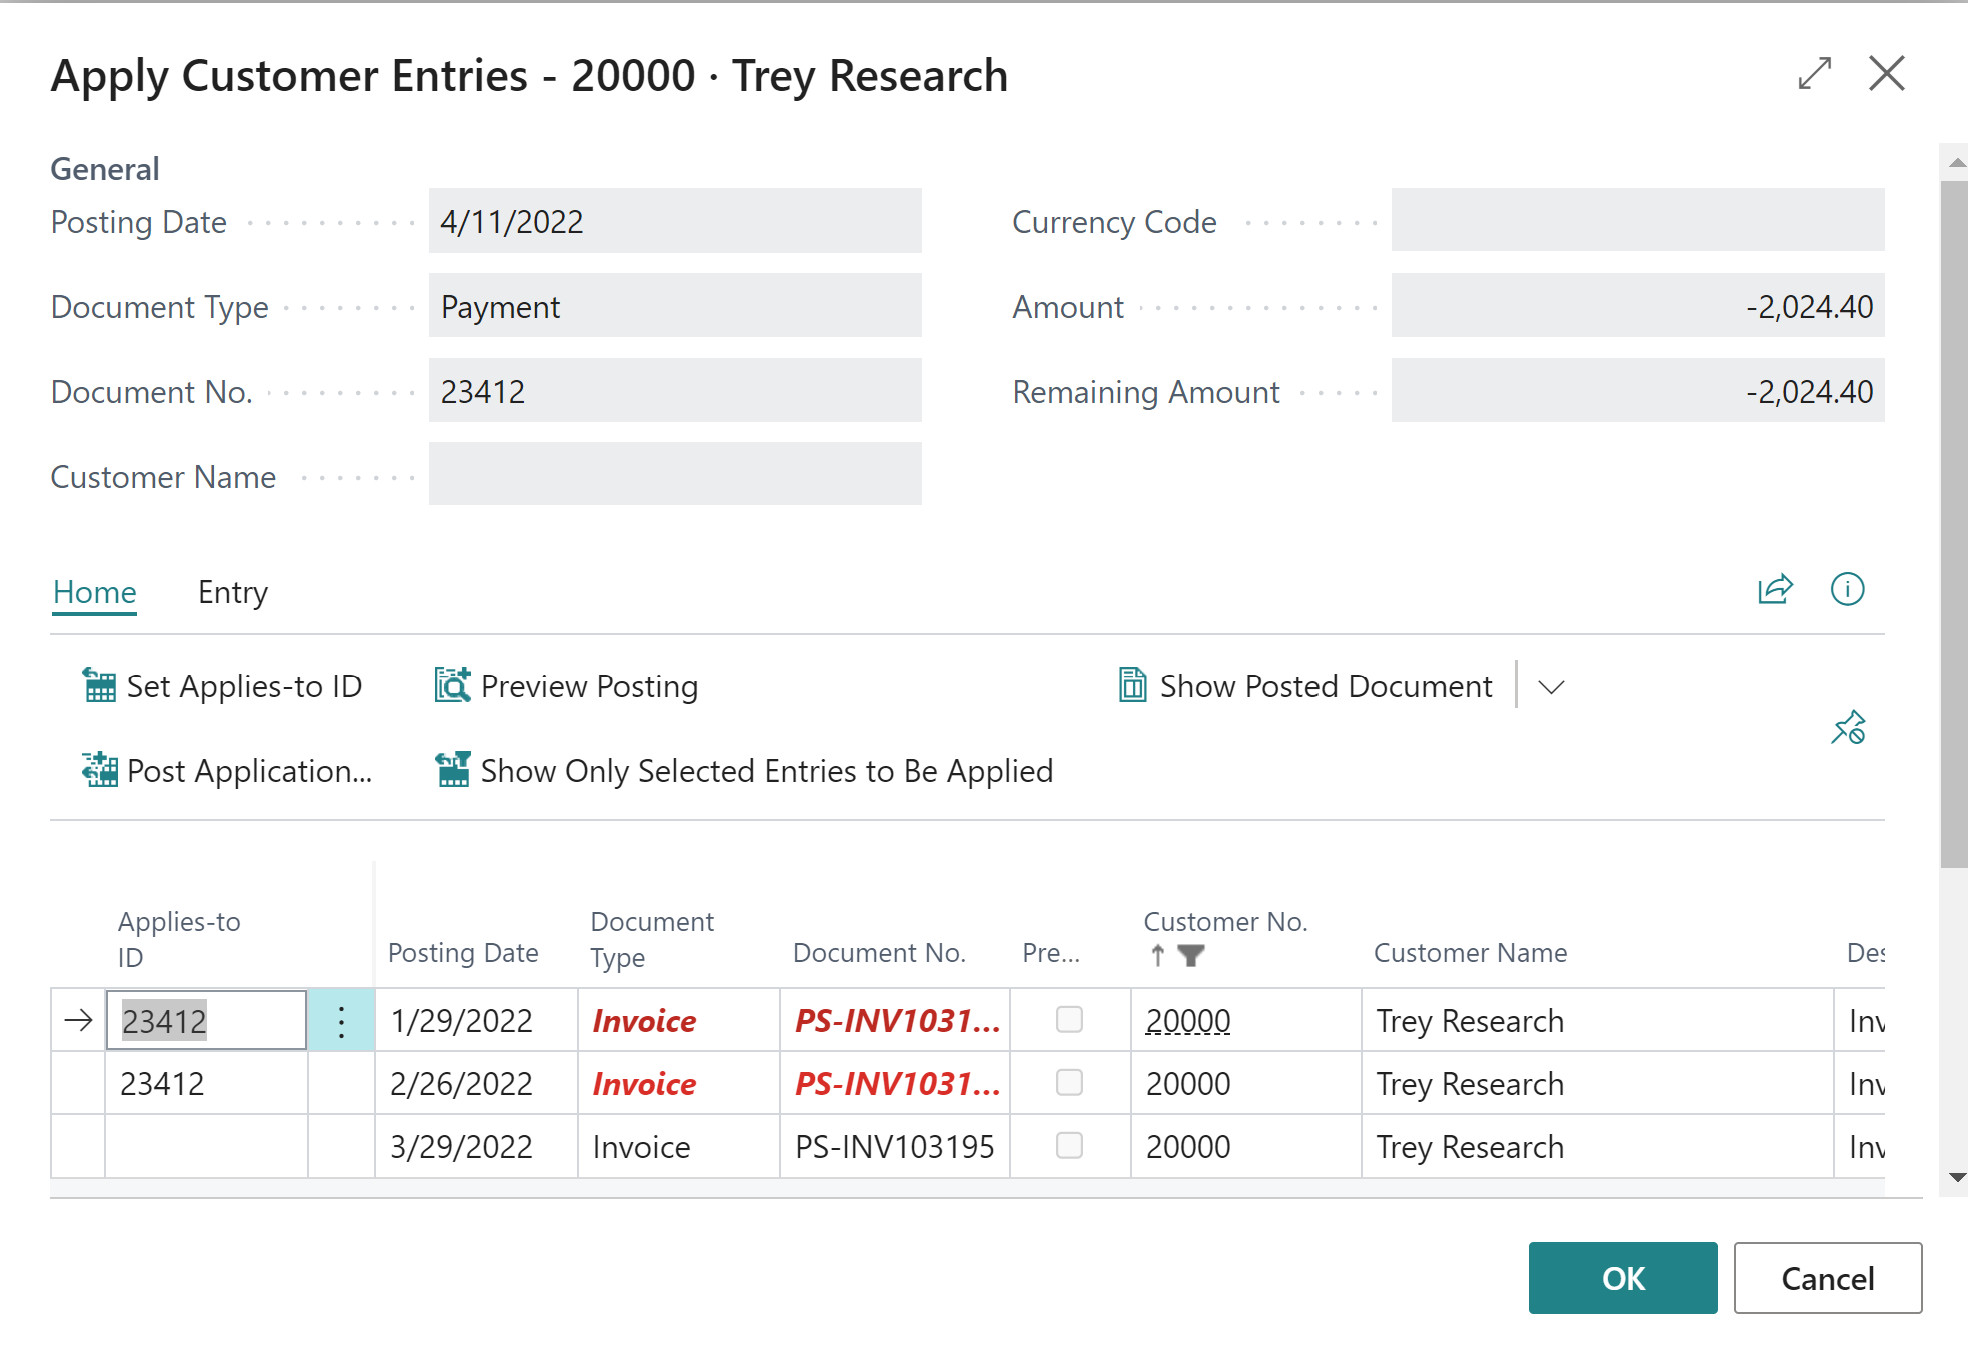
- When applying a payment to one or more entries, select the “Apply Entries” action item to open the “Apply Customer Entries” page.

- Select the entries you would like to apply the Payment to, and select the “Set Applies-to ID” action item for each. The “Document No.” value of the journal line will populate the “Applies-to ID” field on the applied entry.

- If the applied Payment is not for the entire open amount, you can enter the applied amount in the “Amount to Apply” field on the open entry.
- Select Ok to close the “Apply Customer Entries” page.
- Select the entries you would like to apply the Payment to, and select the “Set Applies-to ID” action item for each. The “Document No.” value of the journal line will populate the “Applies-to ID” field on the applied entry.
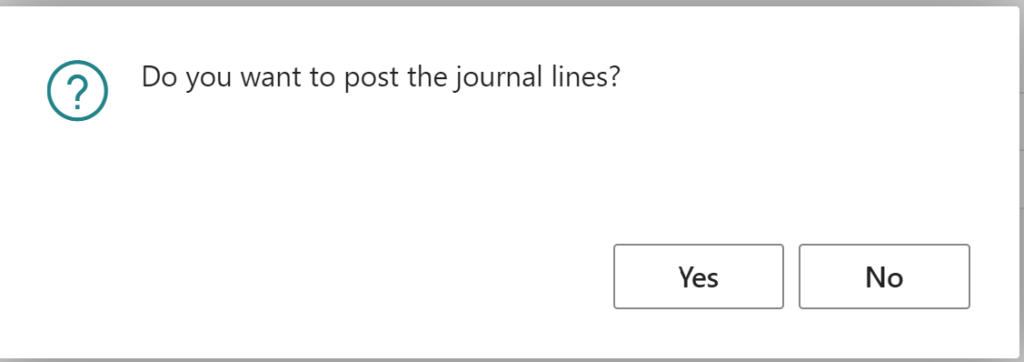
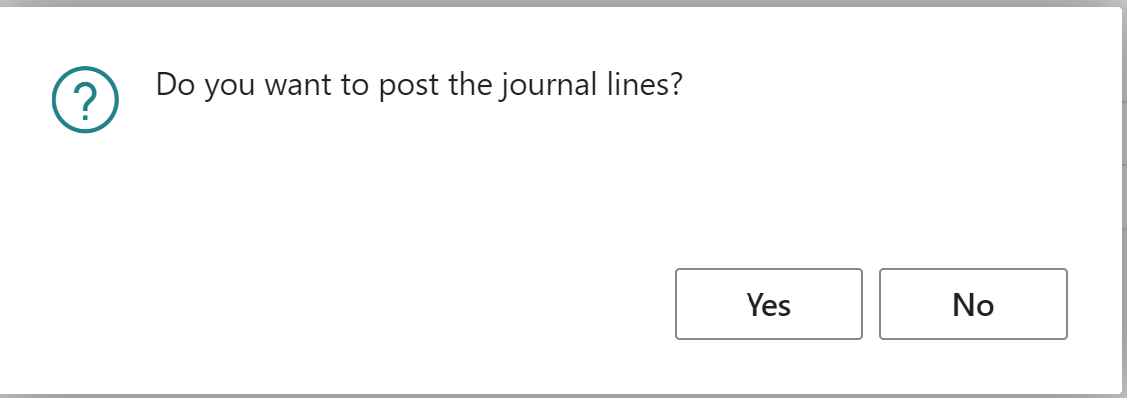
- Finalize the Customer Payment by selecting the Post action item on the “Cash Receipt Journal” page


Note: The code and information discussed in this article is for informational and demonstration purposes only. This content was created referencing Microsoft Dynamics 365 Business Central 2022 Wave 2 online.