Highlighting posts and resources from the Business Central development community — February 8–14, 2026
Looking to stay current with Dynamics 365 Business Central AL development? Here’s a curated list of recent blog posts, tutorials, and community resources from the past week.
Recent Posts (February 8–14, 2026)
➡️ 1. Rec.Truncate in AL
📇 Author: Duilio Tacconi
🗓️ Date: February 10, 2026
🌎 Link: duiliotacconi.com
📝 Summary: Duilio provides a detailed look into the new Rec.Truncate() AL statement introduced in BC27. The post explains the difference between SQL TRUNCATE TABLE and row-by-row DeleteAll(), lists all constraints (system tables, Media fields, event subscribers, and more), and provides a demo app with lab benchmarks showing truncate is advantageous when deleting 50% or more of a table’s content.
➡️ 2. CentralGauge Benchmark Update: Why the Numbers Changed
📇 Author: SShadowS
🗓️ Date: February 10, 2026
🌎 Link: blog.sshadows.dk
📝 Summary: SShadowS publishes updated CentralGauge benchmark results for 8 LLMs on AL code generation after fixing infrastructure bugs — corrupted code extraction, broken test harnesses, and vague task specifications. The revised rankings across 56 tasks show Claude Opus 4.6 leading at 76.2% pass@1 with 98.2% consistency, followed by Opus 4.5 at 75.0% and GPT-5.2 at 64.3%. Next up: Agent benchmarks running models in Docker containers with access to the AL compiler and test runner.
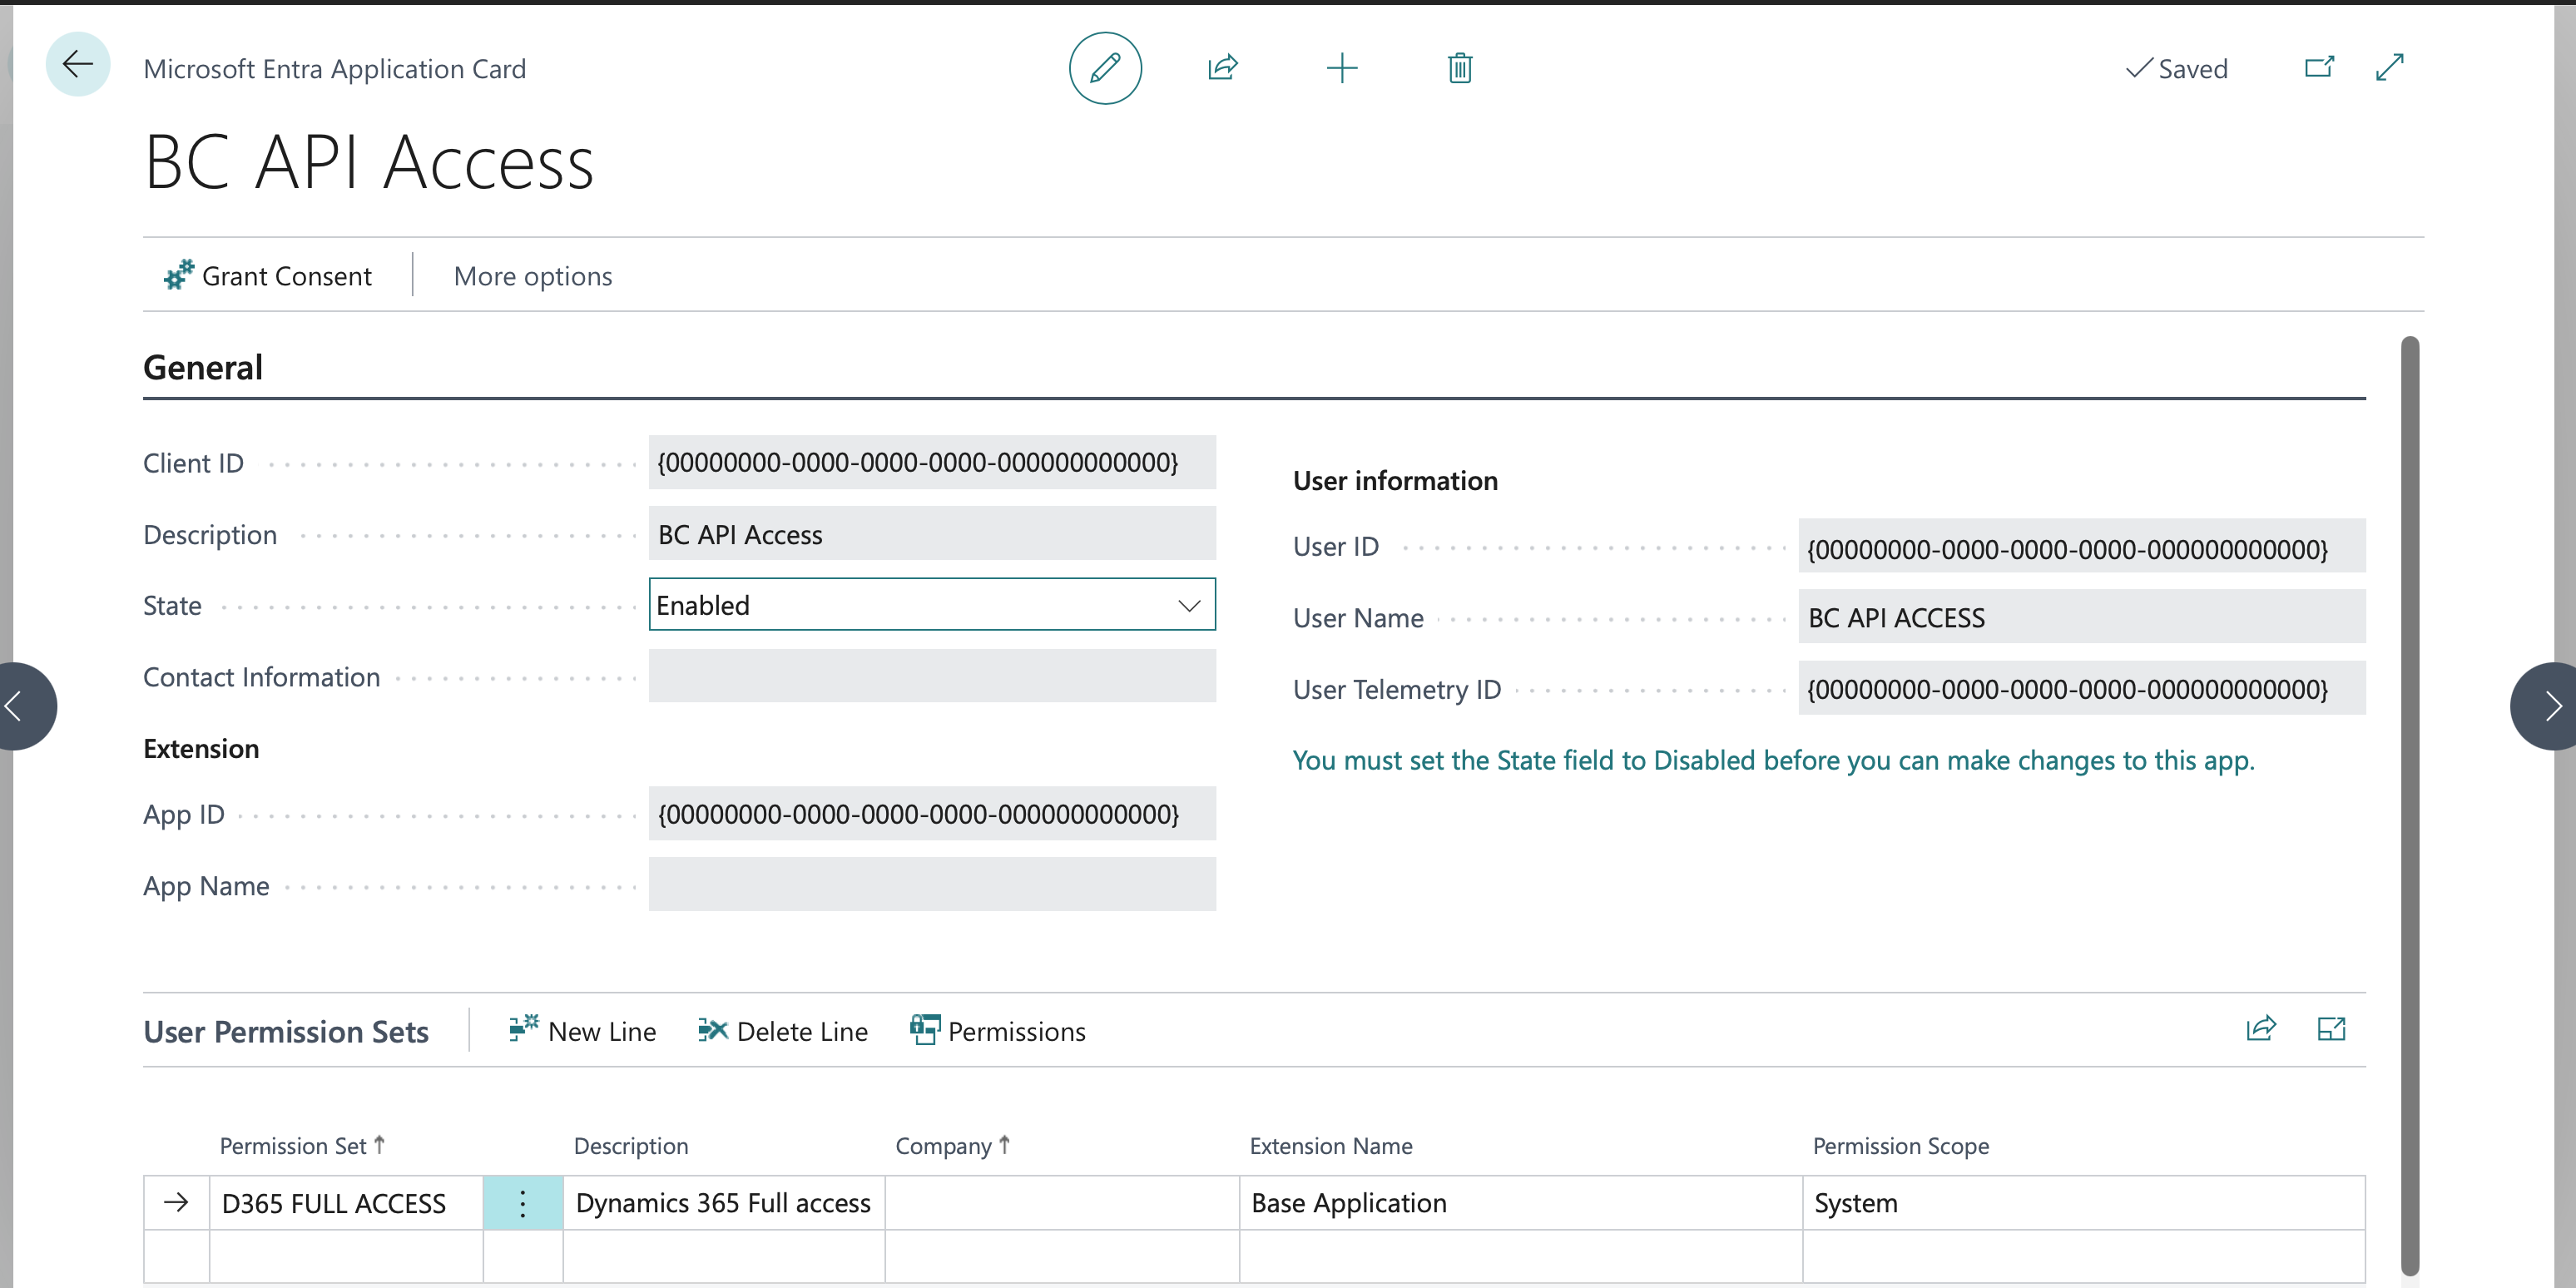
➡️ 3. Agents in Business Central – Part 1 – The Architecture
📇 Author: Bert Verbeek
🌎 Link: bertverbeek.nl
📝 Summary: Bert kicks off a series on building custom agents in Business Central 27.4 (public preview). Part 1 covers the core architecture — the Agent Task Builder and Agent Task codeunits, asynchronous orchestration on separate sessions, parallel task execution, incoming and outgoing message handling, and the required permissions (AGENT – ADMIN, AGENT – DIAGNOSTICS).
➡️ 4. How We Built an AI Agent to Qualify Leads in Business Central
📇 Author: Javi Armesto
🗓️ Date: February 13, 2026
🌎 Link: techspheredynamics.com
📝 Summary: Javi walks through building a Lead Qualification Agent using the BC Agent SDK. The extension evaluates leads across four dimensions (sector fit, budget viability, product match, company size), assigns a weighted score, and — when the lead scores Hot or Warm — automatically hands off to a Quote Builder Agent via a public API. The post covers the three-interface architecture (IAgentFactory, IAgentMetadata, IAgentTaskExecution), a three-layer security model, and human intervention patterns.
➡️ 5. Dynamics 365 Business Central: BCMCPProxy vNext
📇 Author: Stefano Demiliani
🌎 Link: demiliani.com
📝 Summary: Stefano rewrote Microsoft’s open-source BCMCPProxy .NET project for full cross-platform support on Windows and macOS. The new version upgrades to .NET 10 and C# 13, adds device code flow authentication and secure token caching, and benchmarks 40–67% performance improvements over the original. It works with Claude Desktop, Cursor, and other MCP-compatible clients, with a PR submitted to Microsoft’s BCTech repo.
➡️ 6. Fixed Asset Accounting from a Prompt: Claude MCP Meets Business Central
📇 Author: Silviu Virlan
🌎 Link: svirlan.com
📝 Summary: Silviu demonstrates managing an entire fixed asset lifecycle — acquisitions, depreciation, and disposals with automatic gain/loss calculation — using Claude Code connected to Business Central via MCP. The detailed walkthrough covers OData V4 web service setup, CSV-driven bulk asset onboarding, and multi-step API patterns for the workflowGenJournalLines and FADepBooks endpoints, with key lessons on where the standard API v2.0 falls short for FA transactions.
➡️ 7. Adding Notes to Financial Report Lines
📇 Author: Gerardo Rentería
🌎 Link: gerardorenteria.blog
📝 Summary: Gerardo builds an AL extension that adds line-level notes to financial reports (Account Schedules) in Business Central. The solution includes a FactBox on the Overview matrix, indexed footnotes in printed reports with a synchronized “Notes to Financial Statements” section, and a direct Excel export — all backed by a full open-source GitHub project with table extensions, page extensions, and RDLC layouts.
Community Resources
Official Resources
GitHub Repositories
- microsoft/BCApps – Repository for collaboration on Microsoft Dynamics 365 Business Central applications.
- microsoft/BCTech – Business Central technology samples.
- microsoft/ALAppExtensions – Repository for collaboration on Microsoft AL application add-on and localization extensions for Microsoft Dynamics 365 Business Central.
- microsoft/AL – Home of the Dynamics 365 Business Central AL Language extension for Visual Studio Code.
- StefanMaron/MSDyn365BC.Code.History – Contains the Microsoft Business Central Code. Updated each month.
Follow on Social Media
- Twitter/X Hashtags: #MSDyn365BC | #BusinessCentral
Stay Connected
The Business Central AL development community stays active with valuable content on AL development, upgrades, integrations, and tooling improvements. Following #MSDyn365BC and #BusinessCentral on Twitter/X is a great way to catch new posts as they’re published.
Note: This review is compiled from publicly available blog posts and community resources. Links to external blog posts are provided for your information only and do not constitute endorsement or validation of their content. Publication information and availability are subject to change. Always verify information against official documentation for production use.
 available.