A Git Tag is a reference to a specific point in Git history. It marks specific releases or versions of your codebase, allowing easy recall of the exact code associated with that Tag. A Tag may track software version releases, identifies significant changes, or annotate a point in the project’s history. Git Tags are immutable; they cannot be changed once they are created. You need to delete and recreate the Tag, although the Tag can update to another commit.
As tags are intended, I often tag project commits to version codebase changes. In a recent conversation about Git Tags, a topic I am sure many do not find as exciting as I did, I reviewed how I create Tags to version commits through VS Code.
To Tag a version based on a commit, you need to know to identify the commit. A commit log is displayed when the command git log –pretty=oneline is executed in a VS Code terminal.
The commit log displayed the commit id, a tag if it exists, and the commit comment.
The syntax to tag a commit is git tag -a <tagname> -m <messge> <commit id>
After a commit is tagged, the tag information is displayed in the list, as in the following screenshots.

After a Tag, or Tags, is created, they must also be committed to the repo. Within VS Code this can be done by using the Git: Push Tags command.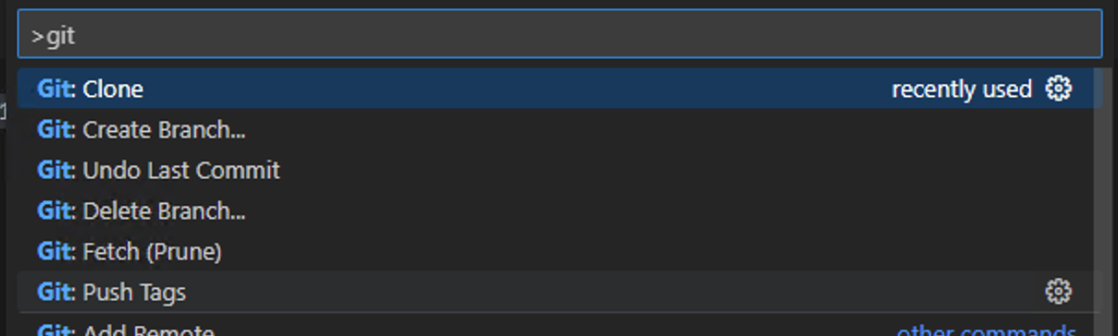
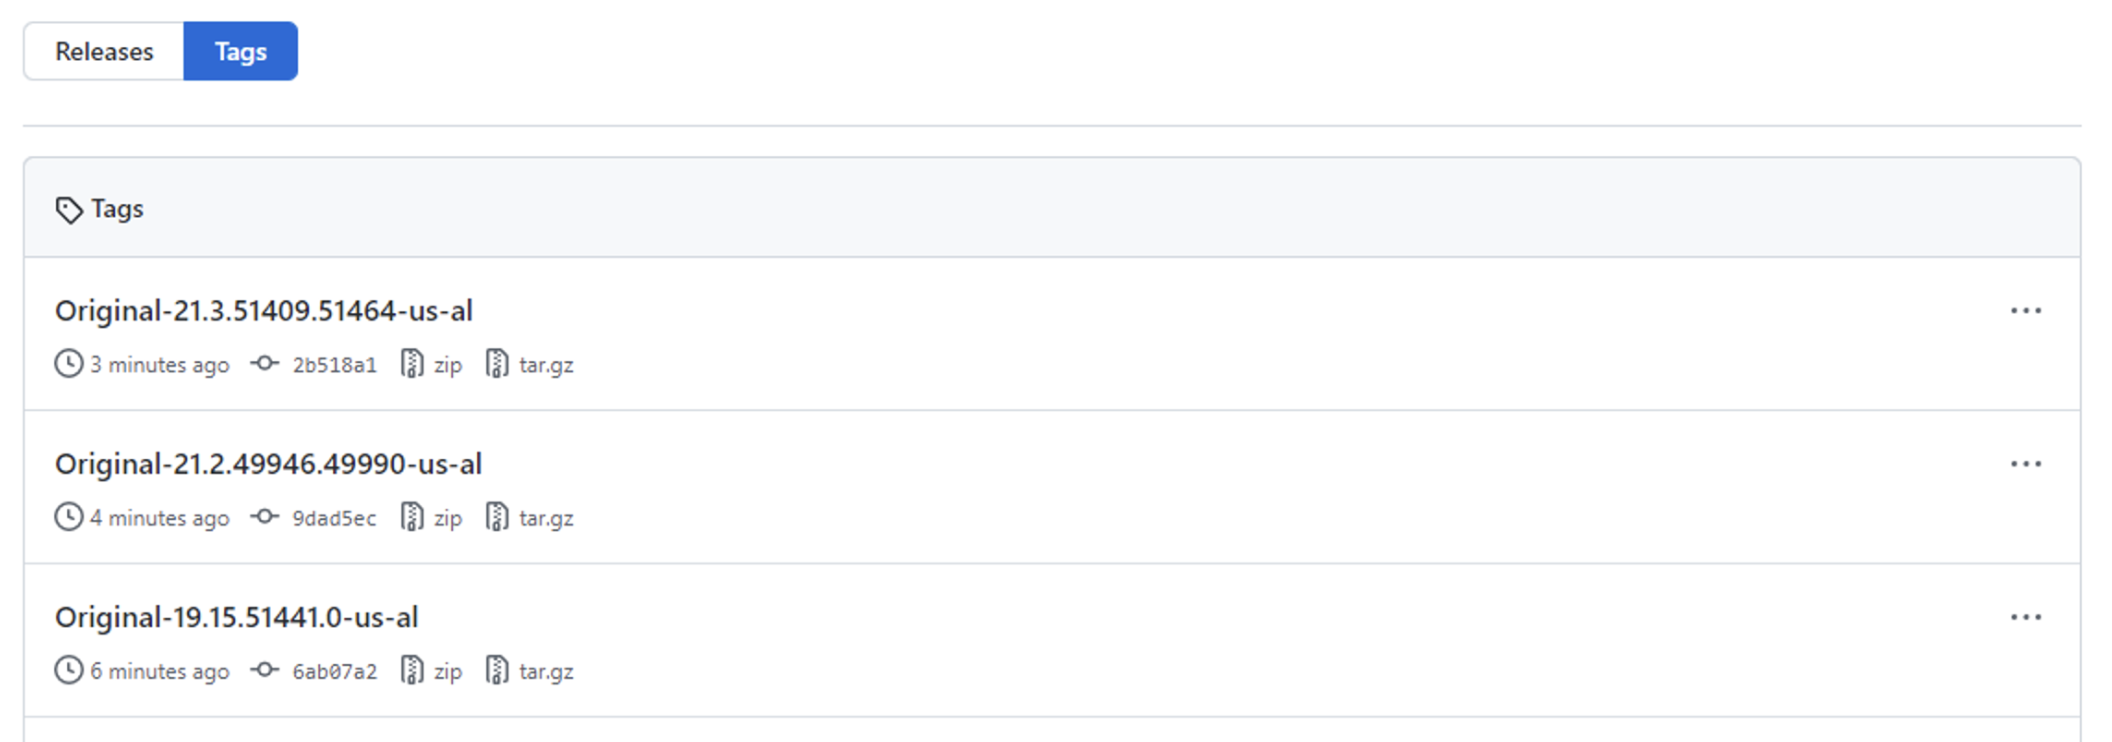
After being Pushed, tags are visible in the repo.
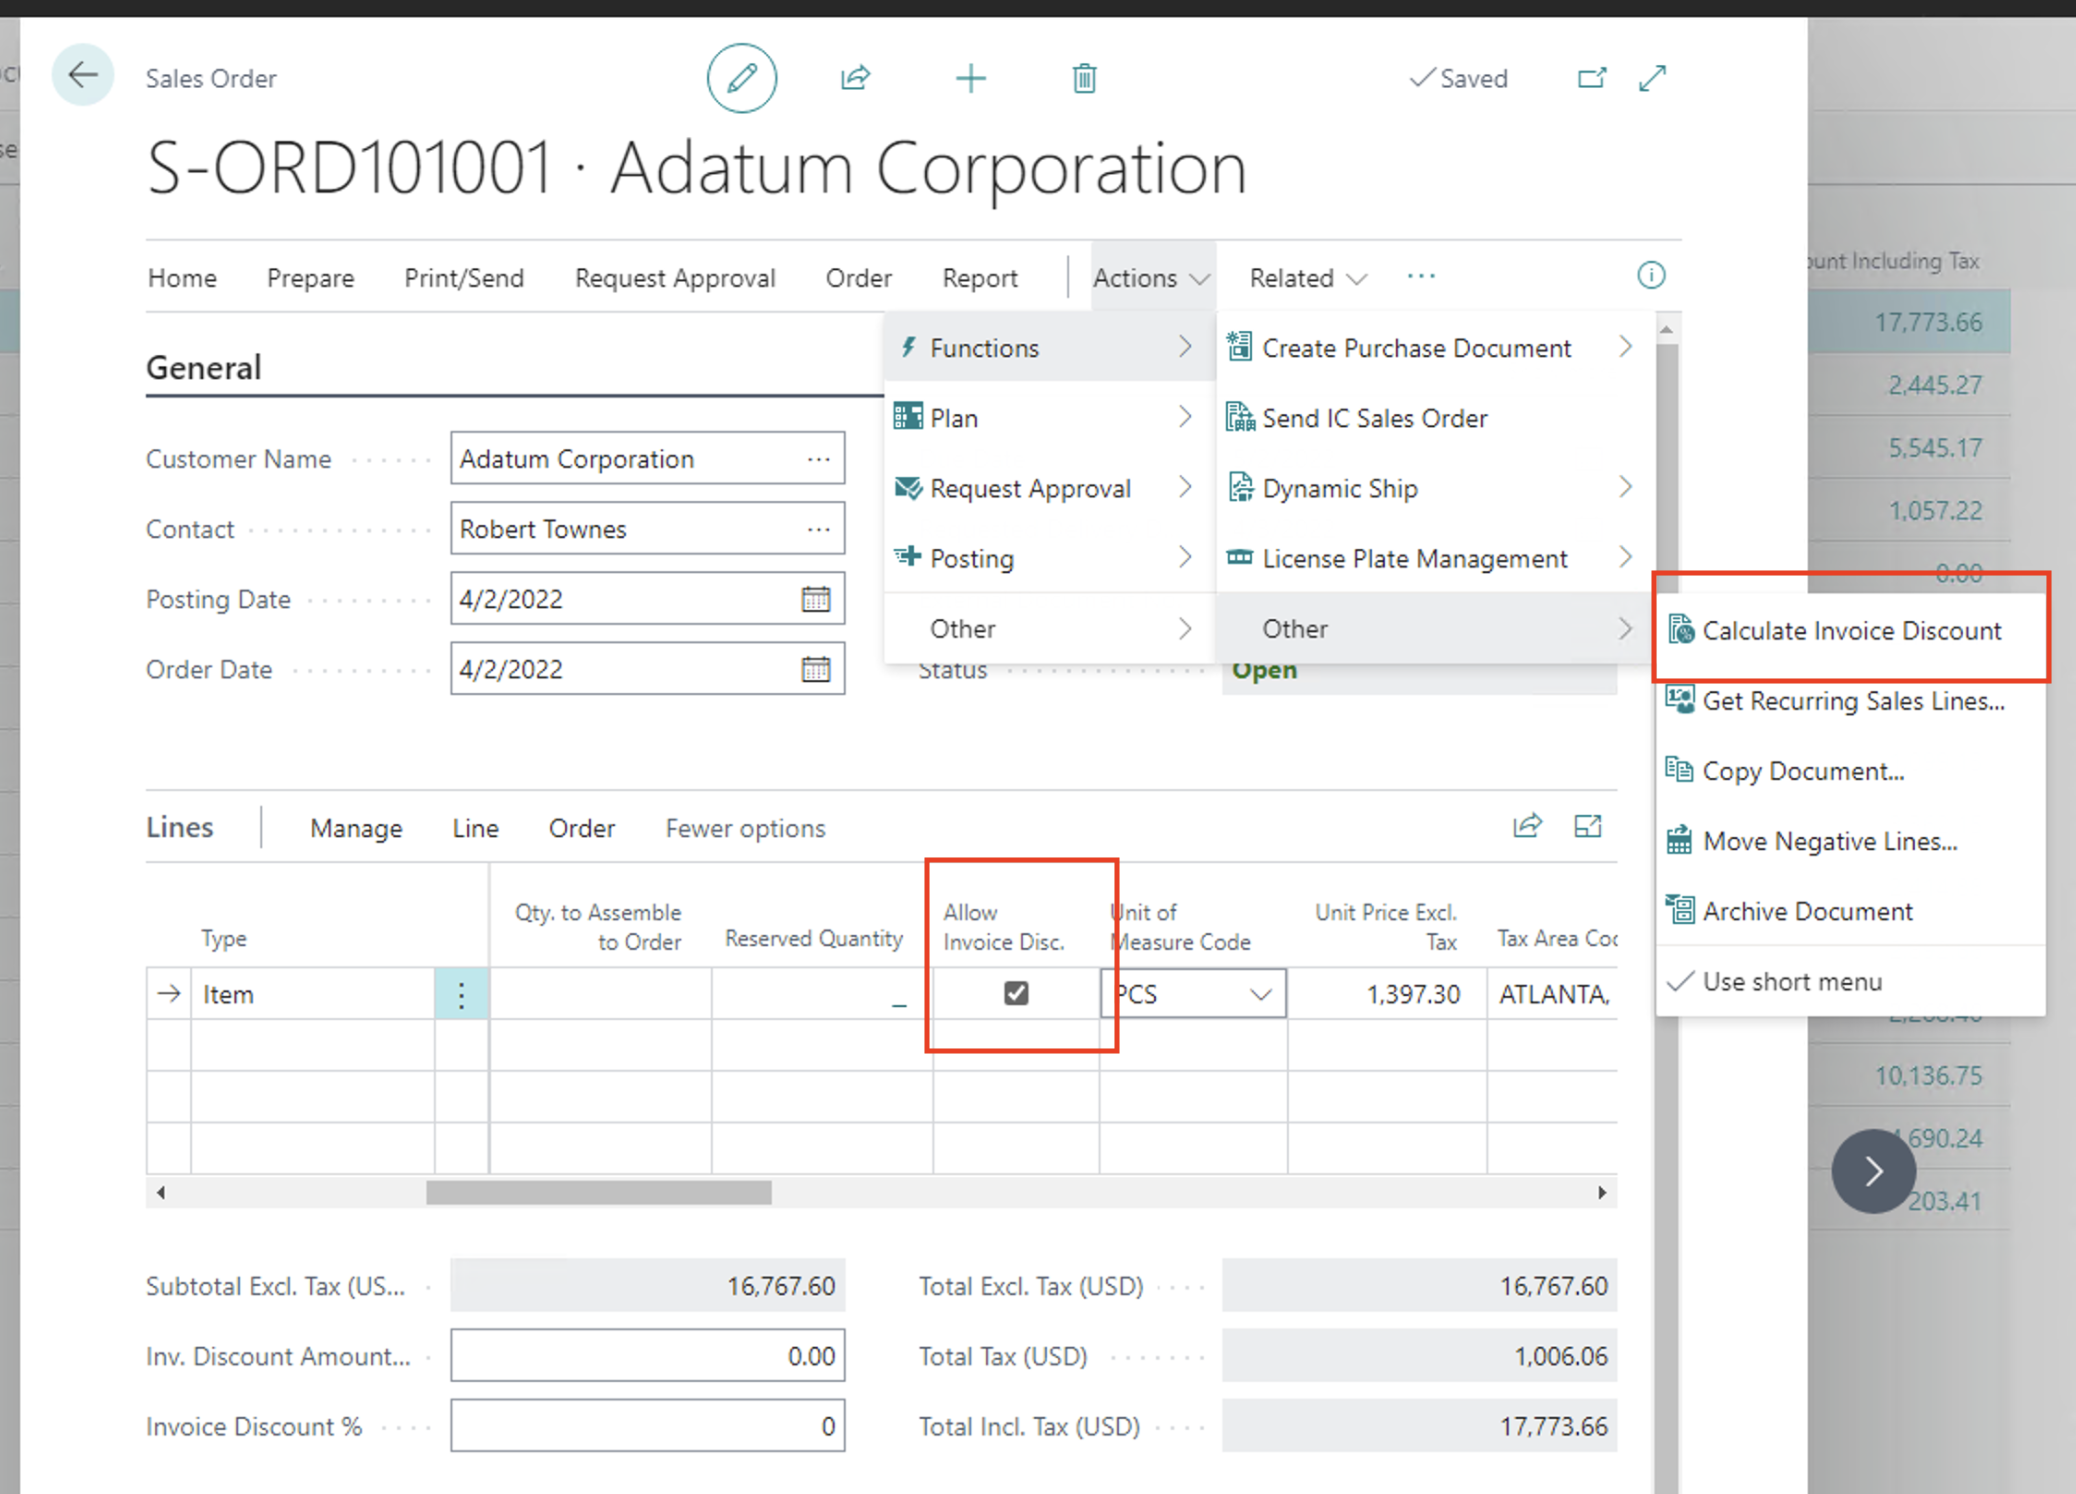
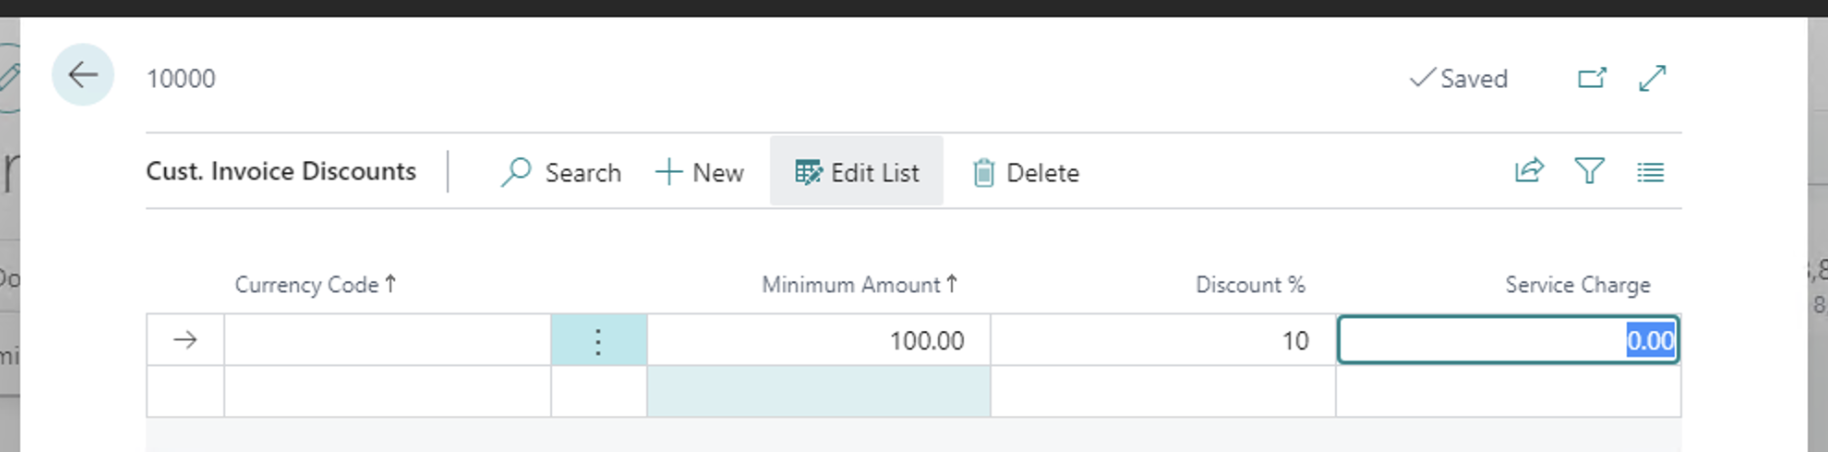
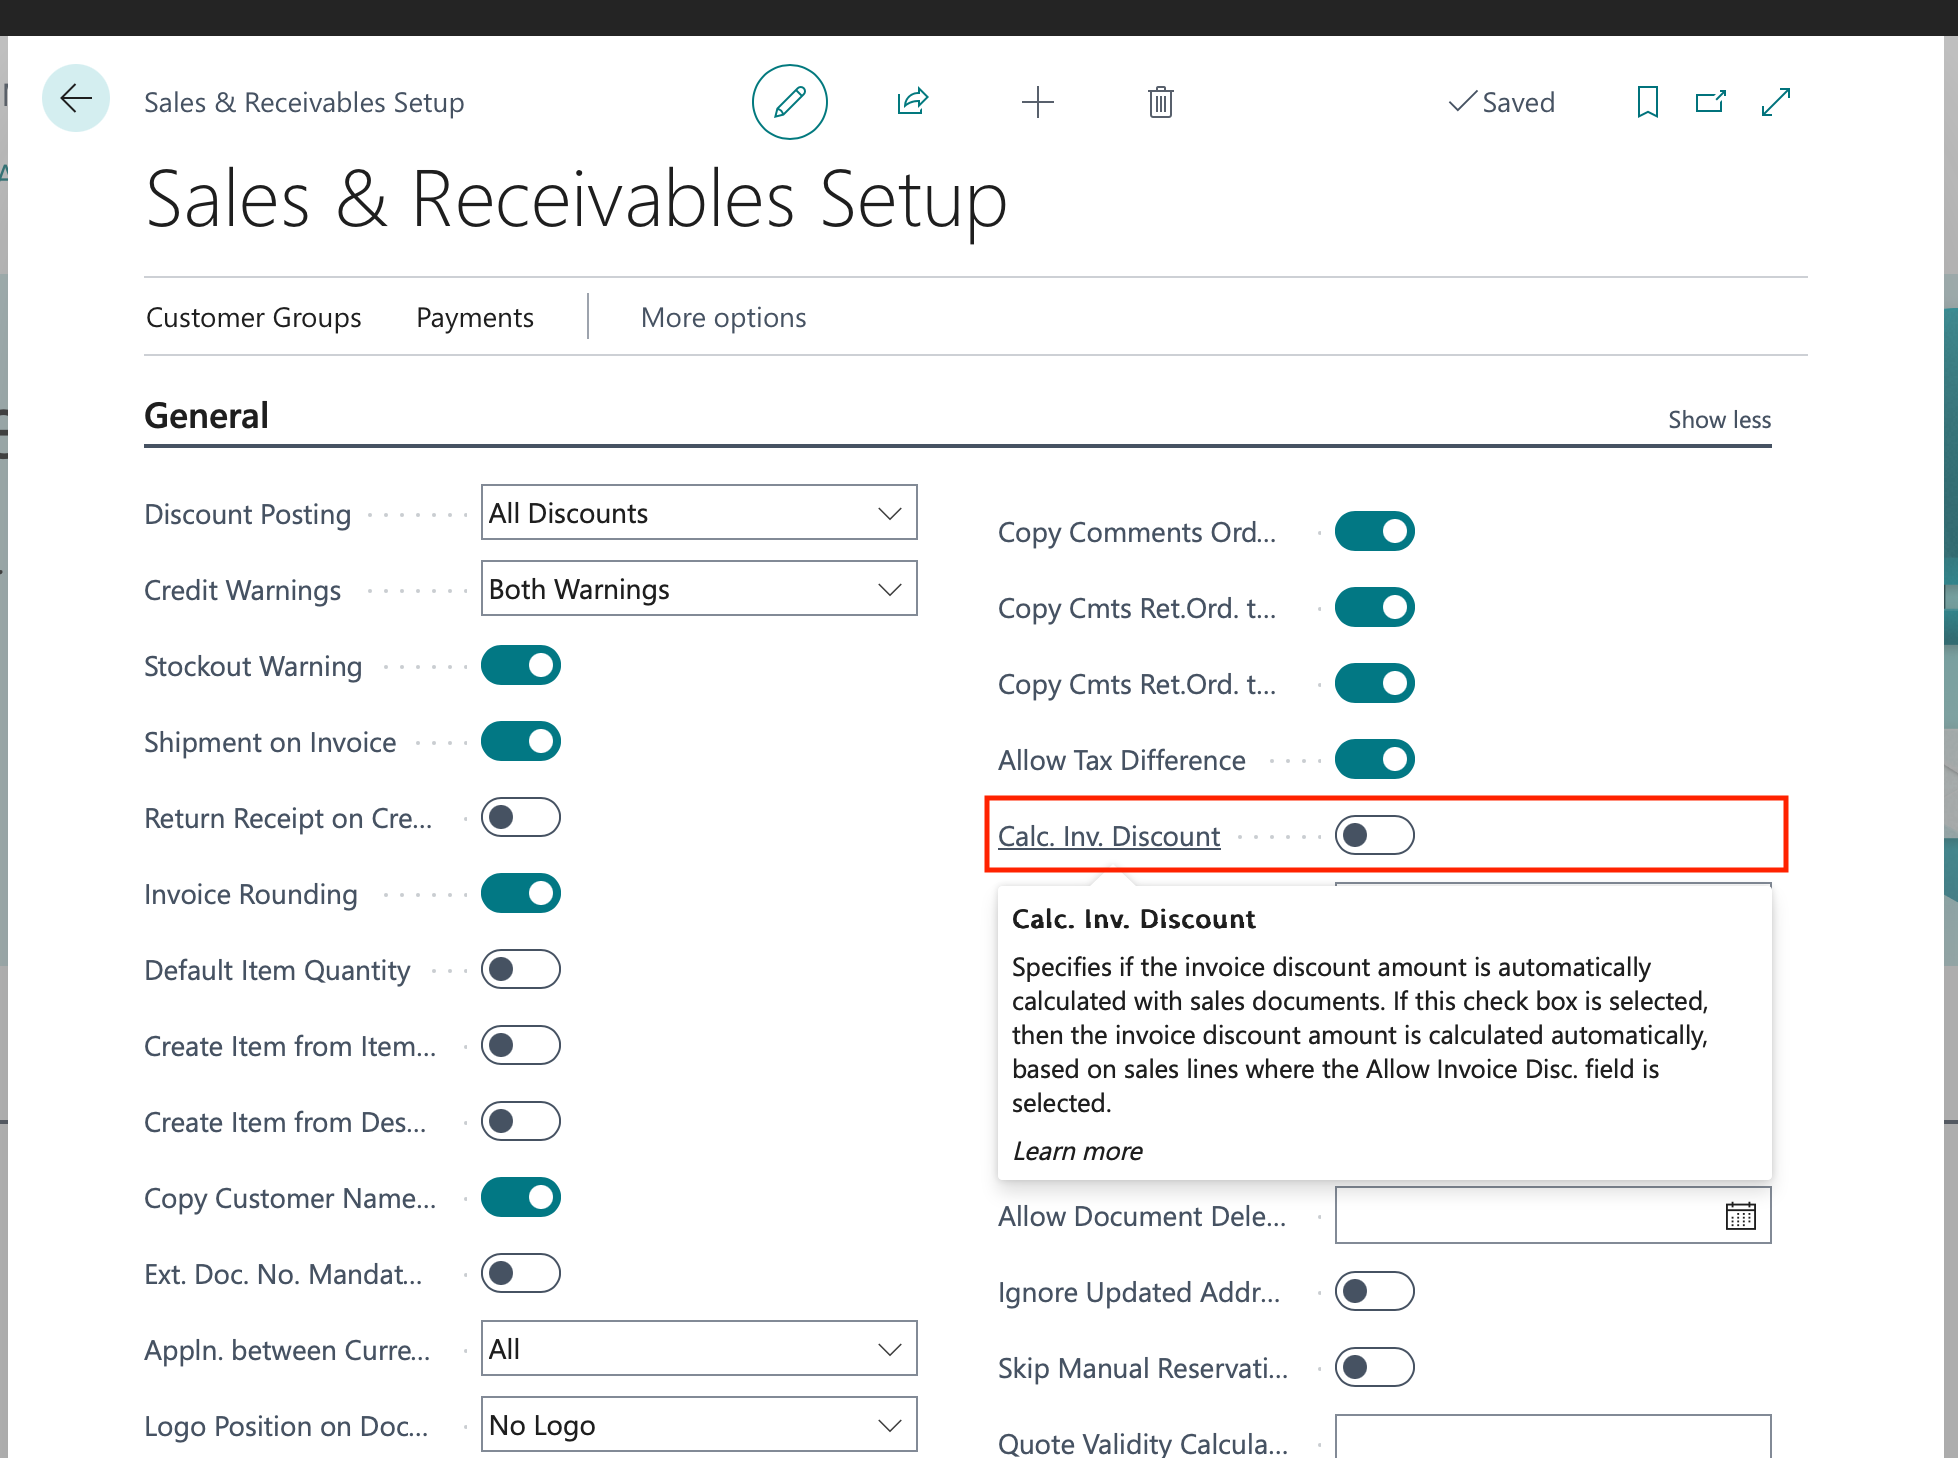
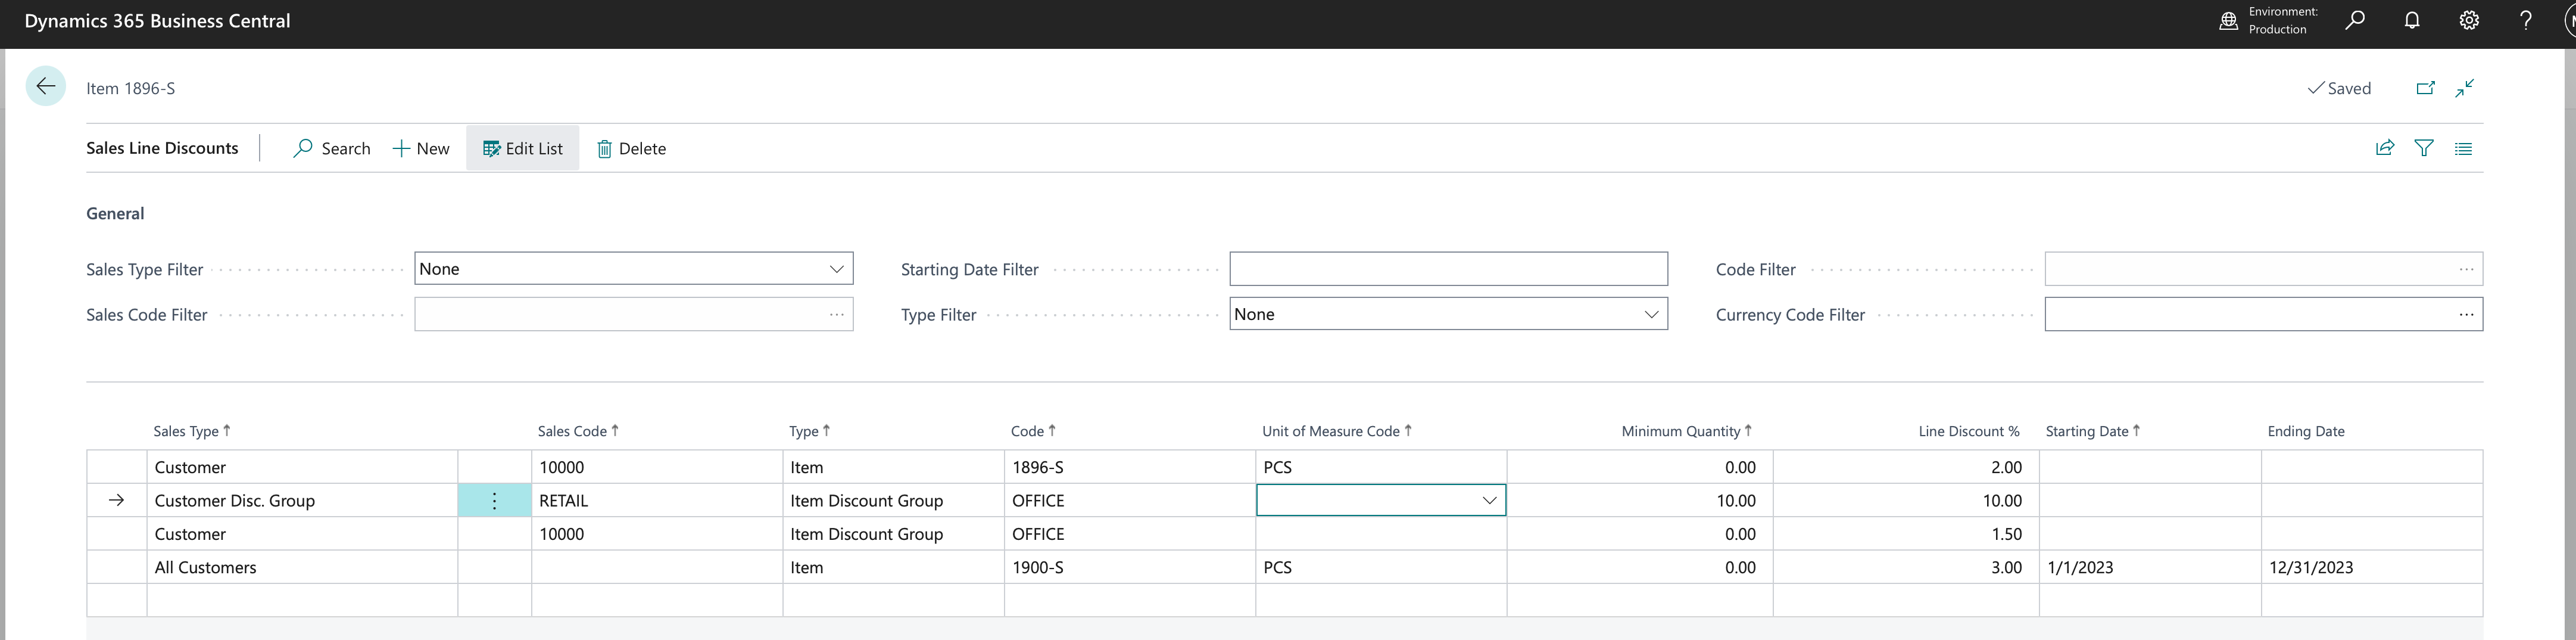
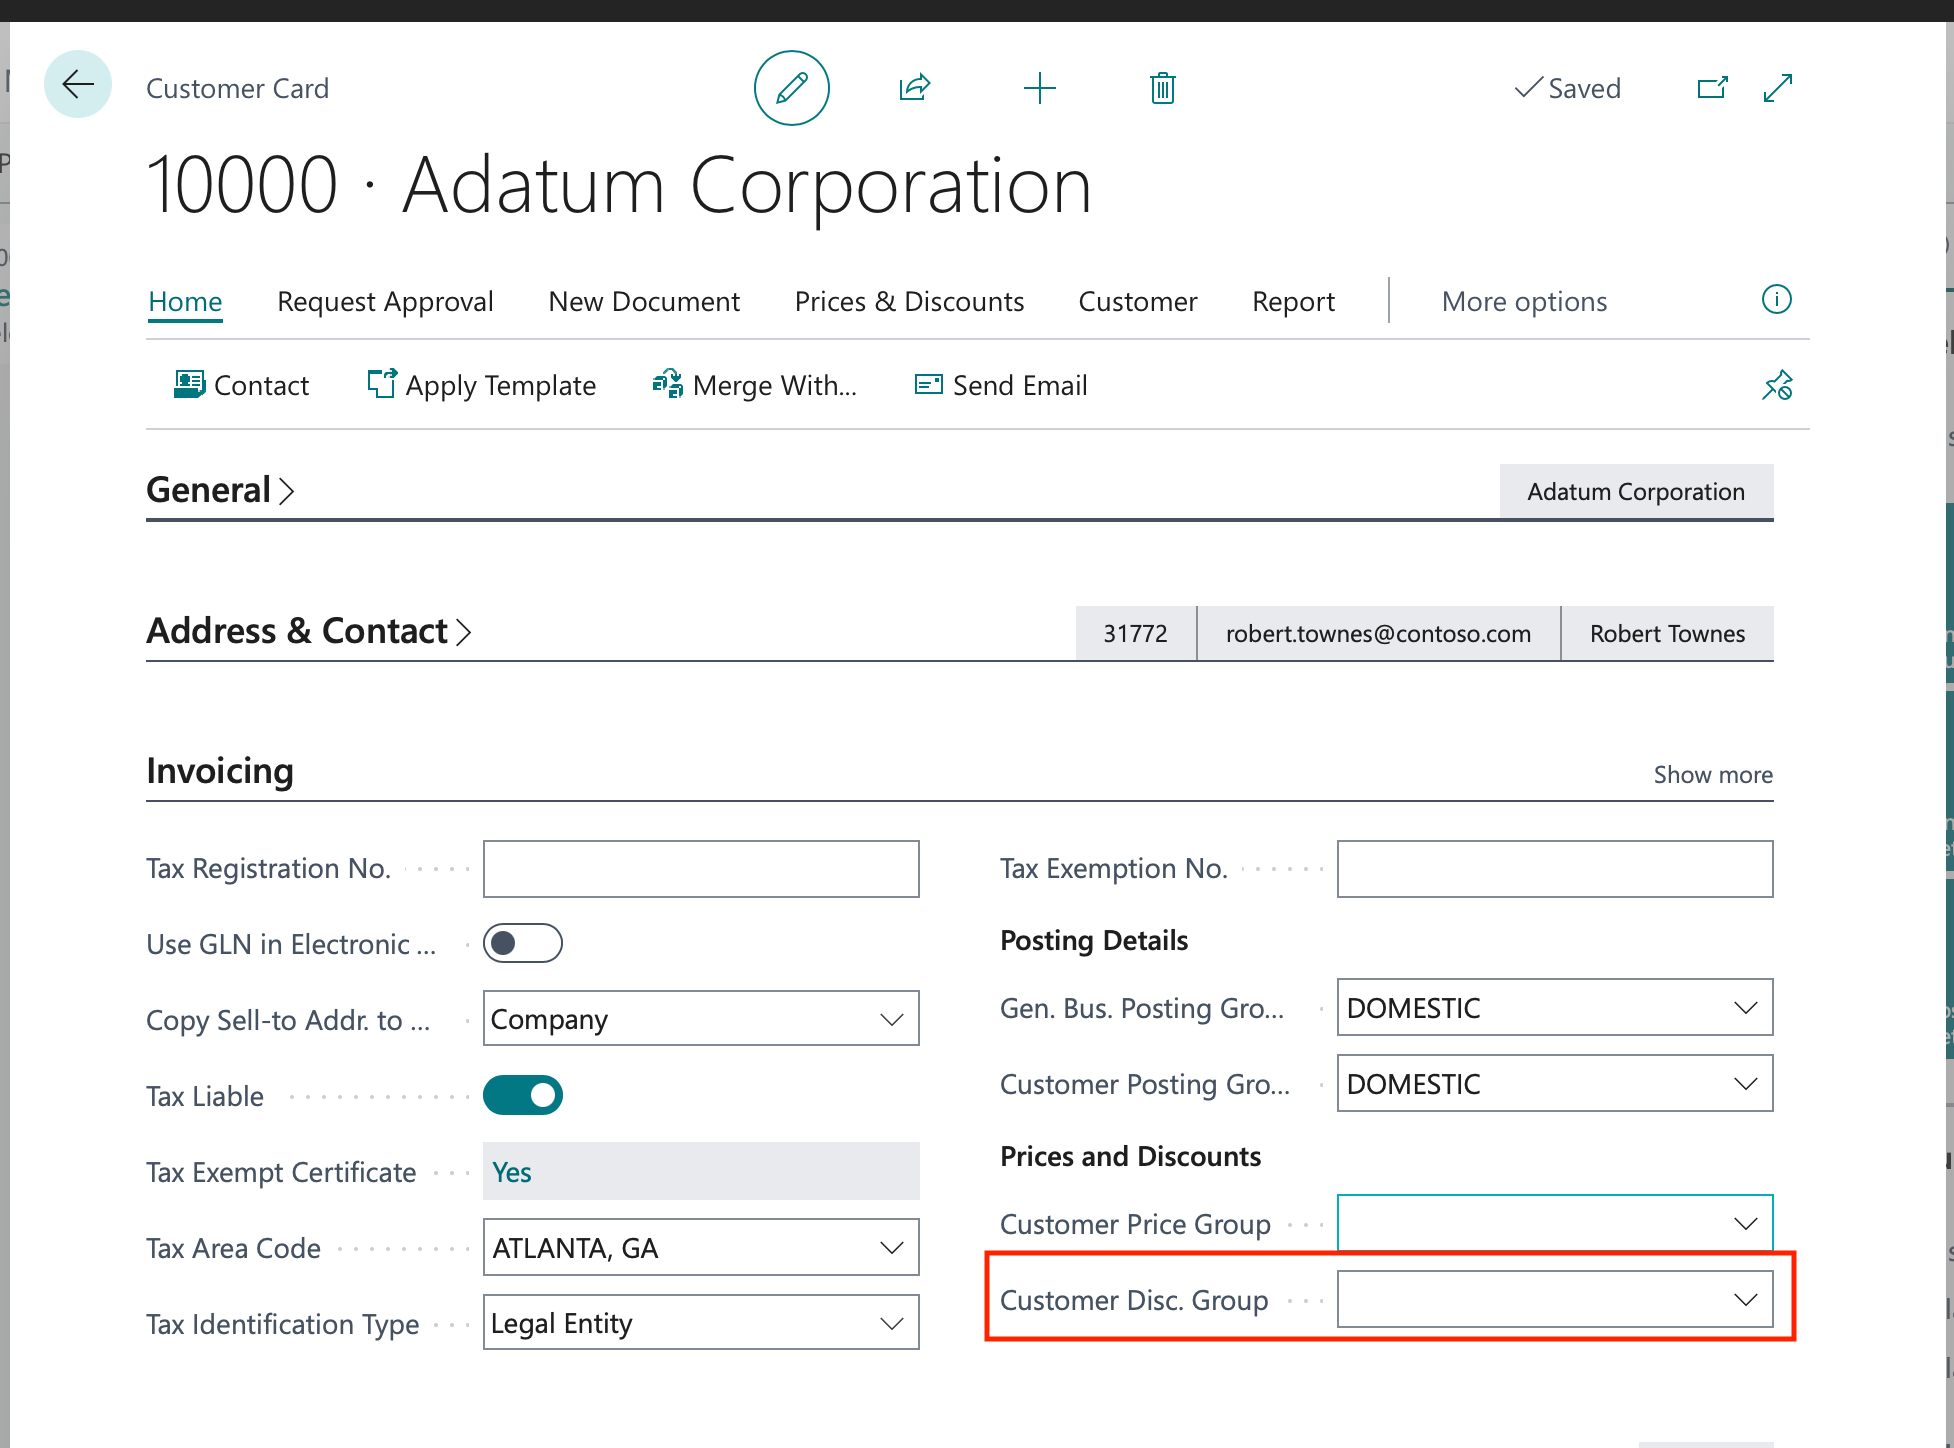
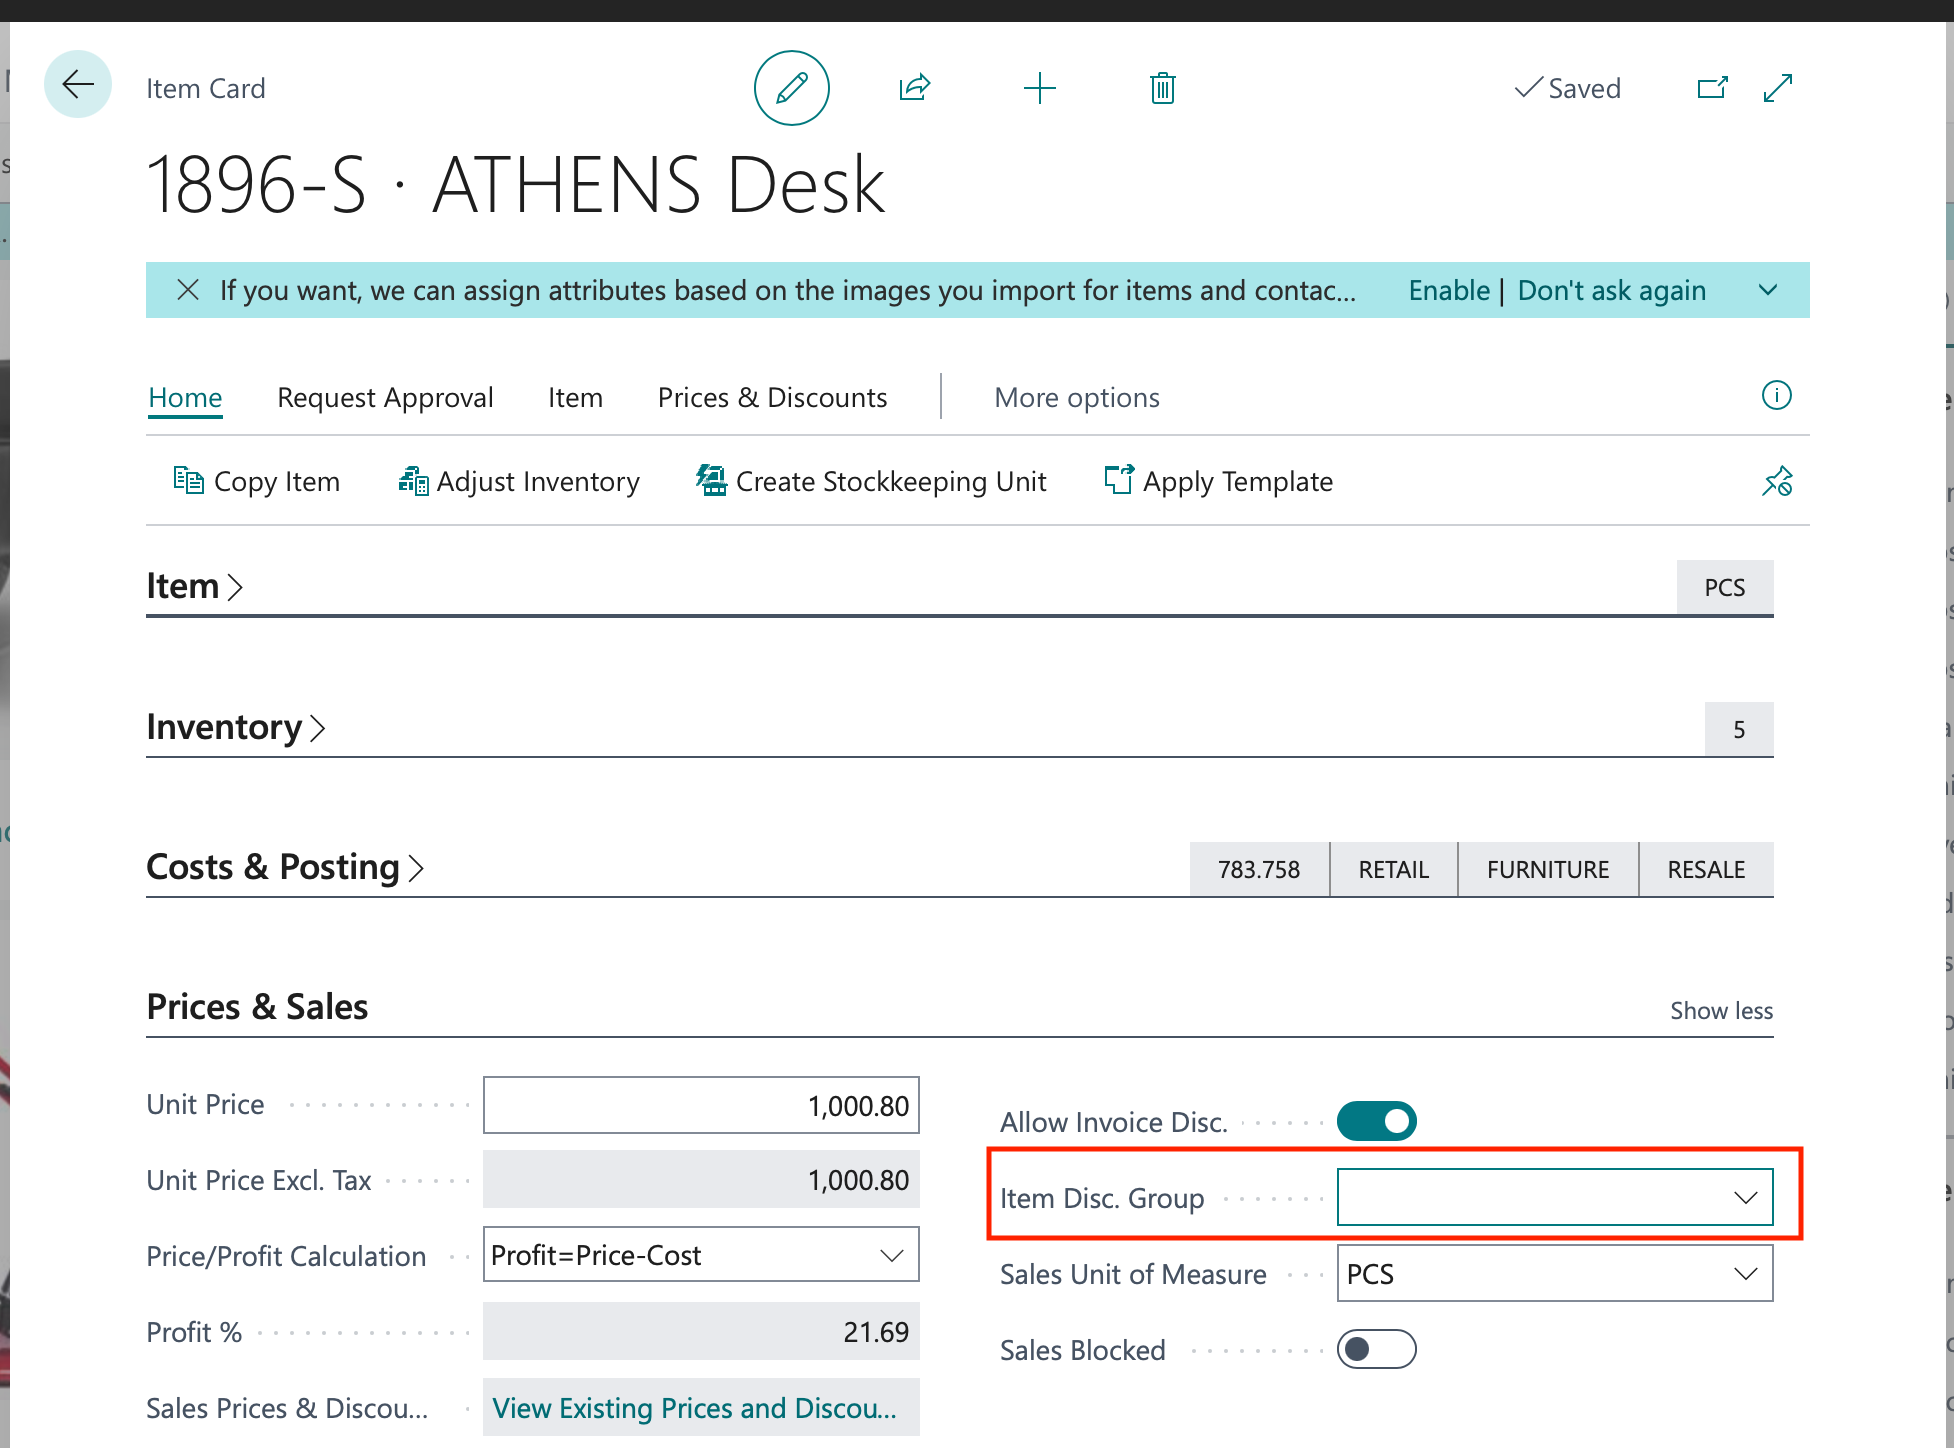
The screenshots are from a repo(ository) that I created a few months ago to track and review Microsoft Dynamics 365 Business Central releases (I know there are many other repos for this; sometimes it is good practice to go with it too)
Note: The code and information discussed in this article are for informational and demonstration purposes only. This content was created referencing Microsoft Dynamics 365 Business Central 2022 Wave 2 online.
 available.