
Businesses often order the same products and/or services from a supplier. In the many years I have been implementing Microsoft Dynamics 365 Business Central, I have frequently been asked how to add default purchase lines (often as a default G/L Account modification) to purchase documents for a vendor. Fortunately, this feature is accessible through Business Central.
Recurring Purchase Lines are useful for businesses with regular purchase documents of the same items or services from certain suppliers. By setting up recurring purchase lines, a company can automate creating these documents with predefined purchase lines, saving time and reducing the chance of errors.
To create Recurring Purchase Lines:
1. Search for recurring purchase lines using the Search of Business Central.
2. Select the Recurring Purchase Line Administration Page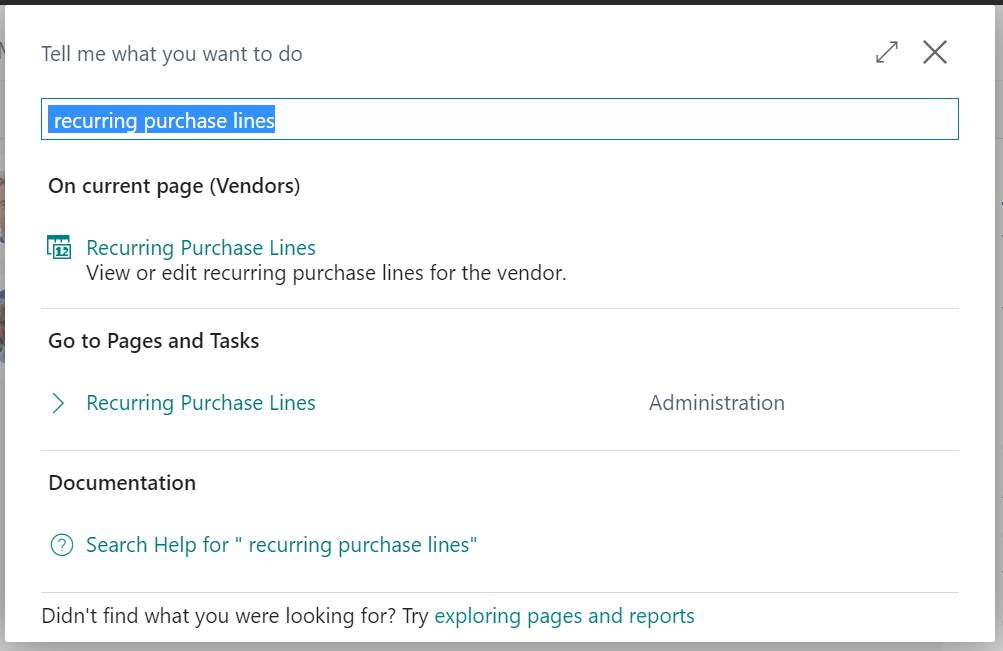
3. Select the New page action (or Manage to modify or view an existing Recurring Purchase Line)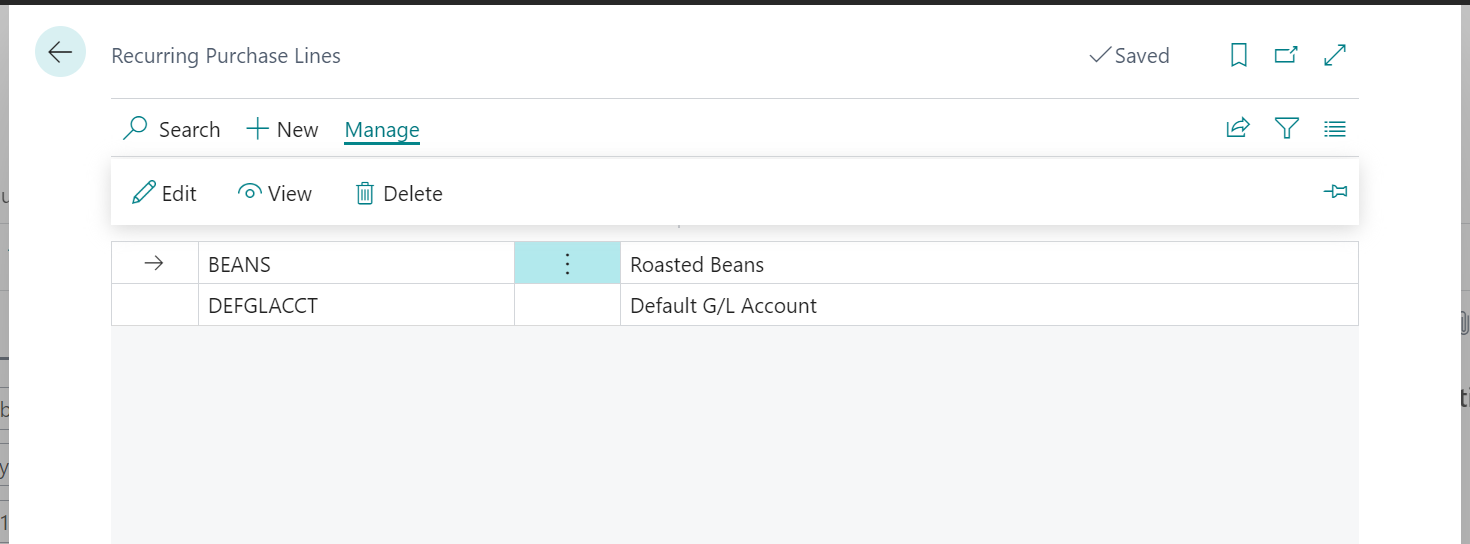
4. On the Standard Purchase Code Card, enter a code and description to reference the Recurring Purchase Line(s)
5. In the Lines group of the card, enter the lines and desired values to include for purchase documents created for an assigned vendor.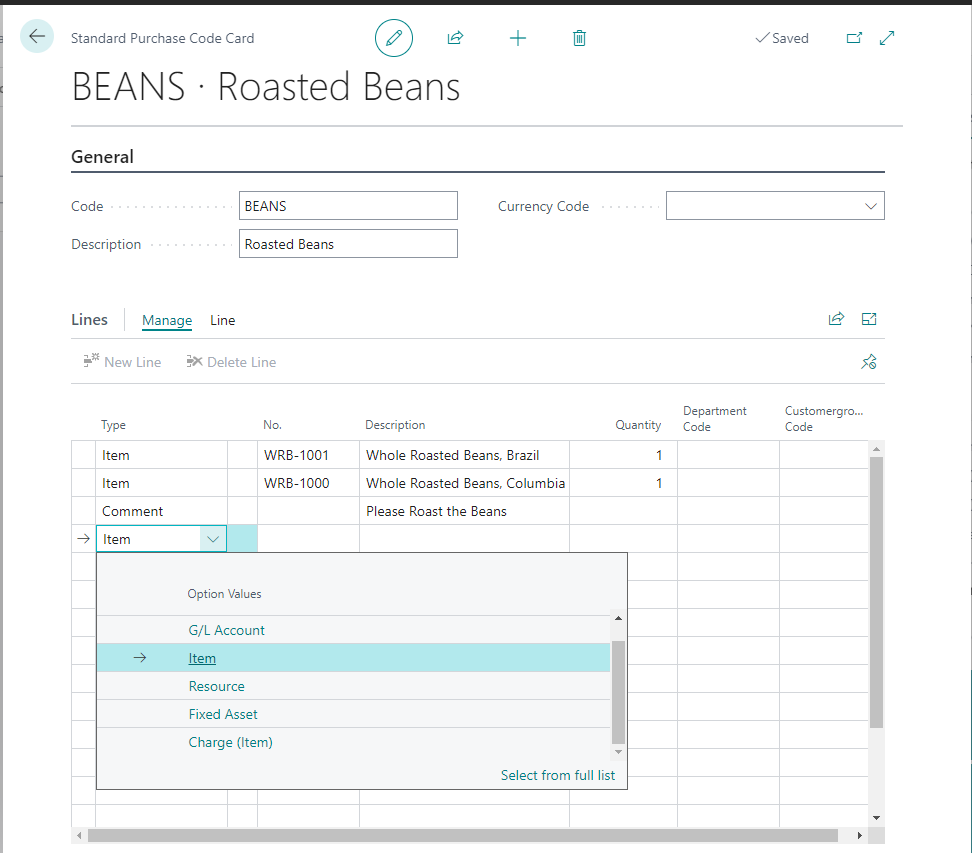
6. Enter the Line Type – you can enter Comment, G/L Account, Item, Resource, Fixed Asset, or Item (Charge) lines.
7. Enter the appropriate No. of for the line.
8. Enter a description,
9. Enter a default quantity.
10. The Amount, Variant, and Unit of Measure fields are unavailable by default; if you’d like to enter any of these values, you must personalize the page and add them.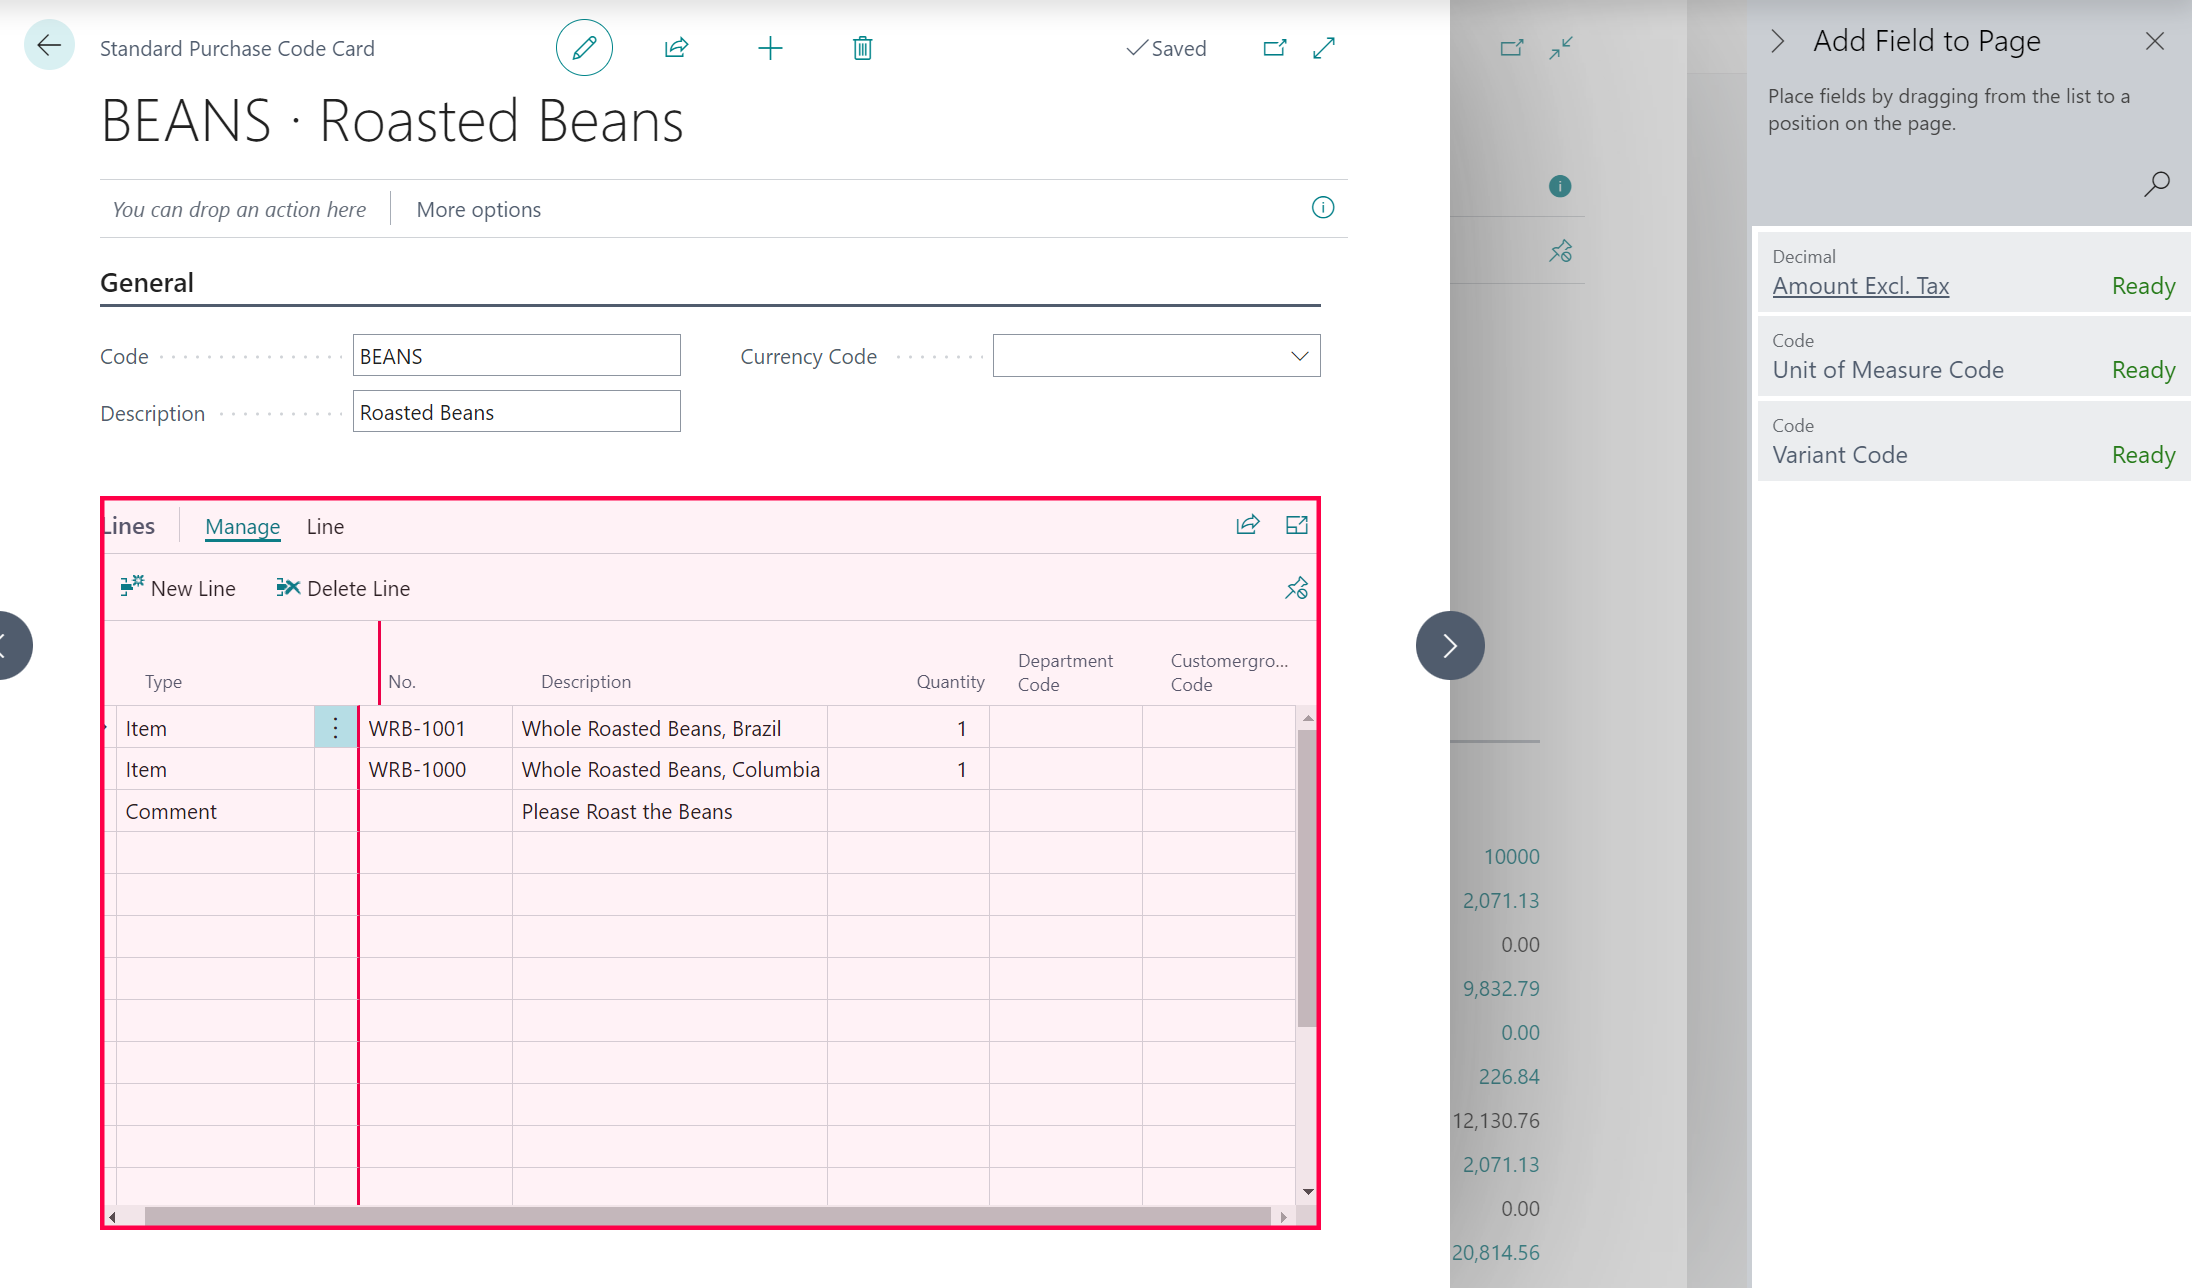
With the Standard Purchase Codes created, they are ready to be assigned to vendors.
- Search for Vendors using the search feature of Microsoft Dynamics 365 Business Central.
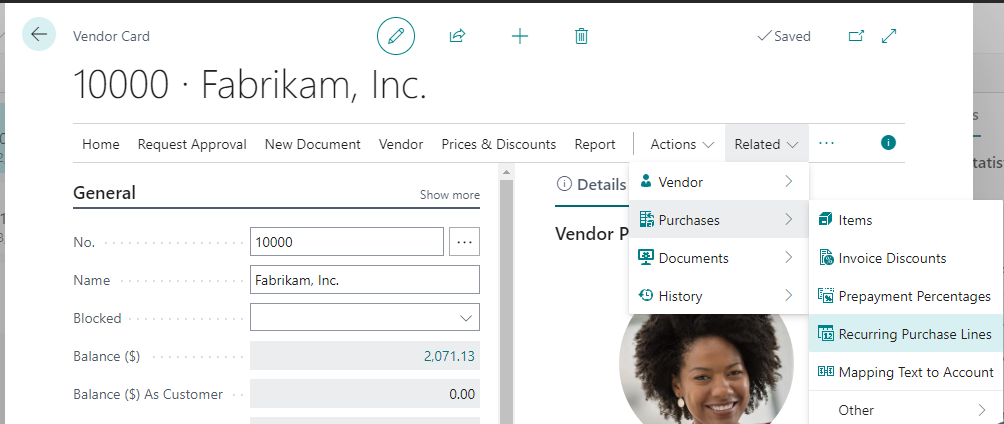
- Open the Vendor List Page and navigate to the Vendor you’d like to assign Recurring Purchase Lines.
- Select the Related->Purchases->Recurring Purchase Lines action from the menu.

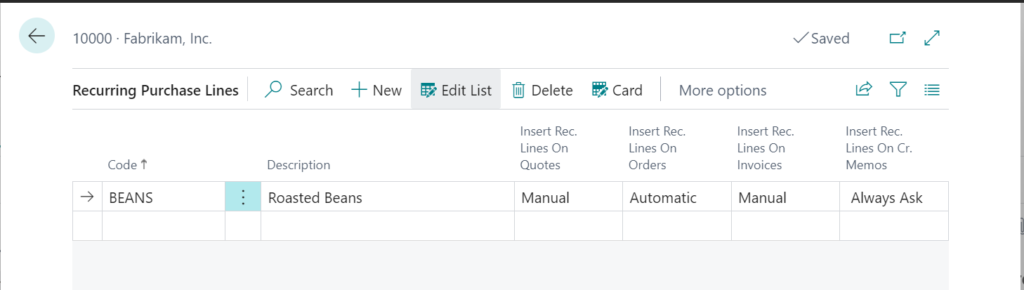
- Select the desired purchase code on the Vendor’s Recurring Purchase Lines List Page and specify how you want to use standard purchase codes on purchase quotes, orders, invoices, and credit memos.

-
- Manual – The user can use the Get Recurring Purchase Lines action from the functions menu on the document.
- Automatic – the Standard Purchase Code lines are added to a new purchase document.
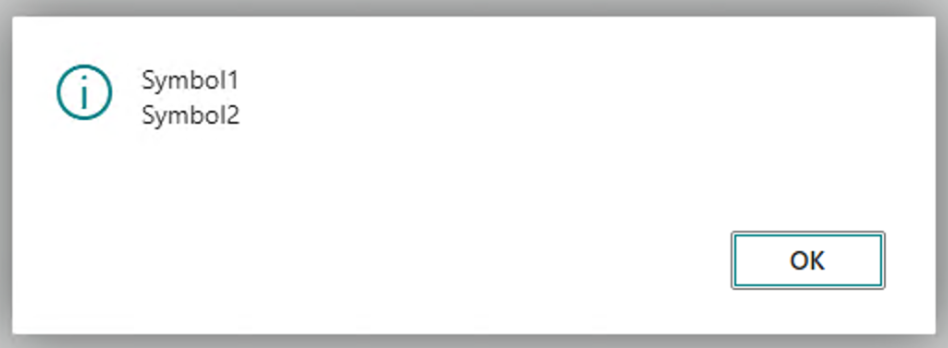
- Always Ask – the user will be alerted that recurring purchase lines exist and asked to select the lines they’d like to include (if applicable)


Note: The code and information discussed in this article are for informational and demonstration purposes only. This content was created referencing Microsoft Dynamics 365 Business Central 2023 Wave 1 online.

 available.
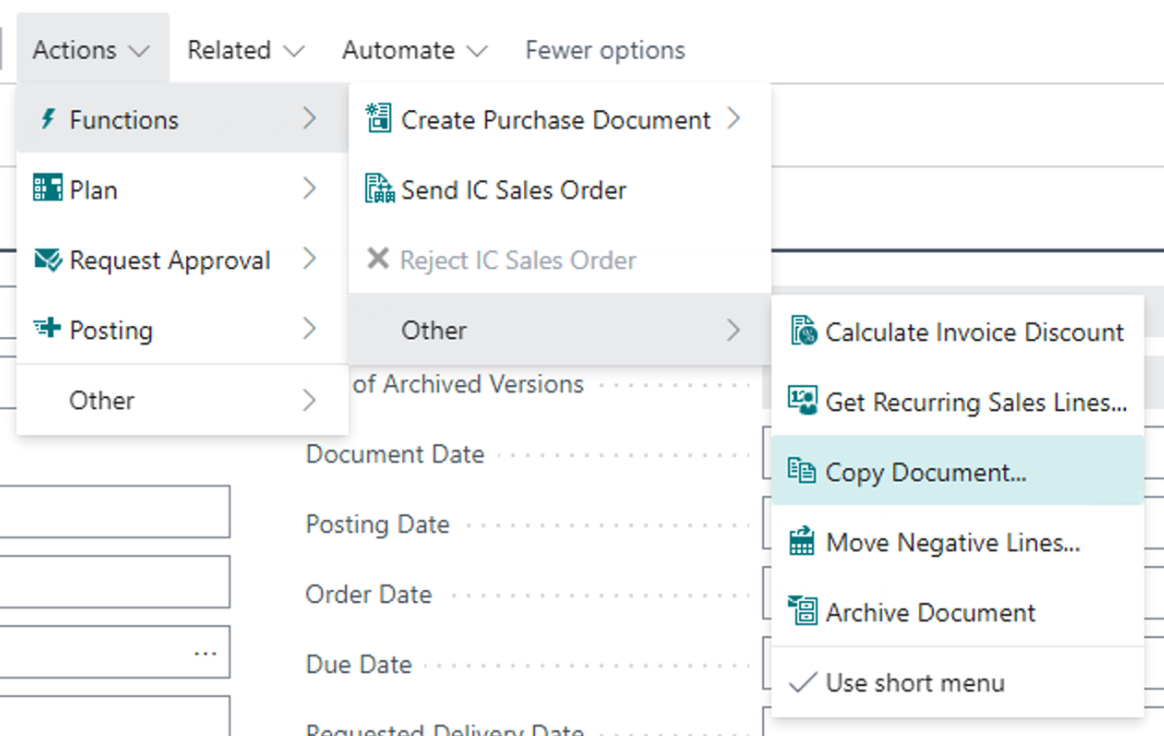


