Q. How do I copy data from one Business Central company to another?
A. Microsoft Dynamics 365 Business Central offers a couple of options to copy data from one company to another.
Copy Company
One option creates a complete copy of a company into a new company in the same environment.
- Search for Companies using the “Tell Me” Search within Microsoft Dynamics 365 Business Central.
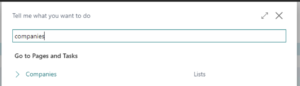
- Select Companies List Page
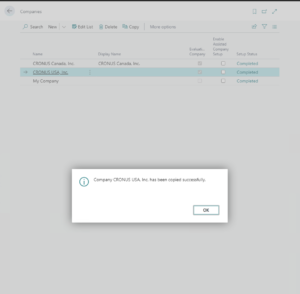
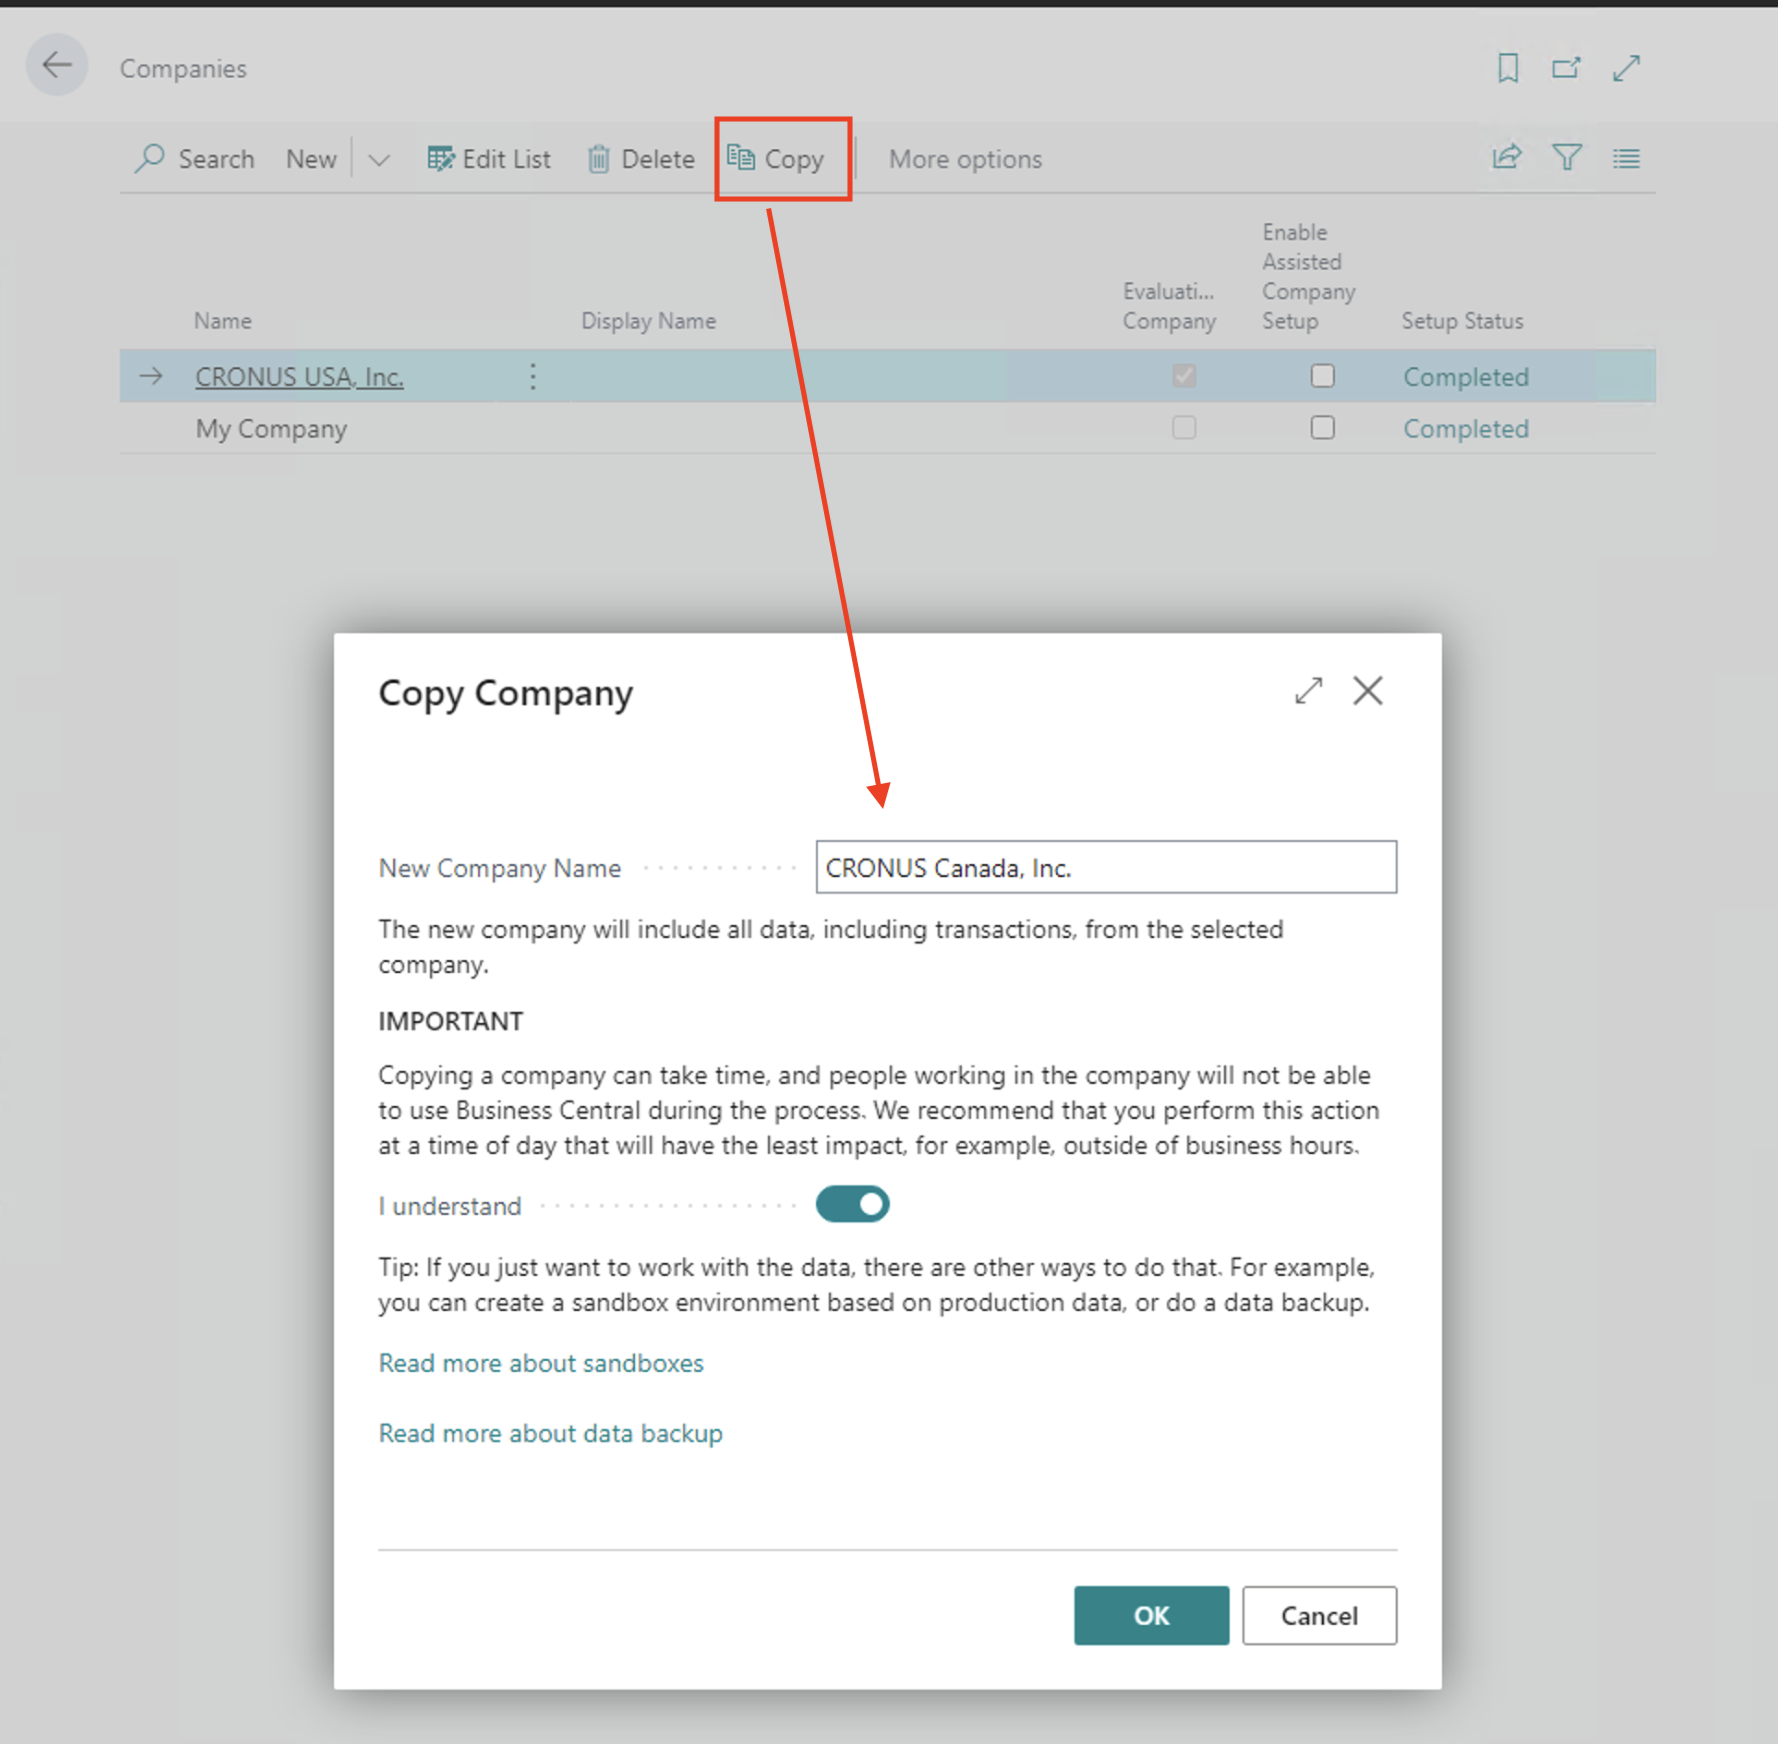
- On the Companies Page, select the company you want to copy into a new one.
- Select the Copy Menu Item from the Action Bar
- Enter the New Company Name on the Copy Company Dialog.

- Read the IMPORTANT note about copying a company and performance. Confirm the “I understand” button if you are comfortable proceeding.
- Click Ok
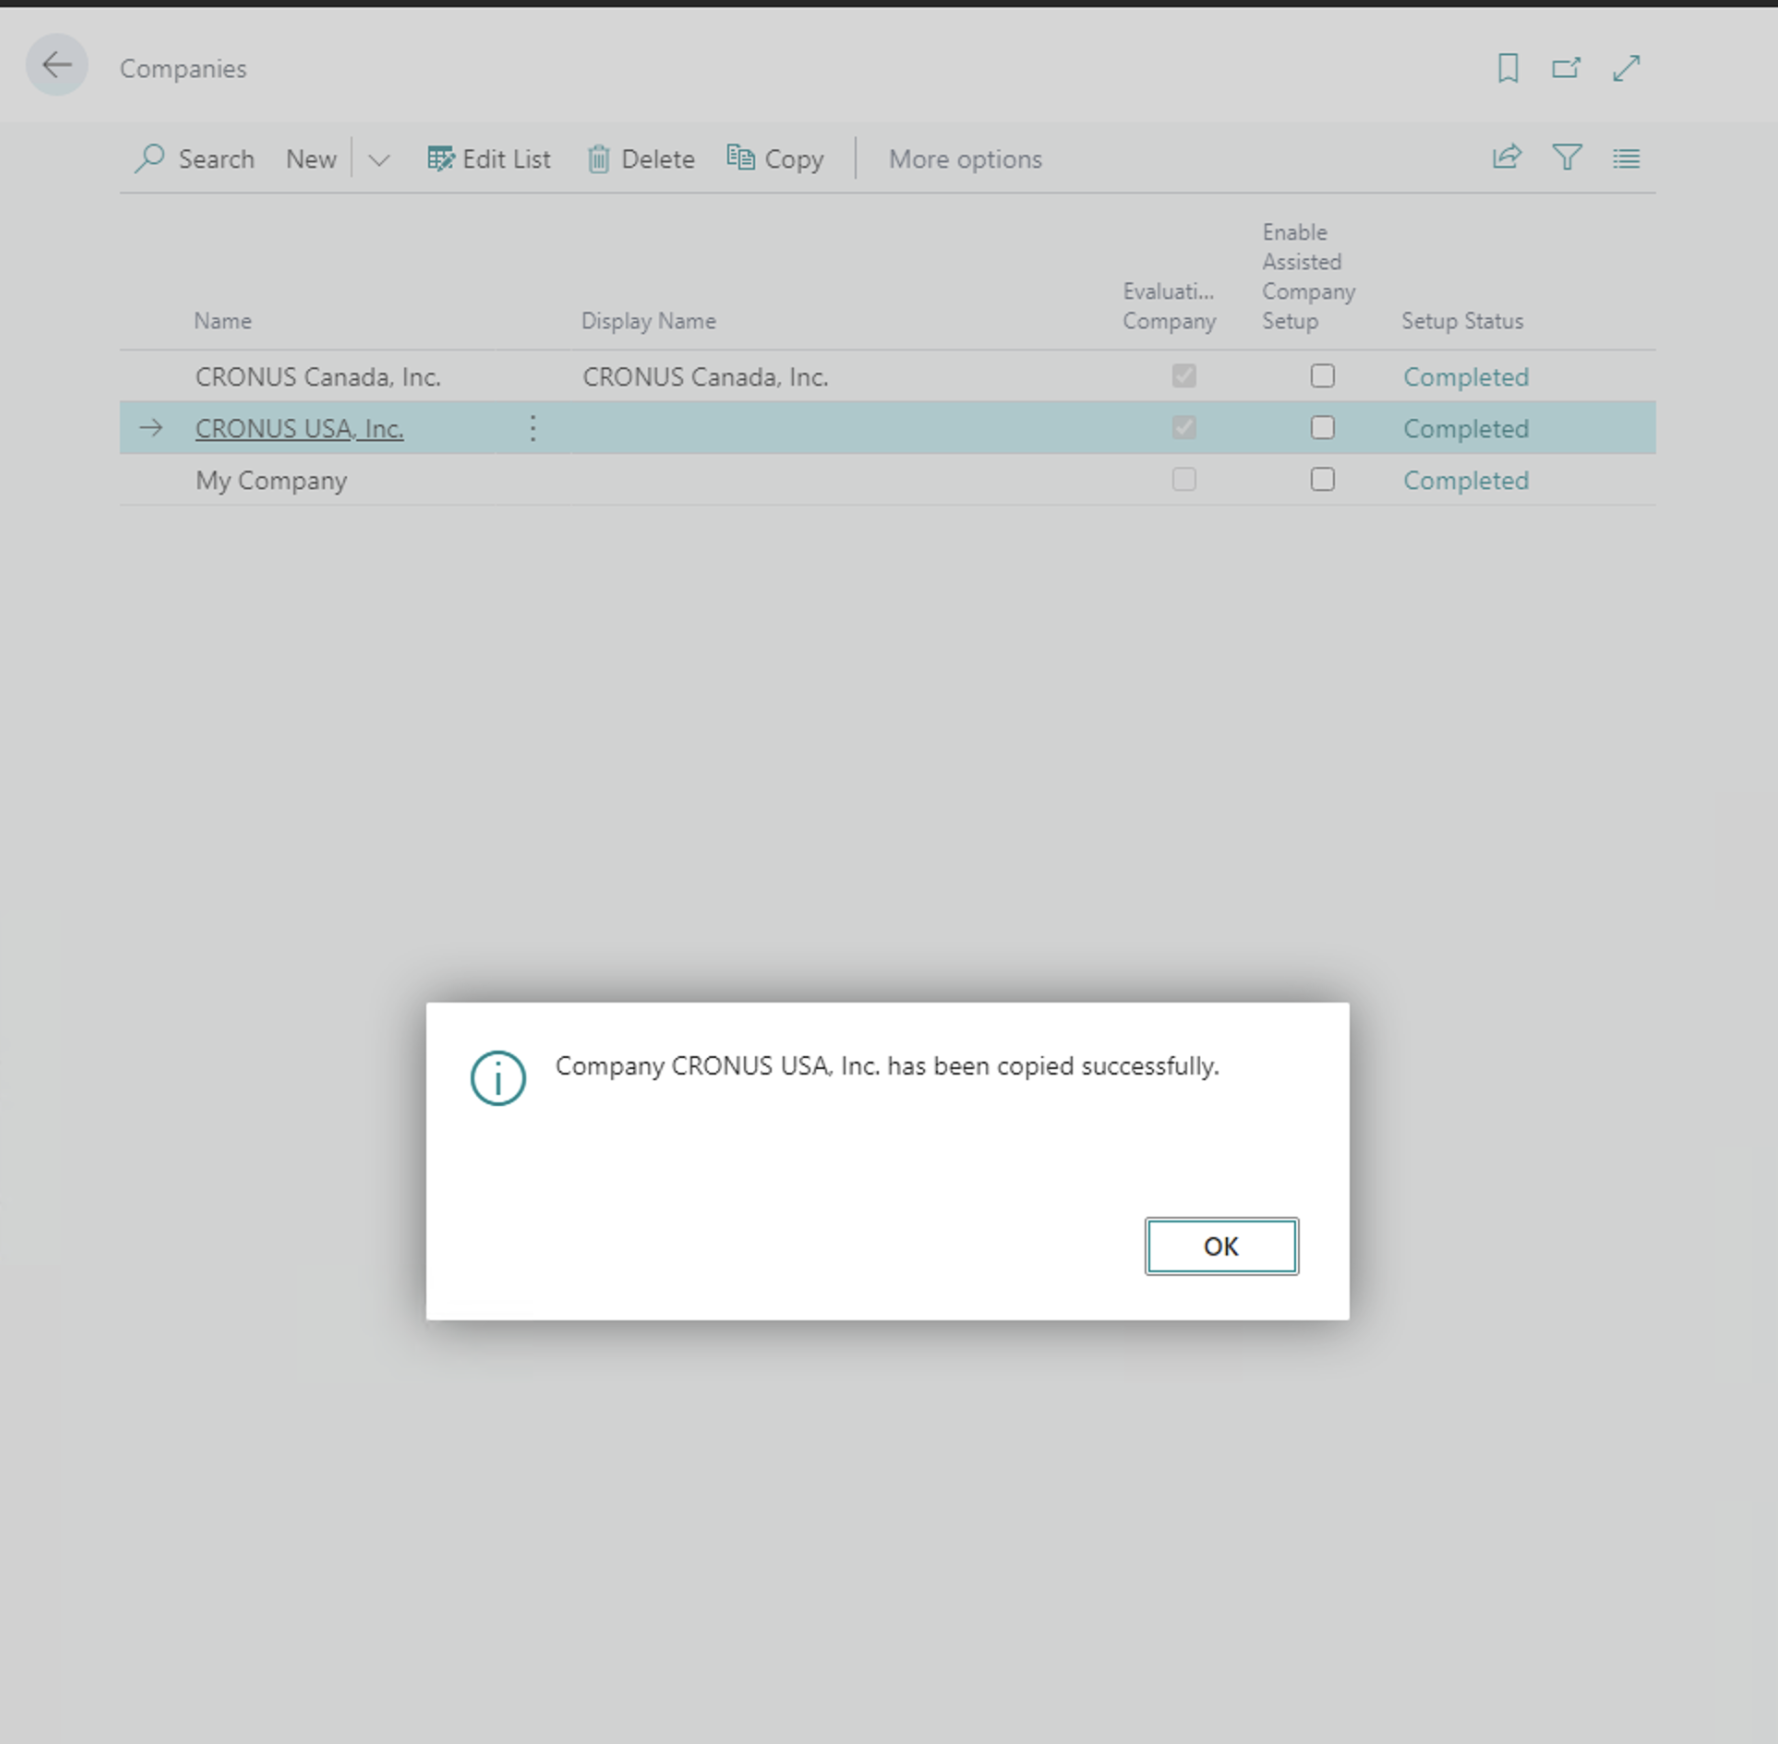
- When the copy company action is complete, a confirmation dialog will appear.

Configuration Worksheet
A second option, which allows for a more selective way to copy data, is to use a Configuration Worksheet.
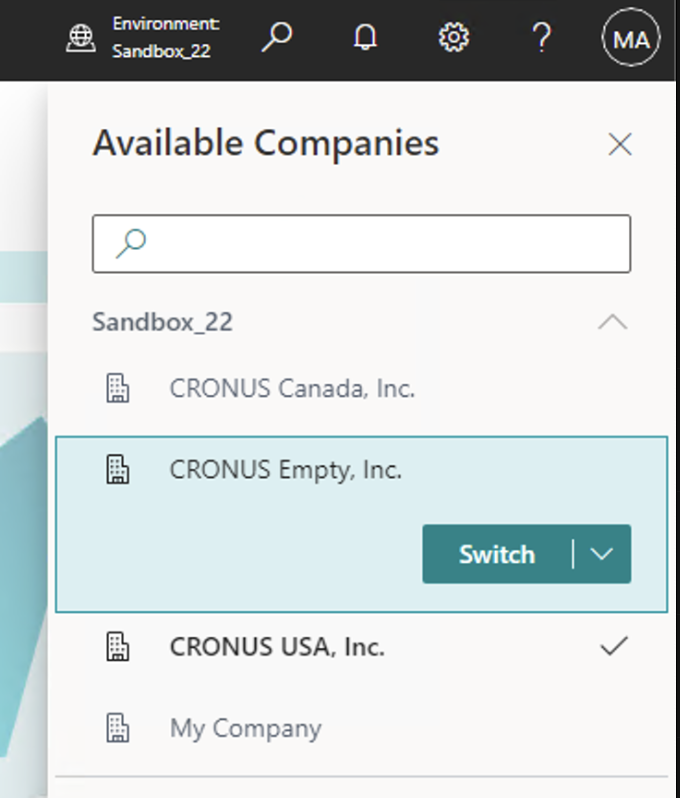
- Switch to the company that you would like to copy data into from another company in the environment.

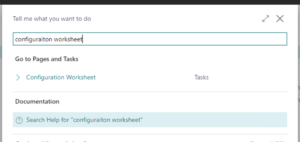
- Search for Configuration Worksheet using the “Tell Me” Search within Microsoft Dynamics 365 Business Central.
- Select the Configuration Worksheet Task
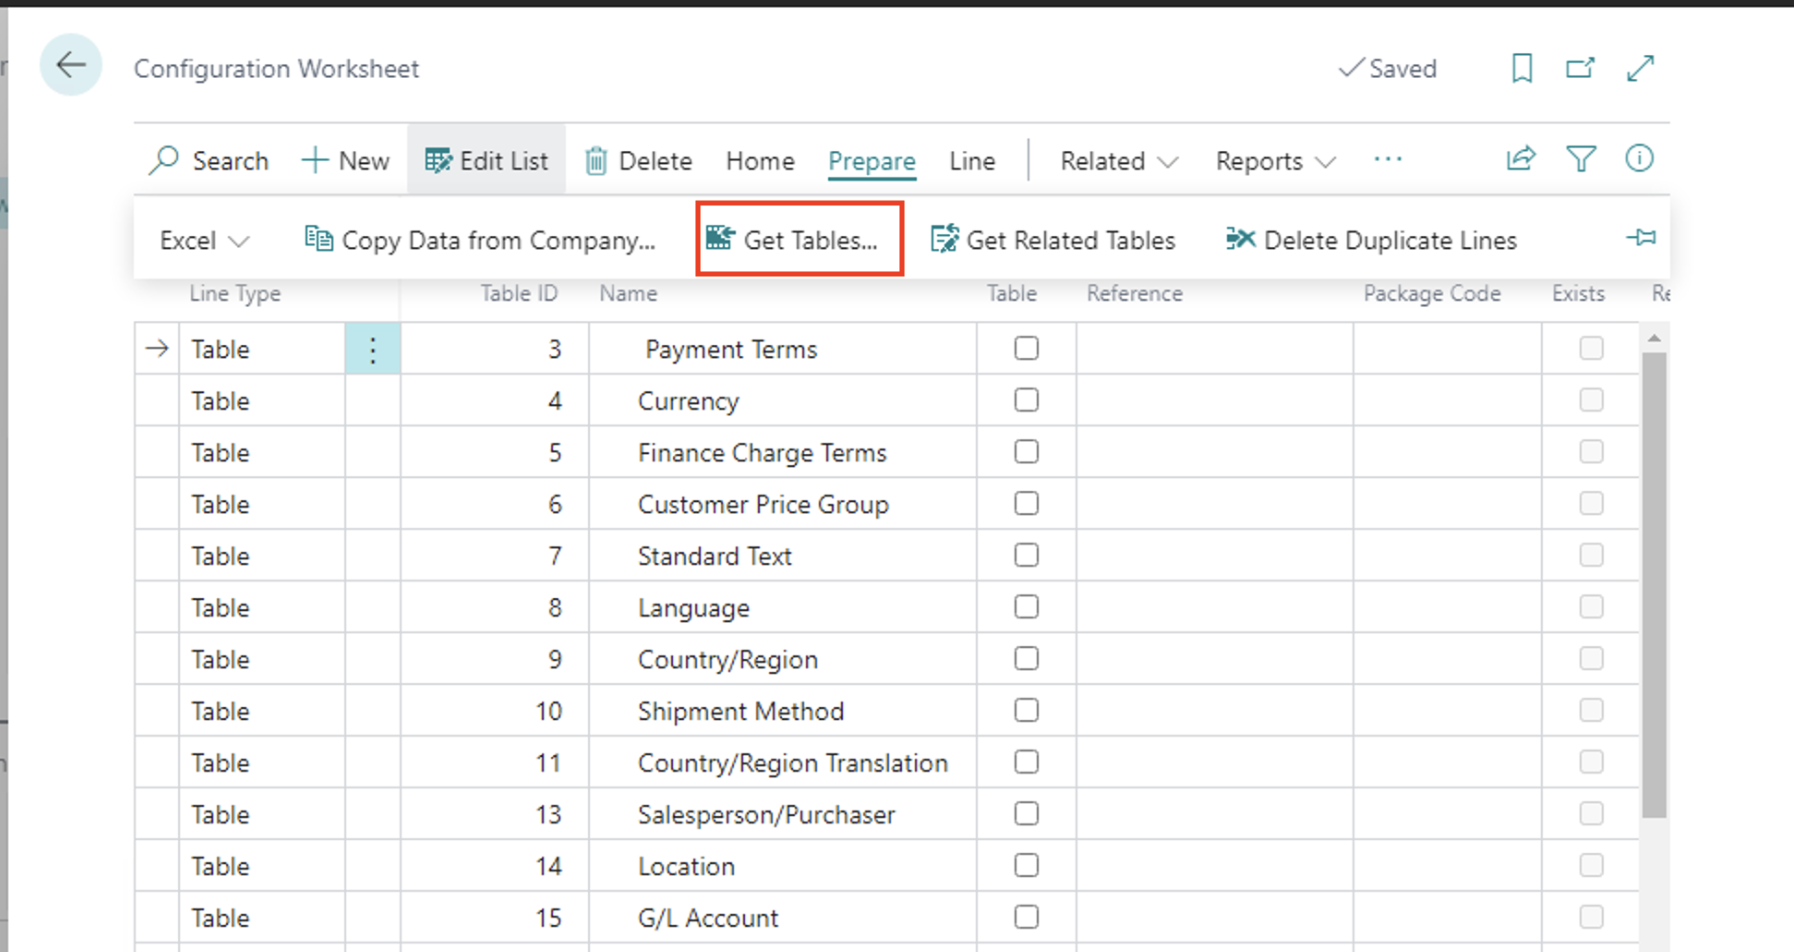
- On the Configuration Worksheet, enter the tables from which you want to copy data into the current company. You can manually enter the tables or use the Get Tables menu action from the Prepare Action Bar item for more options to add multiple tables.
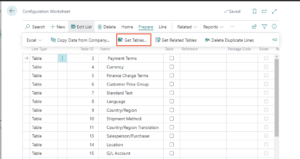
- Select the “Copy Data from Company” menu item from the Prepare Actions menu.
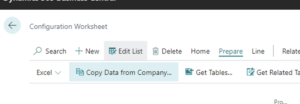
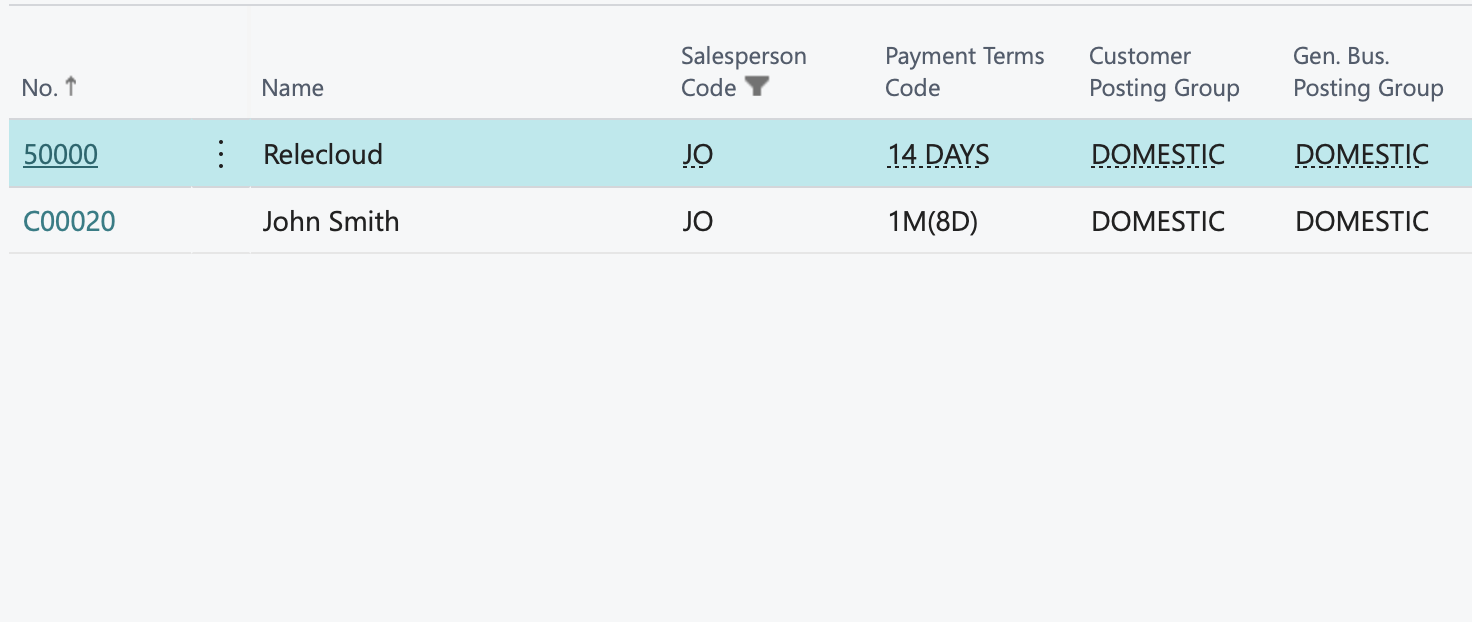
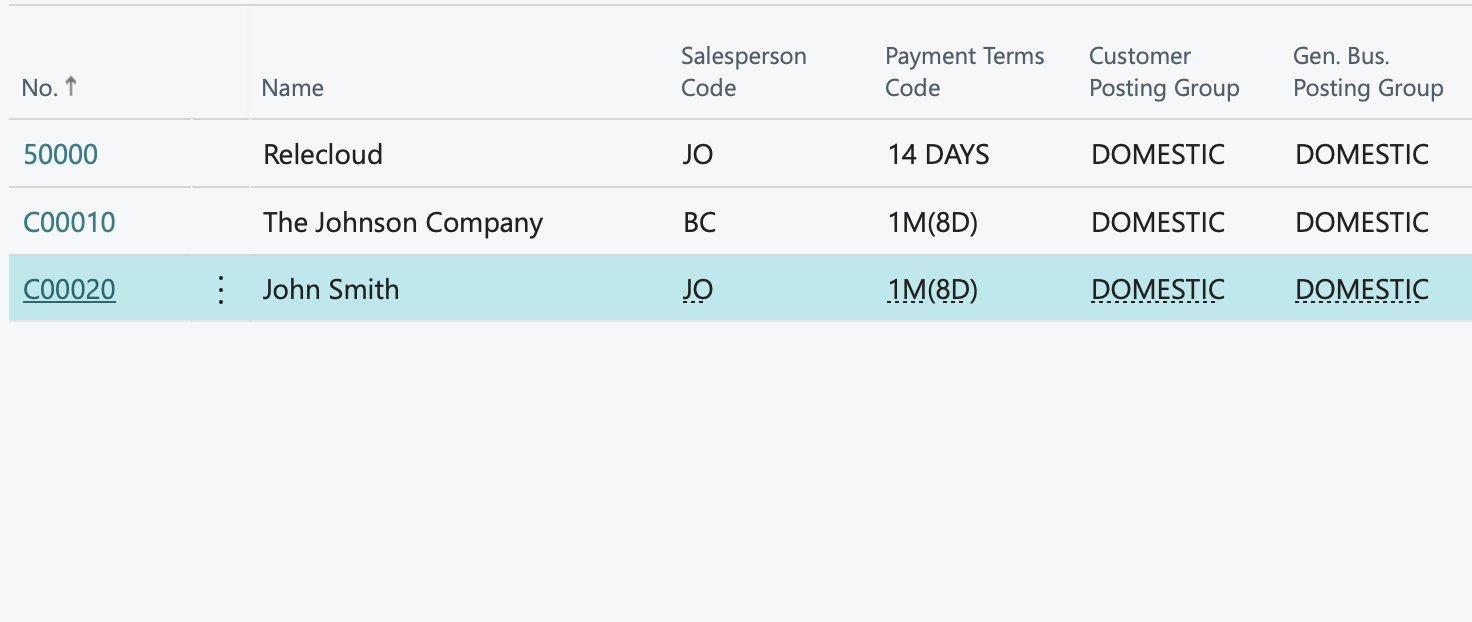
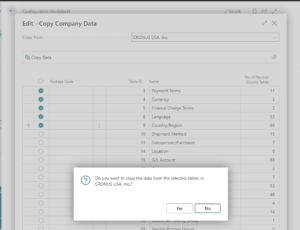
- On the Copy Company Data Page, select the tables that you would like to copy data from and select the Copy Data action item.
Note: Data can only be copied from a source table that has records into a destination table that does not have records - Click Yes to copy the data for the selected tables


Note: The code and information discussed in this article is for informational and demonstration purposes only. This content was created referencing Microsoft Dynamics 365 Business Central 2023 Wave 1 online.

 available.