Highlighting posts and resources from the Business Central development community — January 4–10, 2026
Looking to stay current with Dynamics 365 Business Central AL development? Here’s a curated list of recent blog posts, tutorials, and community resources from the past week.
Recent Posts (January 4–10, 2026)
➡️ 1. Importing and Parsing an Email with Pure AL Code
📇 Author: Erik Hougaard
🗓️ Date: January 5, 2026
🌎 Link: hougaard.com
📝 Summary: Walks through parsing a raw .eml email directly inside Business Central using AL only (no external libraries). A helpful reference if you need to extract headers/body/attachments in an integration scenario and want to keep the logic inside your extension.
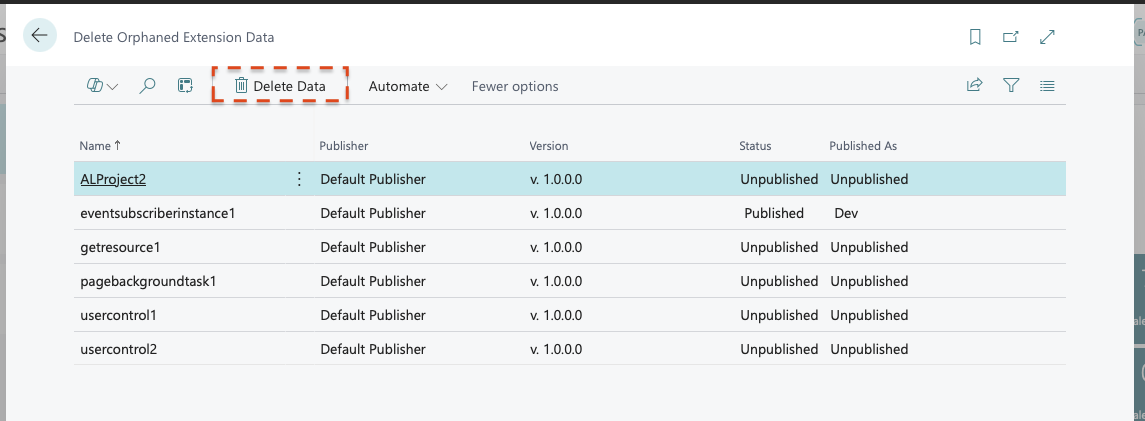
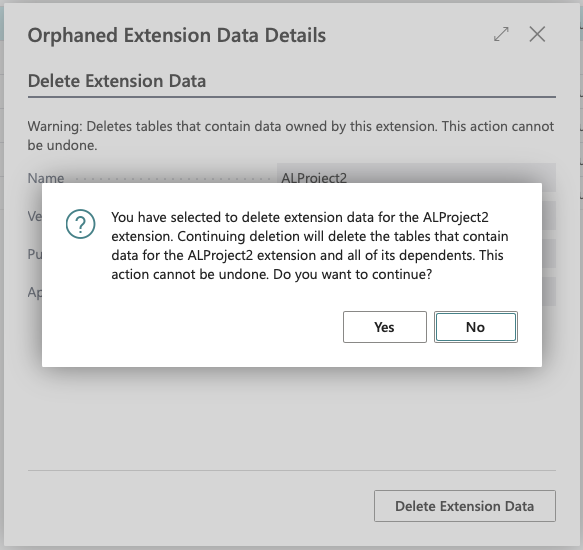
➡️ 2. Debugging Business Event Subscriptions in Business Central
📇 Author: Marcel Chabot
🗓️ Date: January 9, 2026
🌎 Link: aardvarklabs.blog
📝 Summary: Quick guide to troubleshooting Business Central Business Events (webhook-style) when subscriptions or notifications aren’t working. Calls out the key pages to check subscriptions, activity log, notifications, and a common permissions prerequisite.
➡️ 3. Storage Account Configuration in Azure Functions: Impact, Best Practices, and Scalability
📇 Author: Stefano Demiliani
🗓️ Date: January 5, 2026
🌎 Link: demiliani.com
📝 Summary: Practical guidance on how Azure Functions depend on their storage account and what that means for reliability and scaling. Useful context if your Business Central solutions lean on Functions for integrations, background processing, or event-driven workflows.
➡️ 4. How Do I: Create a Business Central Trial From Scratch
📇 Author: Steven Renders
🗓️ Date: January 5, 2026
🌎 Link: thinkaboutit.be
📝 Summary: Step-by-step walkthrough for spinning up a fresh Business Central trial environment. Handy when you need a clean sandbox for testing AL changes, demos, or reproducing issues without existing extensions and data getting in the way.
➡️ 5. Migrate bc2adls from PTE to AppSource Extension
📇 Author: Bert Verbeek
🗓️ Date: January 7, 2026
🌎 Link: bertverbeek.nl
📝 Summary: Covers considerations and steps for moving from a per-tenant extension (PTE) to the AppSource version of bc2adls. Good read if you’re maintaining a PTE and want to shift to a marketplace delivery model without breaking existing installs.
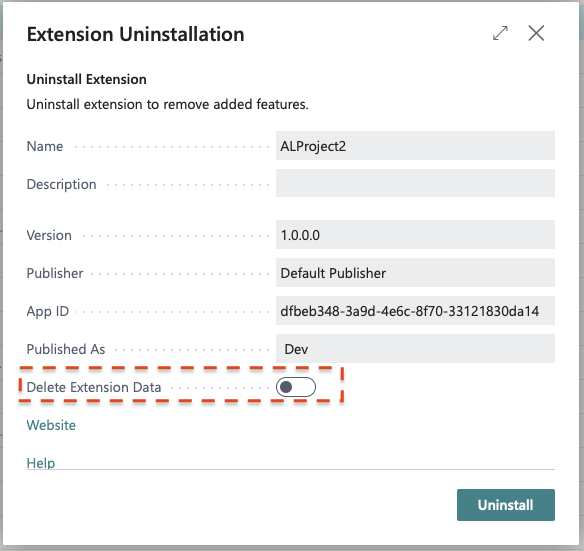
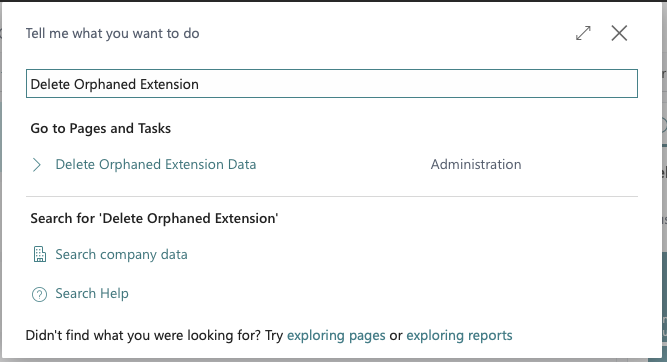
➡️ 6. DataTransfer Type Causing Runtime Errors
📇 Author: Natalie Karolak
🗓️ Date: January 9, 2026
🌎 Link: nataliekarolak.wordpress.com
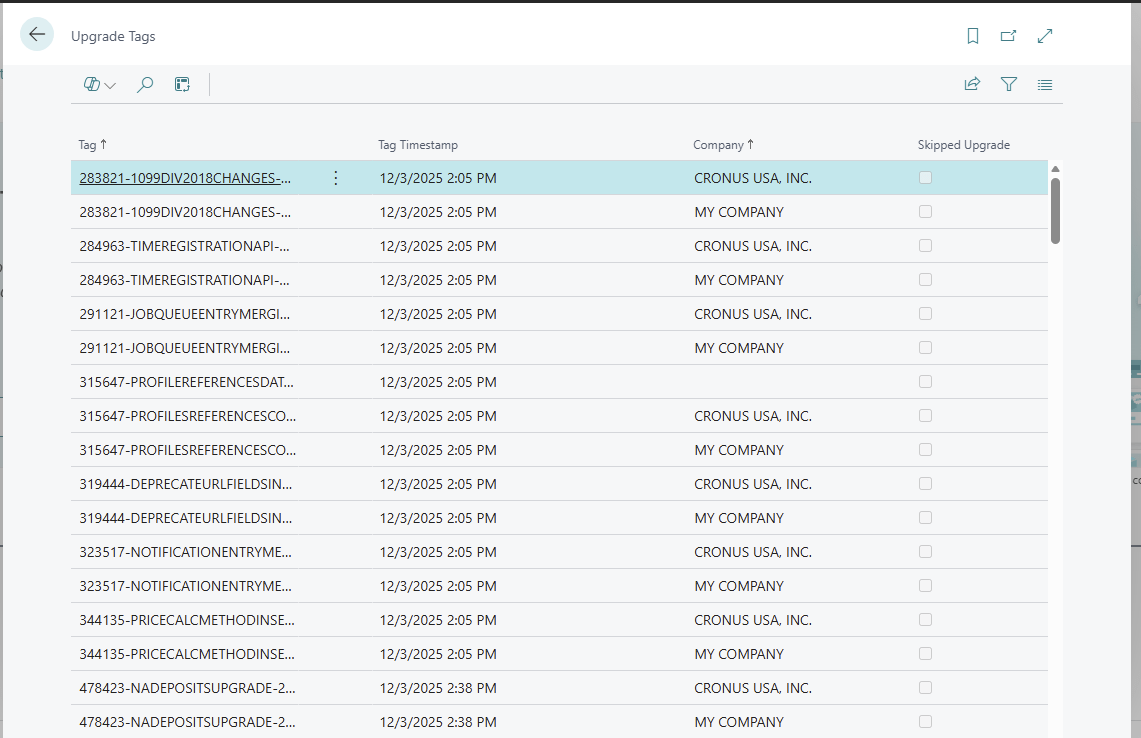
📝 Summary: A warning and checklist-style post about upgrade code that can fail at runtime when DataTransfer is involved. If you ship upgrades, this is a good reminder to validate upgrade paths (not just fresh installs) and to keep an eye on runtime behavior.
➡️ 7. Dynamics 365 Business Central: Quickly Check the Current Filters Used on the Current Page Via Page Inspection
📇 Author: Yun Zhu
🗓️ Date: January 6, 2026
🌎 Link: yzhums.com
📝 Summary: Shows how to use Page Inspection to see all filters affecting a page, including filters that aren’t visible in the UI. Great for debugging unexpected results and for understanding where filters originate (views, code, filter groups).
Community Resources
Official Resources
GitHub Repositories
- microsoft/BCApps – Repository for collaboration on Microsoft Dynamics 365 Business Central applications.
- microsoft/BCTech – Business Central technology samples.
- microsoft/ALAppExtensions – Repository for collaboration on Microsoft AL application add-on and localization extensions for Microsoft Dynamics 365 Business Central.
- microsoft/AL – Home of the Dynamics 365 Business Central AL Language extension for Visual Studio Code.
- StefanMaron/MSDyn365BC.Code.History – Contains the Microsoft Business Central Code. Updated each month.
Follow on Social Media
- Twitter/X Hashtags: #MSDyn365BC | #BusinessCentral
Stay Connected
The Business Central AL development community stays active with valuable content on AL development, upgrades, integrations, and tooling improvements. Following #MSDyn365BC and #BusinessCentral on Twitter/X is a great way to catch new posts as they’re published.
Note: This review is compiled from publicly available blog posts and community resources. Links to external blog posts are provided for your information only and do not constitute endorsement or validation of their content. Publication information and availability are subject to change. Always verify information against official documentation for production use.